> ## Documentation Index
> Fetch the complete documentation index at: https://support.lumafield.com/llms.txt
> Use this file to discover all available pages before exploring further.
# アニメーションツール(Animation Tool)
> オービットやスクラブでスキャンデータの動的な可視化を作成する
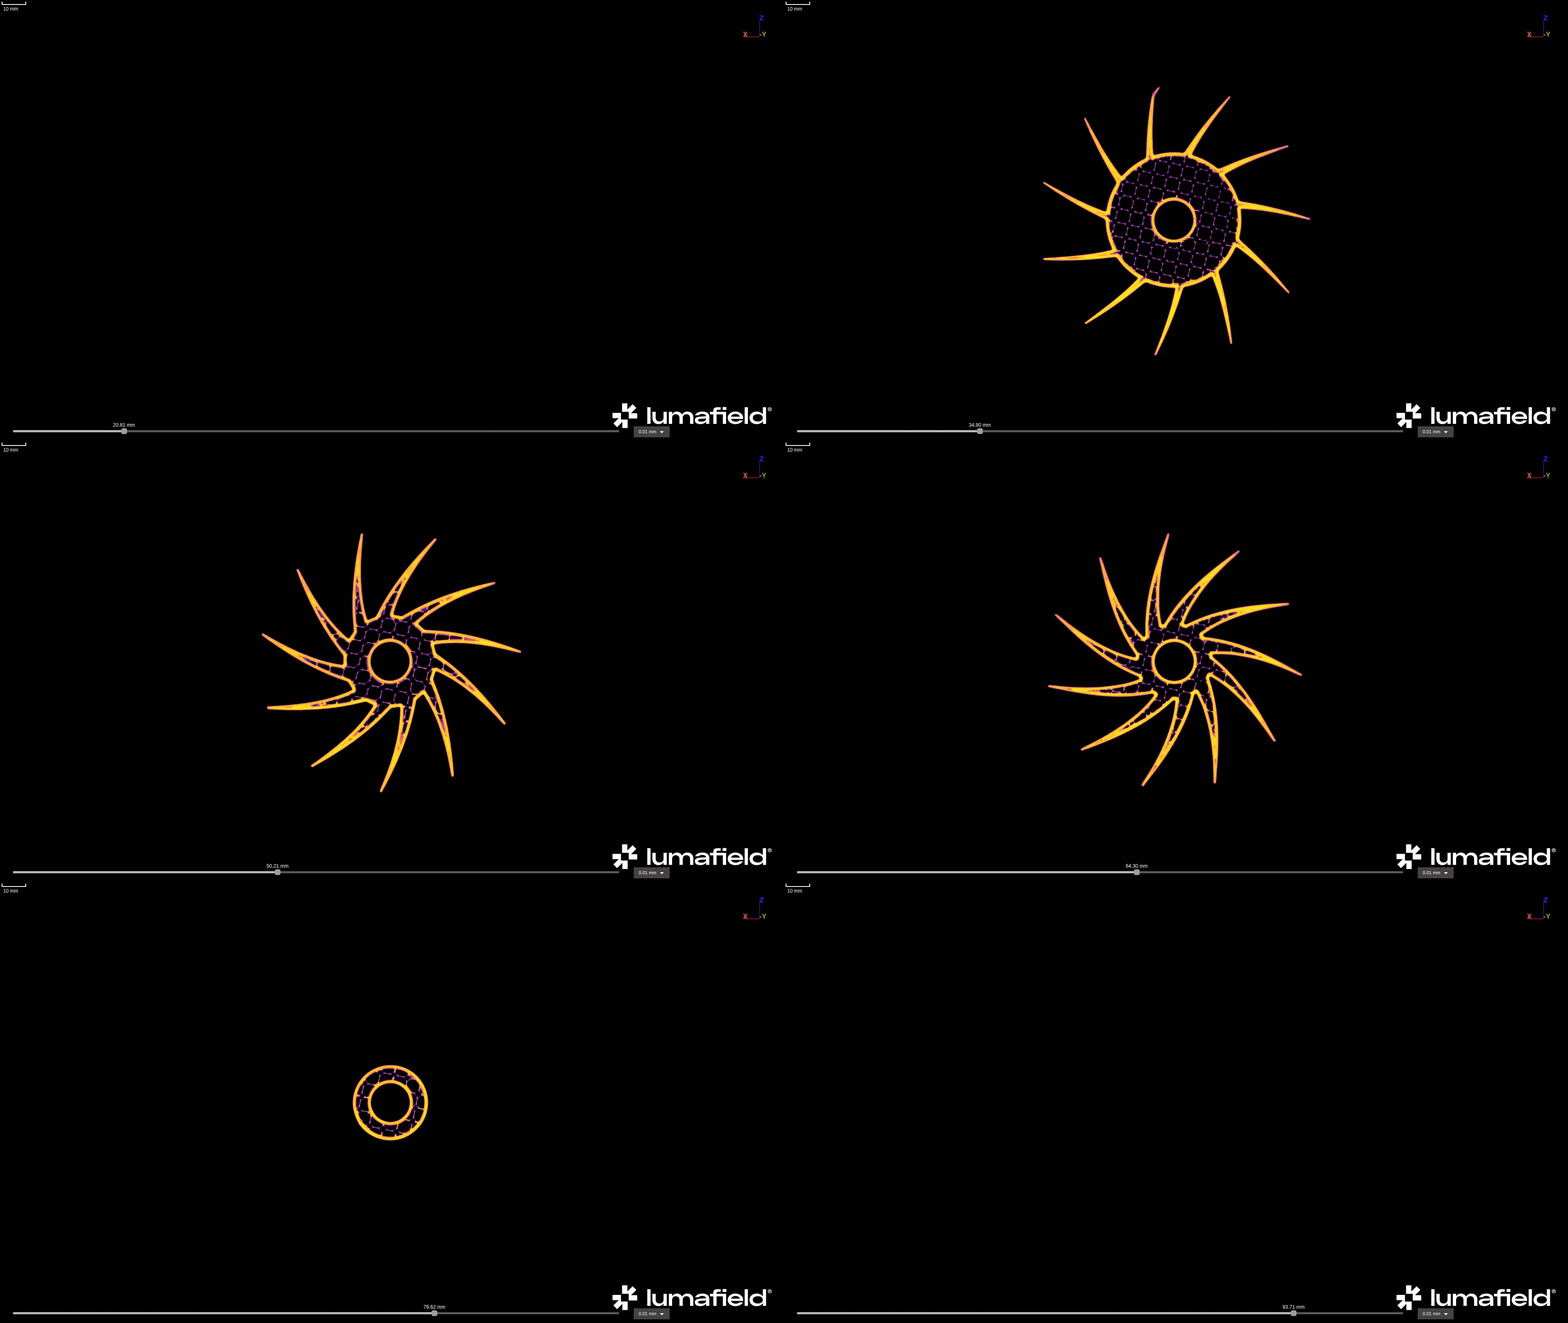 Voyager から直接ダウンロードした GIF の例
概要
Animation Tool で作成できる動画の設定:
* **ファイル形式**:
* GIF
* MP4
* WEBM
* **サイズ**:
* 1920 x 1080(Standard)
* 1920 x 1920(Square)
* 1640 x 856(Landscape)
* 360 x 800(Mobile)
* 動画タイプ:
* Boomerang(MP4 と WEBM では不可)
* Loop(MP4 と WEBM では不可)
* Standard
* 透明背景トグル(GIF のみ)
[レシピ](/ja/recipes/recipes-intro) を設定すれば、同じ設定でプロジェクト間でアニメーションブックマークを自動生成できます。レシピの有効化についてはカスタマーサクセスマネージャーに連絡するか、[customersuccess@lumafield.com](mailto:customersuccess@lumafield.com) までお問い合わせください。
アニメーションの作成
まず、アニメーション化したいデータを含む Data Object を Data Panel から、またはブックマークを Bookmarks Panel から選択します。
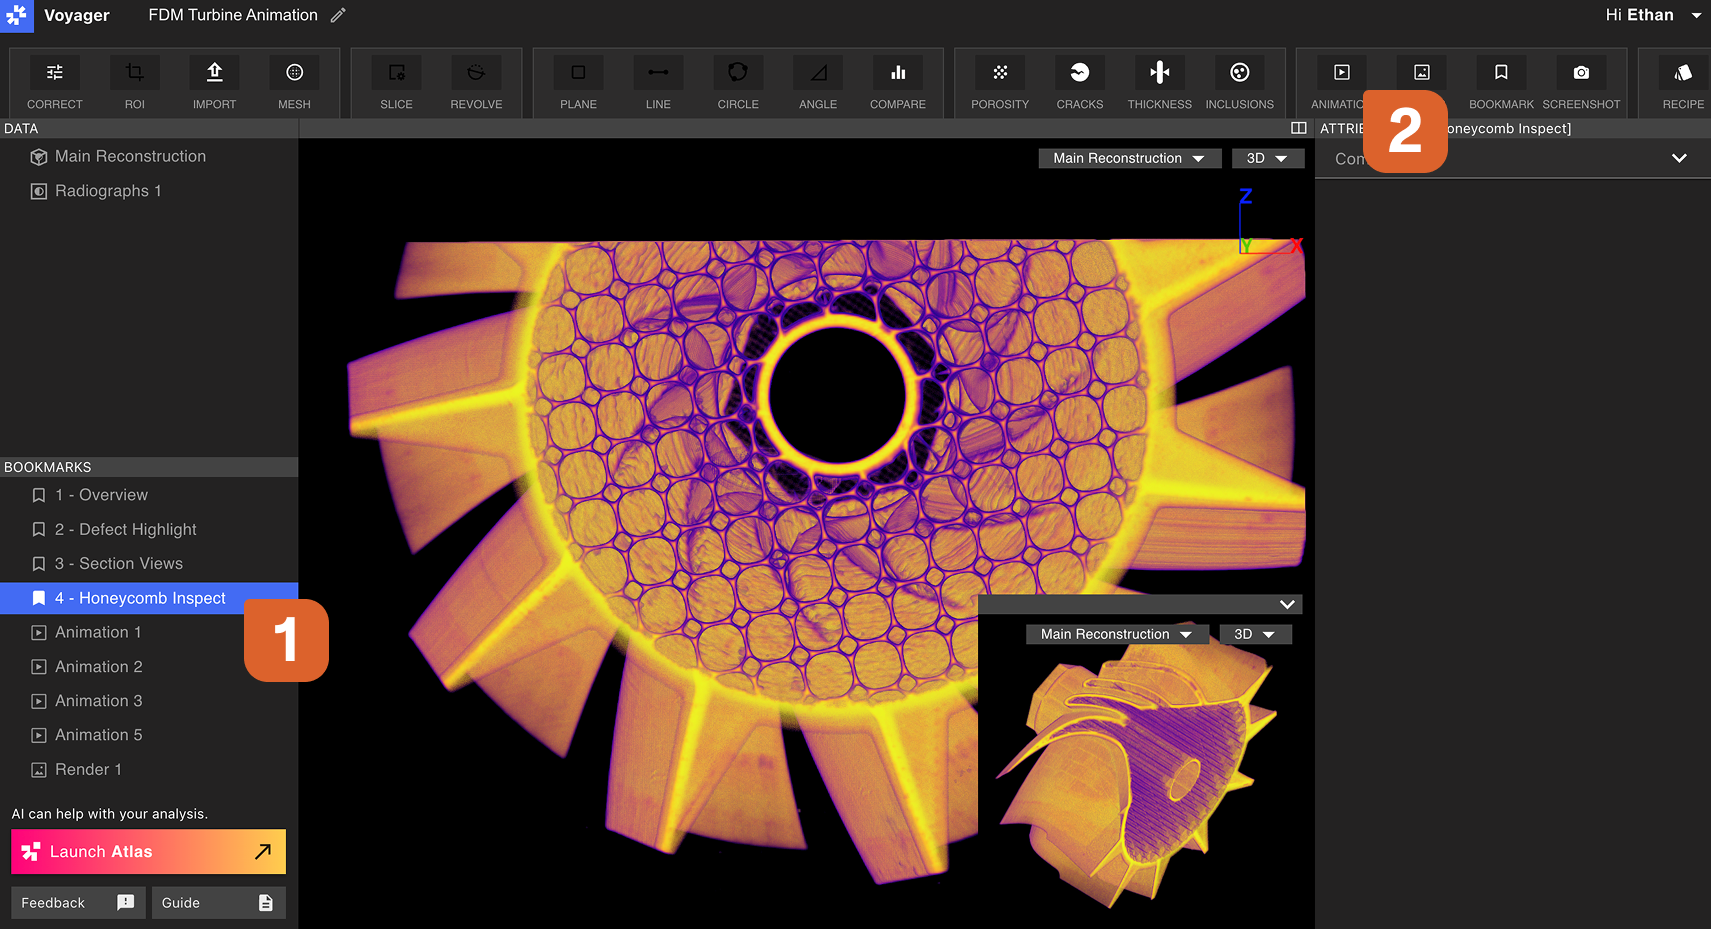 新しい Animation ワークフローブックマークが開きます。進行中の Animation ブックマークは選択時に青い斜線、離れると緑の斜線で表示されます。
Animation Workflow Editor では、Viewport設定の変更、凡例の表示切り替え、Crop の切り替え、Slice の設定、Range map の調整が可能です。
アニメーション固有の設定もここで行えます。1〜14 秒の間でアニメーション時間を選択し、Scrub または Orbit を選び、アニメーションがスクラブする平面の範囲をトリミングします。
スキャンオブジェクトの位置調整: クリック&ドラッグで回転、右クリック&ドラッグで全体を再配置。Viewportのデュアルビューを開き、右下のプレビューViewportを最大化または最小化できます。
新しい Animation ワークフローブックマークが開きます。進行中の Animation ブックマークは選択時に青い斜線、離れると緑の斜線で表示されます。
Animation Workflow Editor では、Viewport設定の変更、凡例の表示切り替え、Crop の切り替え、Slice の設定、Range map の調整が可能です。
アニメーション固有の設定もここで行えます。1〜14 秒の間でアニメーション時間を選択し、Scrub または Orbit を選び、アニメーションがスクラブする平面の範囲をトリミングします。
スキャンオブジェクトの位置調整: クリック&ドラッグで回転、右クリック&ドラッグで全体を再配置。Viewportのデュアルビューを開き、右下のプレビューViewportを最大化または最小化できます。
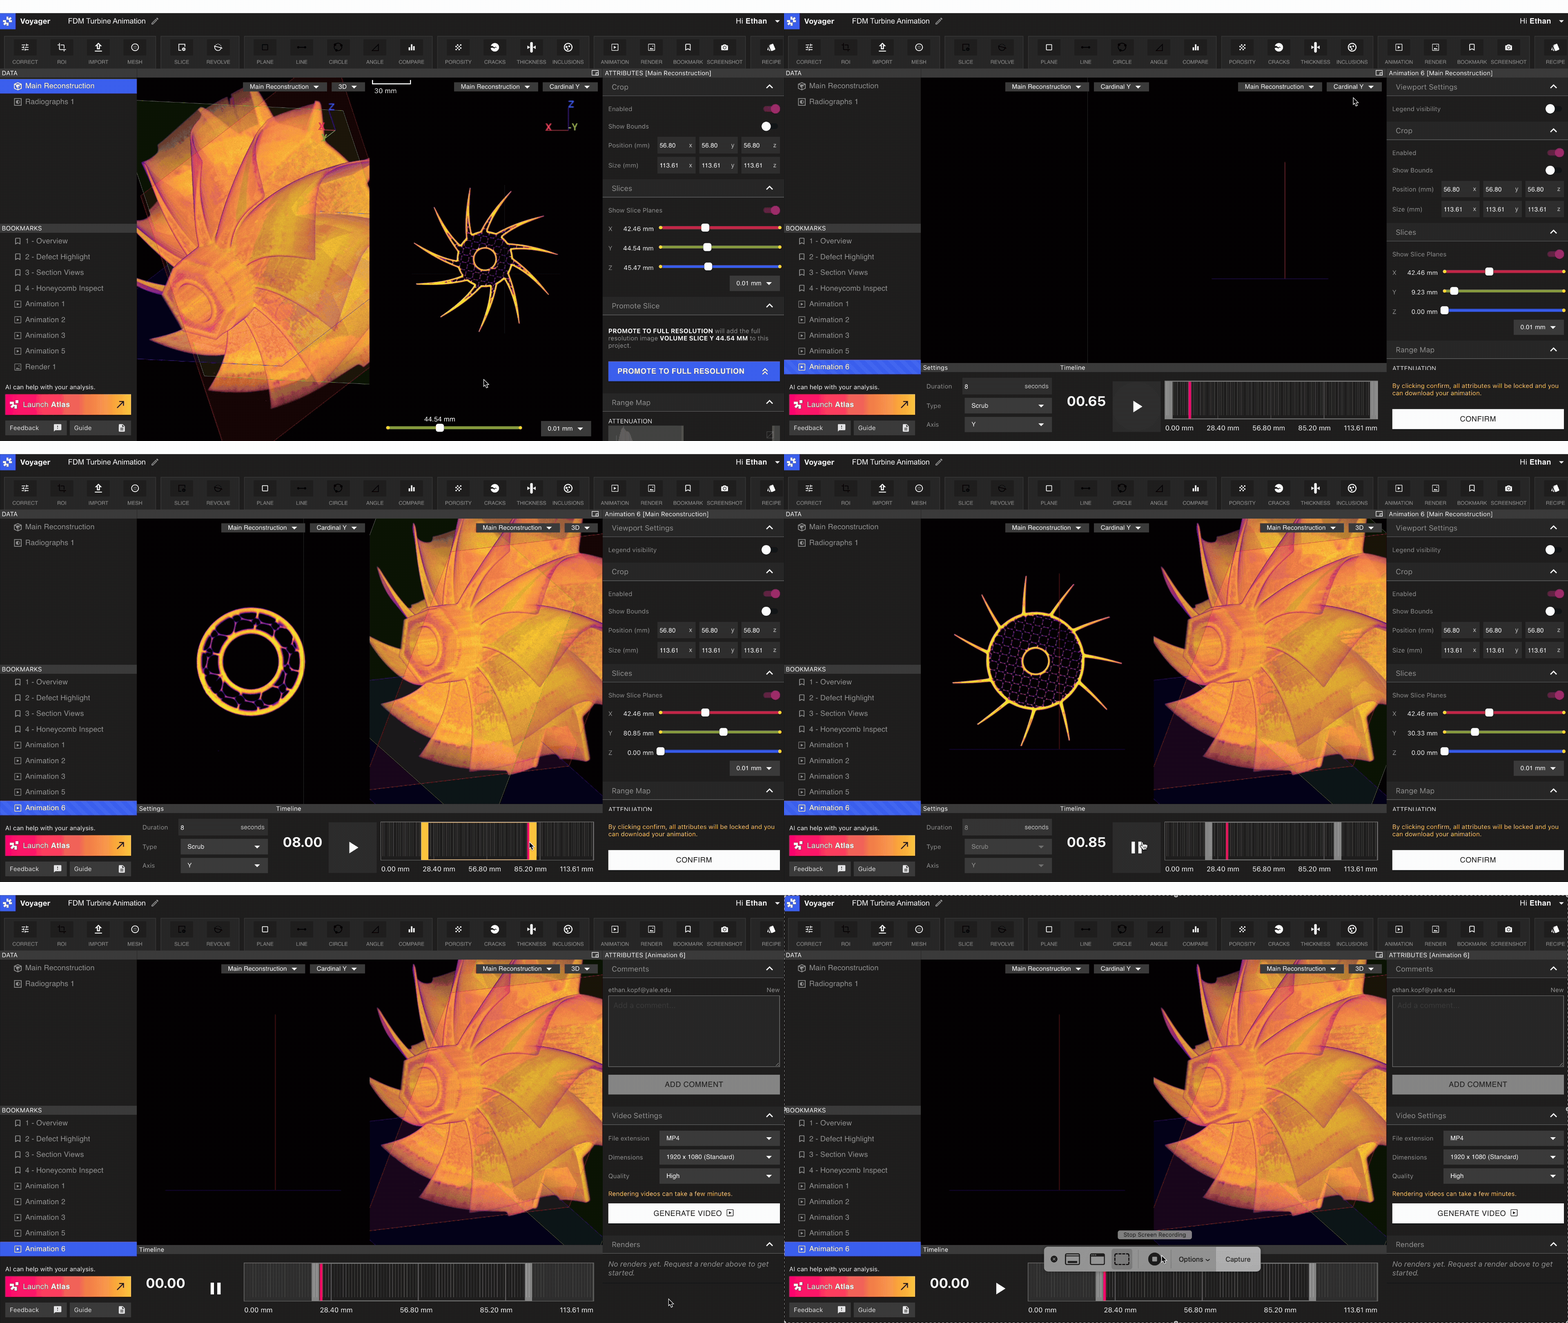 設定が完了したら「Confirm」を選択します。属性とアニメーション設定が固定されます。
アニメーションのレンダリングと共有
Bookmarks Panel から完成した Animation を選択します。
**ディープリンク:** ブックマークを右クリックし「Copy link」を選択すると、特定のアニメーションブックマークへのディープリンクを生成できます。リンクを受け取ったユーザーはプロジェクト内の該当 Animation ブックマークに直接アクセスします。
**アニメーションのダウンロード:** Attributes Panel で、希望のファイル形式、サイズ、レンダー品質を選択できます。
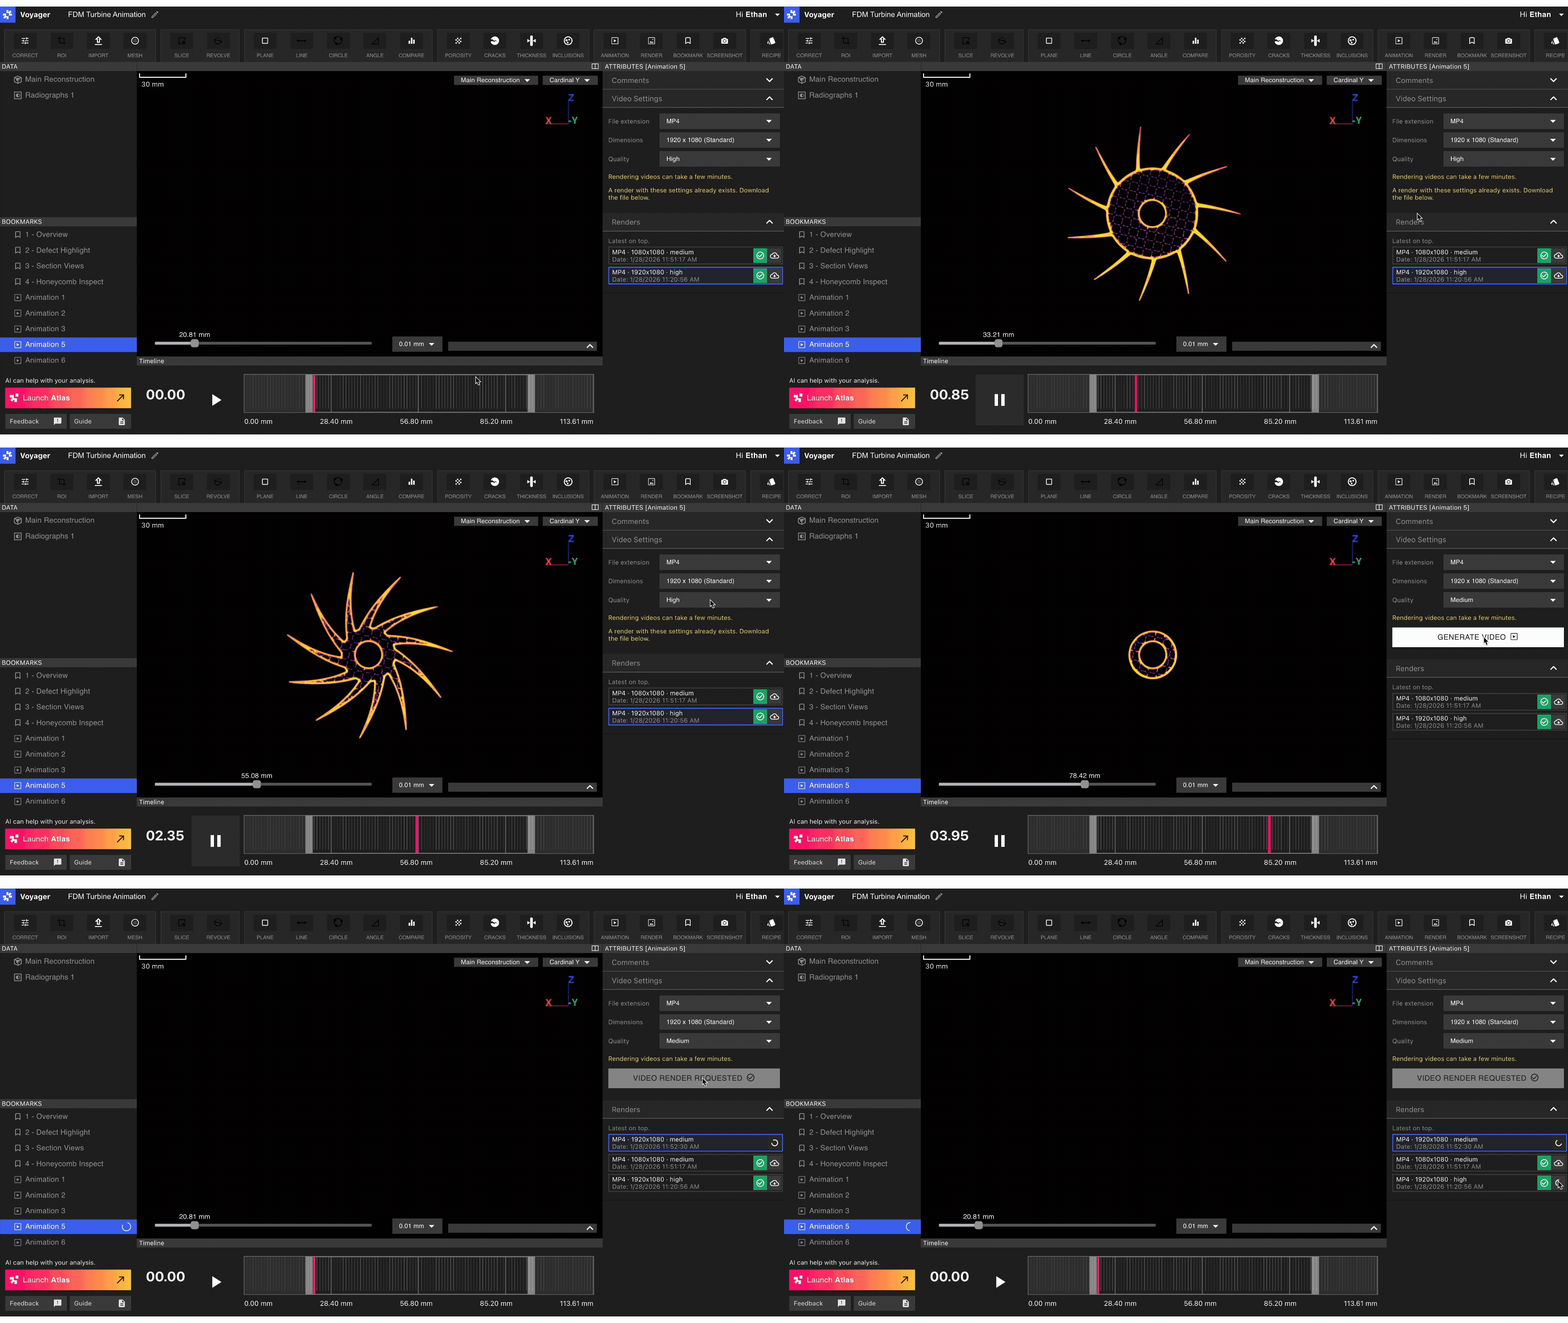 進行中のレンダーは Attributes Panel の Renders タブにローディングバーとともに表示されます。レンダーが完了するとファイルがダウンロードされ、Renders タブに緑のチェックマークで表示されます。チェックの横のダウンロードボタンでレンダーを再ダウンロードできます。
高品質な静止画を作成したい場合は、[Render Tool](/ja/voyager/voyager-render-tool) を参照してください。
進行中のレンダーは Attributes Panel の Renders タブにローディングバーとともに表示されます。レンダーが完了するとファイルがダウンロードされ、Renders タブに緑のチェックマークで表示されます。チェックの横のダウンロードボタンでレンダーを再ダウンロードできます。
高品質な静止画を作成したい場合は、[Render Tool](/ja/voyager/voyager-render-tool) を参照してください。