> ## Documentation Index
> Fetch the complete documentation index at: https://support.lumafield.com/llms.txt
> Use this file to discover all available pages before exploring further.
# 回転スライス平面(Revolving Slice Planes)
> 円筒形・球形形状を検査する
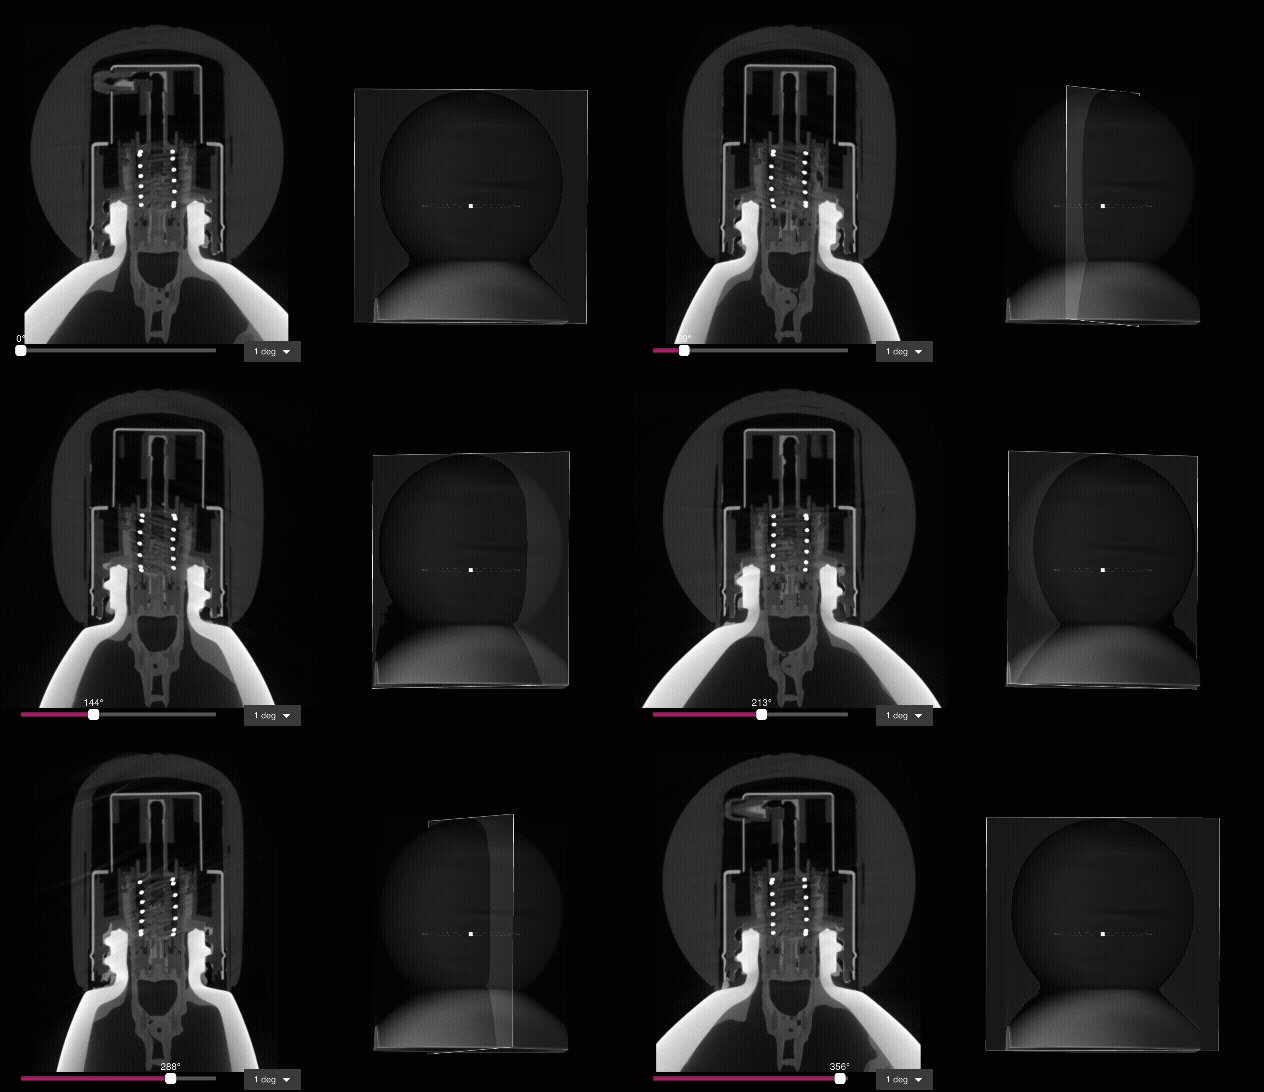
円筒形や球形の形状を持つ部品では、Revolving Slice Plane を使ってカスタム軸の周りを 360° 回転させながらデータを確認できます。
Revolving Slice Plane の作成
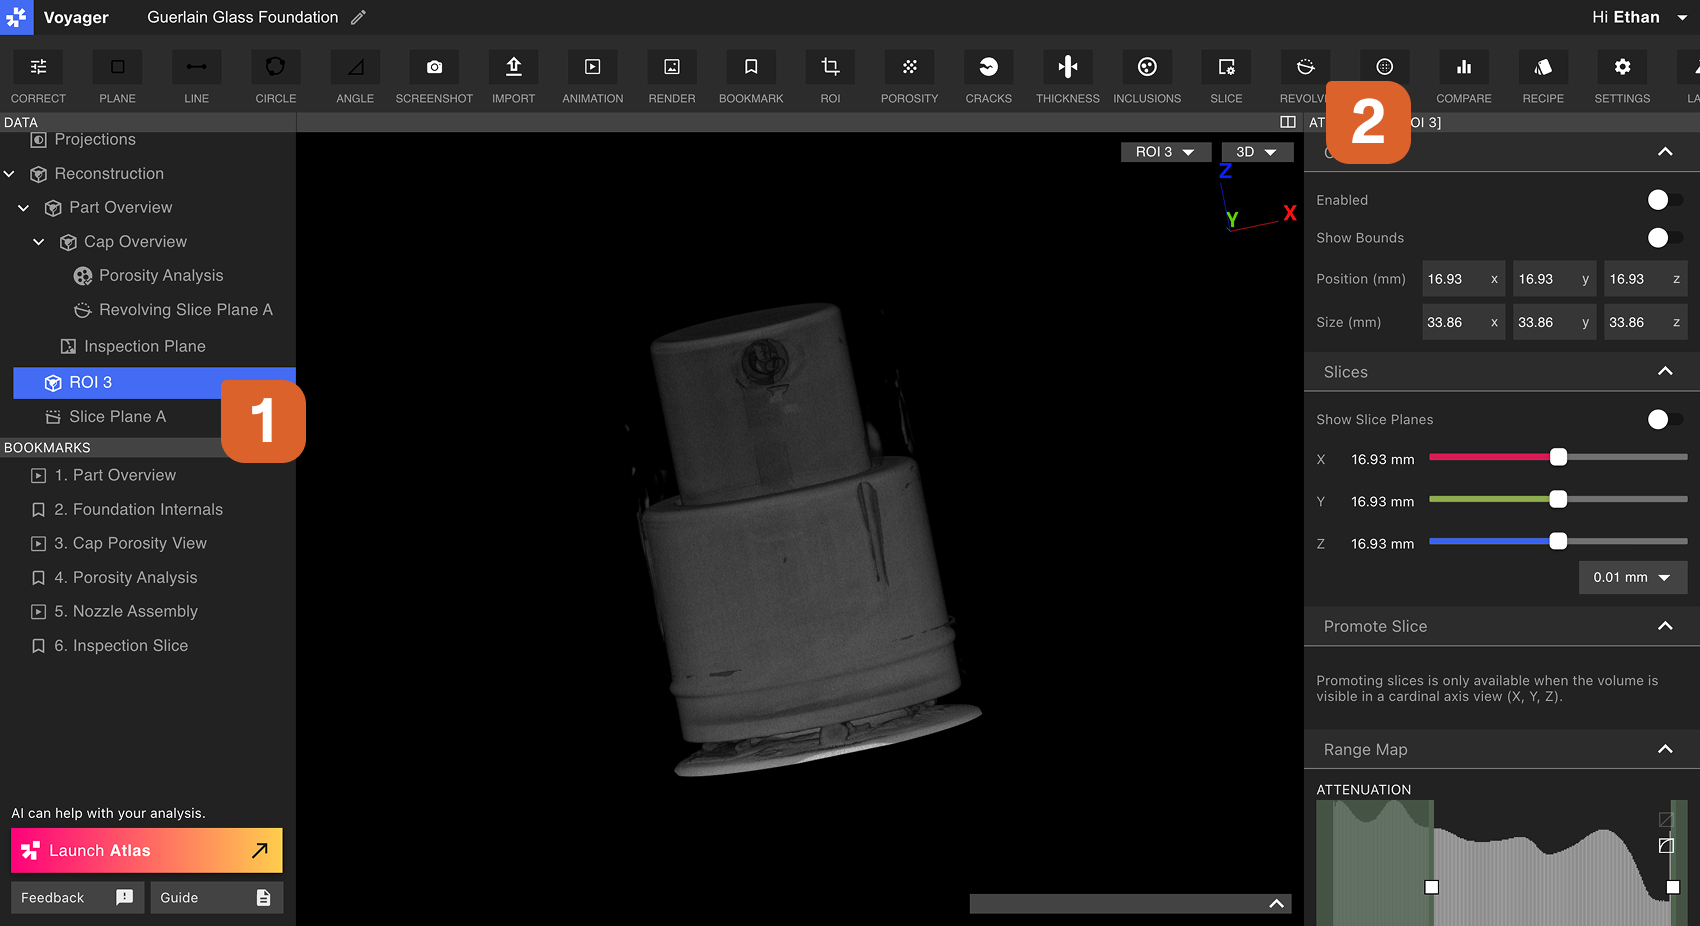
まず、Data Panel で Reconstruction または ROI の Data Object を選択します。Revolving Slice Plane を有効にするには、目的の回転軸が Data Object の Cardinal X/Y/Z 軸のいずれかに揃っている必要があります。該当軸がない場合は、目的の回転軸がカーディナル平面に一致する ROI を作成してください。
 Workflow Editor のドロップダウンから、参照平面として Cardinal X、Y、または Z を選択します。平面上で円形形状が見える位置を選び、回転軸を捉えやすくします。
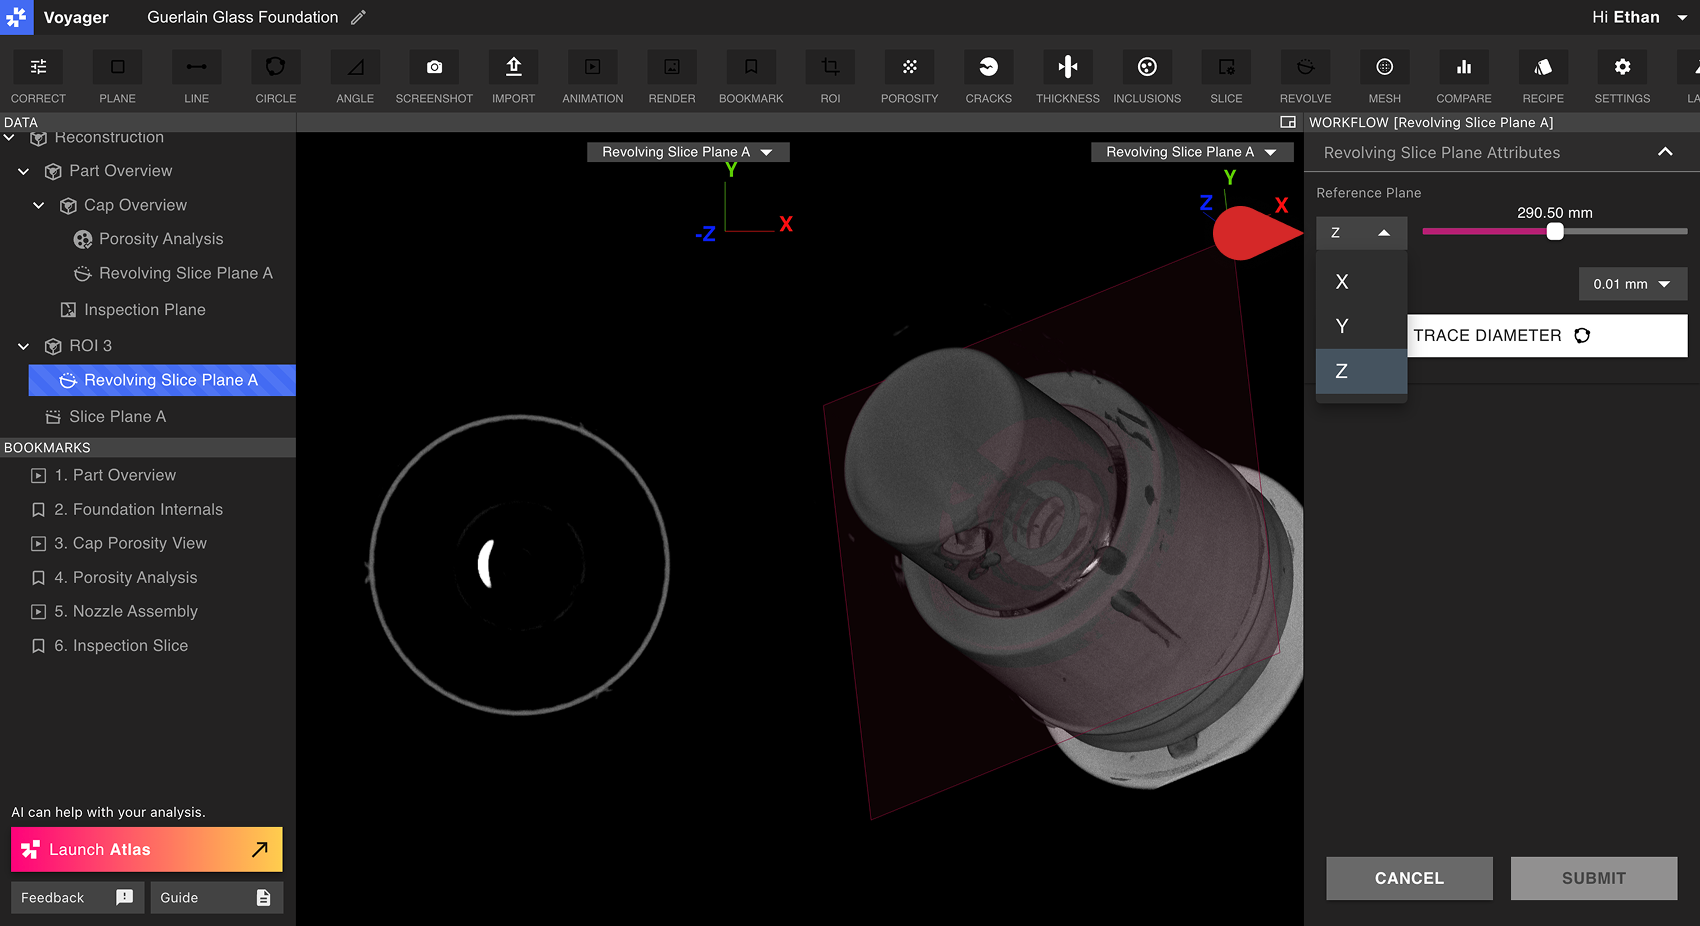 Workflow Editor で Trace Diameter を選択し、部品の円形形状上の 3 点を指定します。この円の中心が回転軸となり、その周りを Revolving Slice Plane が回転します。
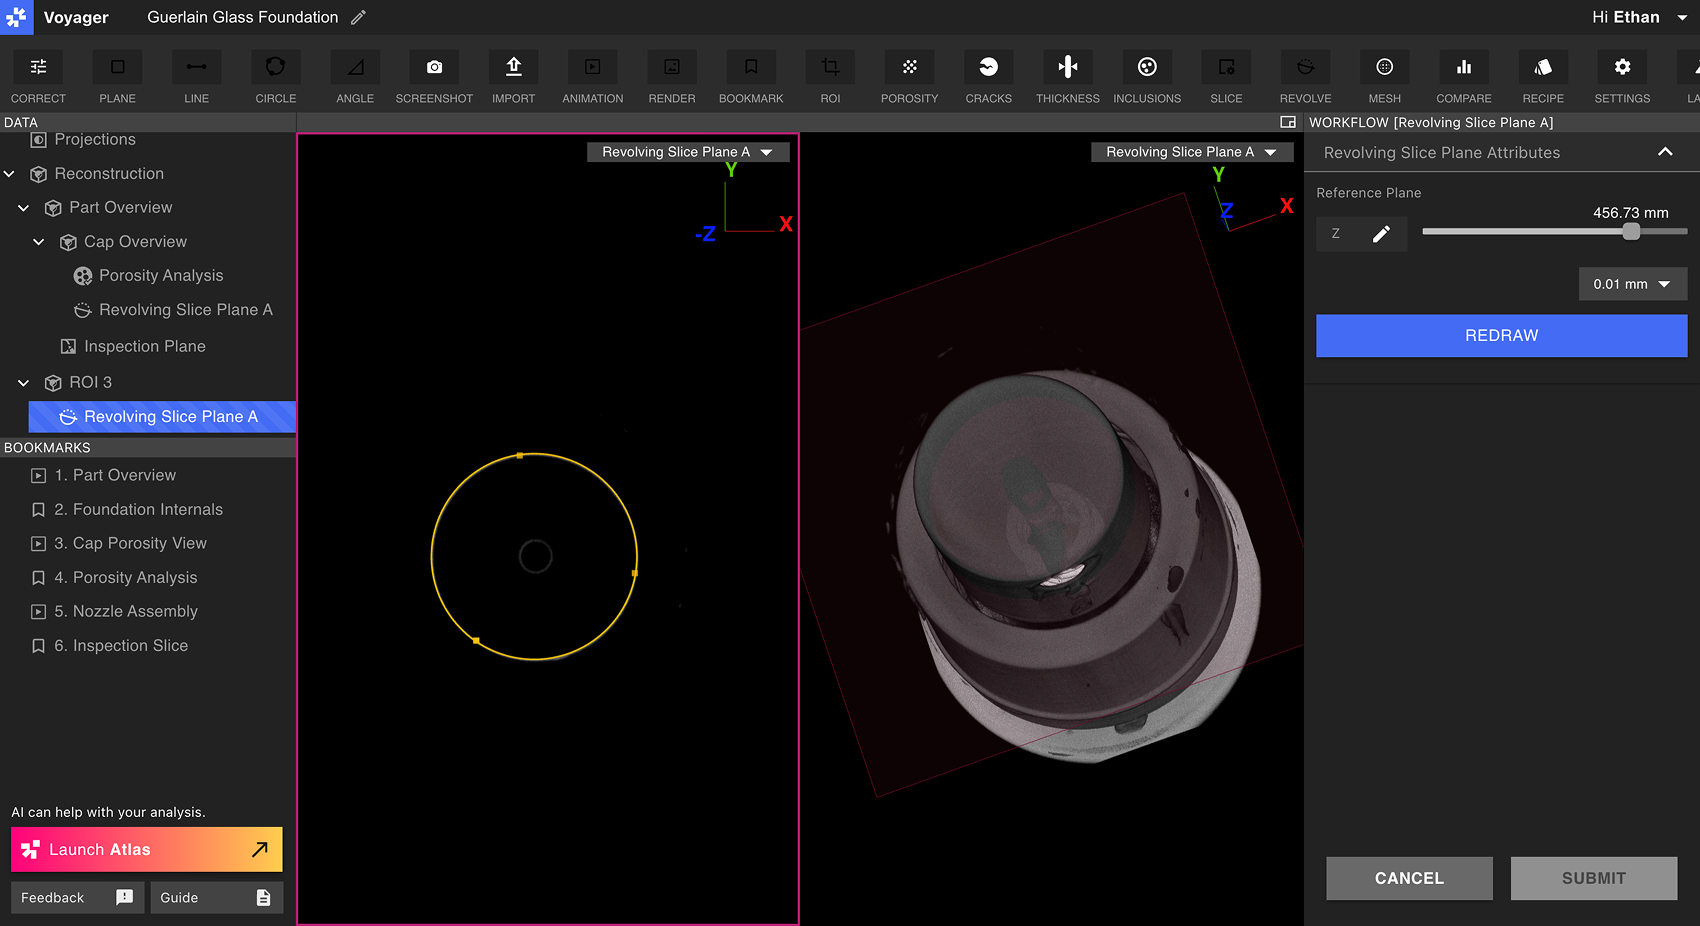 Workflow Editor の Slice Angle スライダーで、Submit 前に Revolving Slice Plane を確認します。既定ではViewportが 2D/3D の分割表示となり、プレビューが最適化されます。円を再選択する場合は Redraw、問題なければ Submit を選択します。
Revolving Slice Plane の表示
Data Panel から Revolving Slice Plane を選択するとViewportに表示されます。親 Data Object が選択されている場合は、Viewport 右上の View ドロップダウンから Revolving Slice Plane Data Object を選択することもできます。
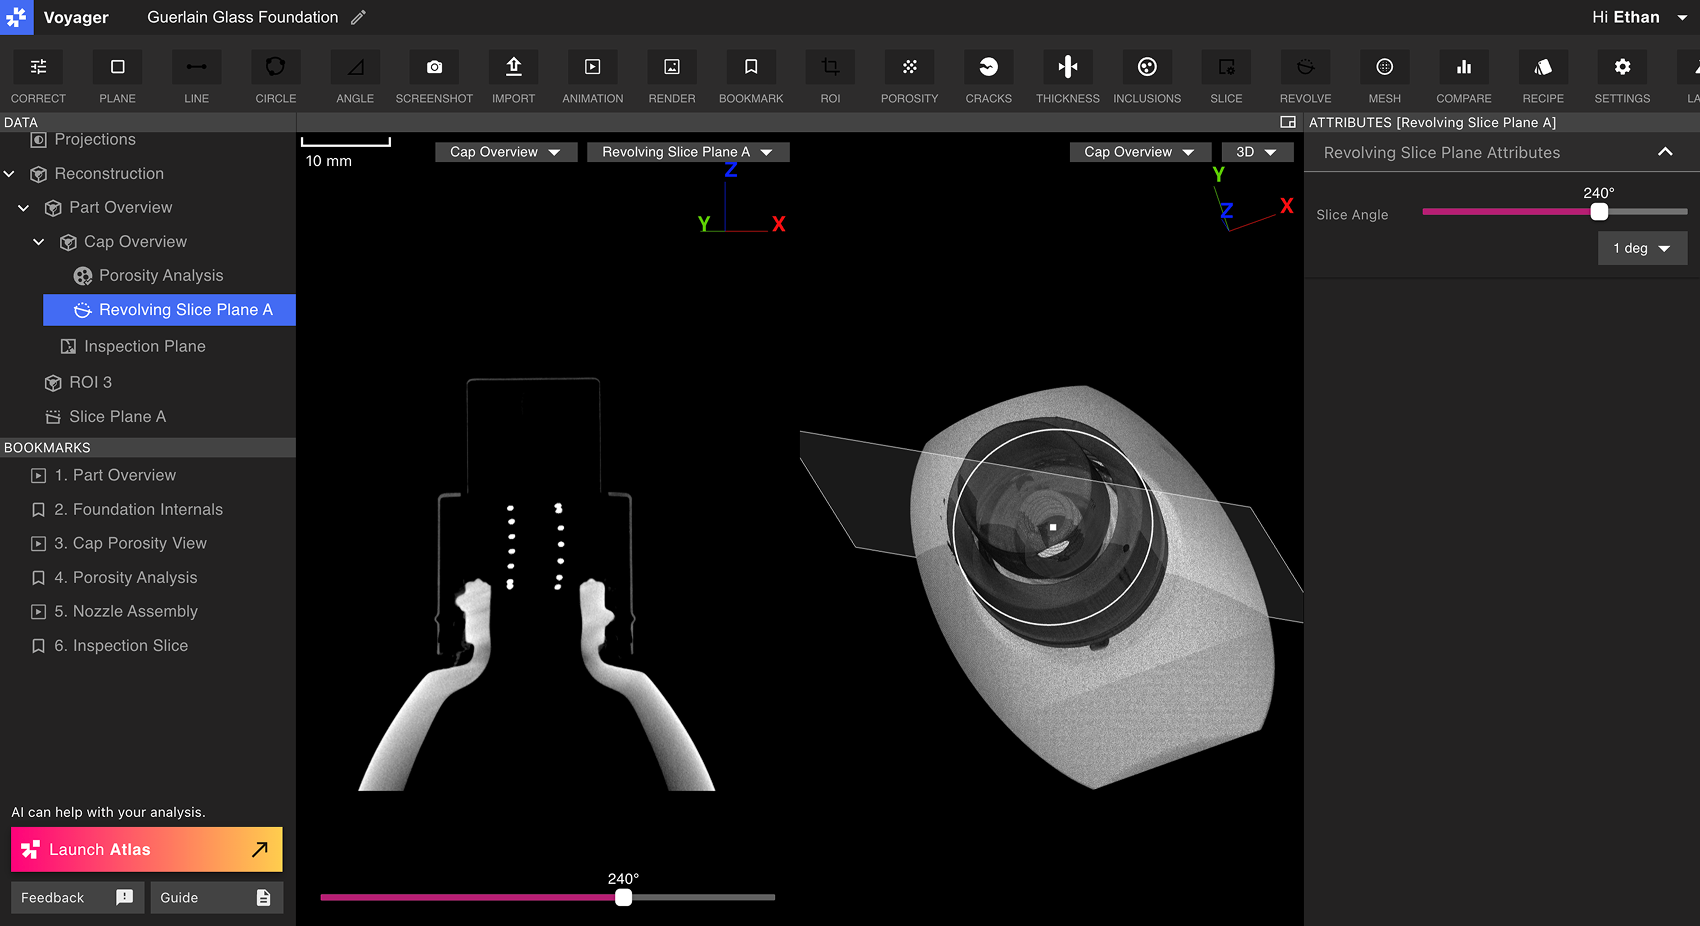 Revolving Slice Plane を選択すると、Slice Angle スライダーがViewport下部と Attributes Panel の両方に表示されます。Slice Angle を動かして、回転軸の周りを 360° 表示できます。