> ## Documentation Index
> Fetch the complete documentation index at: https://support.lumafield.com/llms.txt
> Use this file to discover all available pages before exploring further.
# 設定
> プロジェクトの設定を調整し、属性を確認する
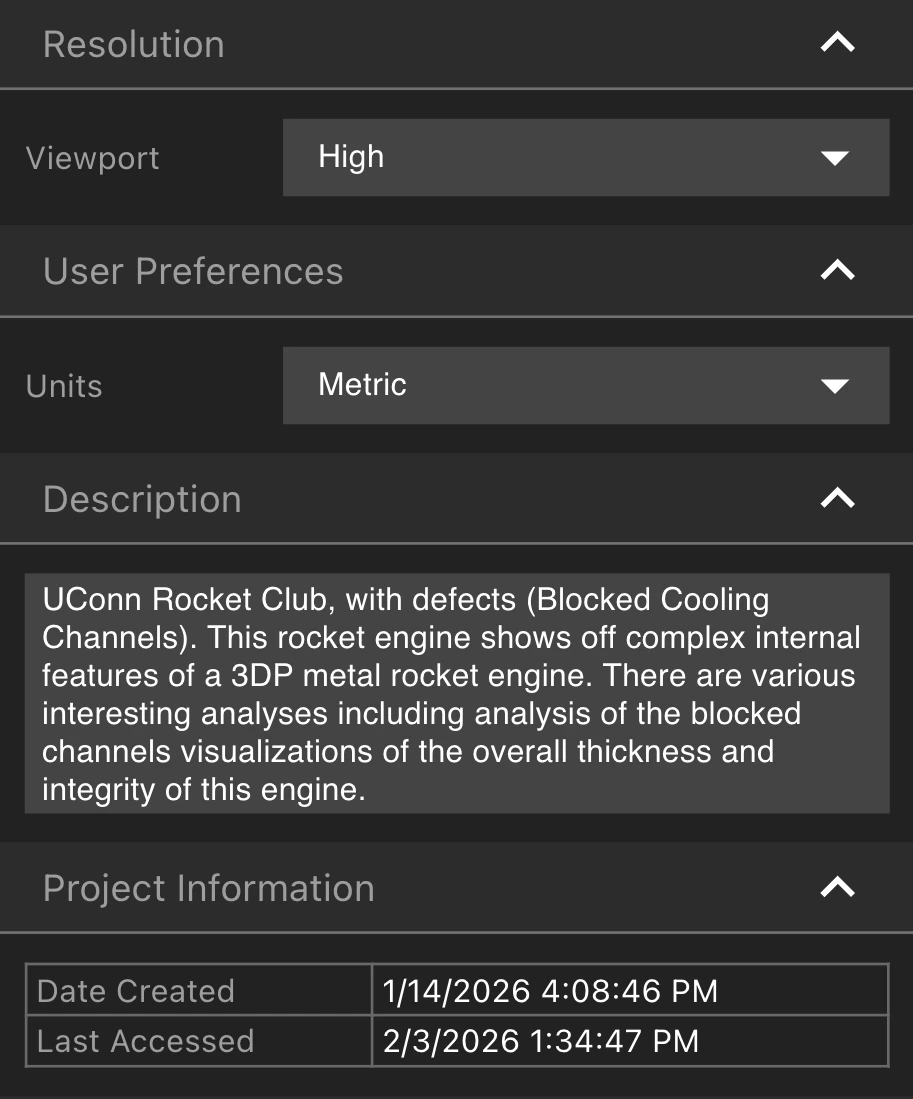
設定ツールを Toolbar から選択すると、設定 Attributes Panel が開きます。解像度やユーザー設定の変更、プロジェクトの説明・サムネイル・属性の表示と編集ができます。
基本設定
* Viewport の解像度を変更すると、データの読み込みが高速になります。Resolution タブから解像度を選択してください。
* User Preferences タブでメートル法とヤード・ポンド法を切り替えできます。
* Description タブでプロジェクトの説明を入力すると、すべての共同作業者に表示されます。
* Project Information タブでプロジェクトの作成日時と最終アクセス日時を確認できます。
サムネイル
目的のサムネイルを Viewport に表示した状態で「Capture」を選択すると、その画像がプロジェクトのサムネイルとして設定されます。「Save」を選択するとサムネイル画像をダウンロードできます。
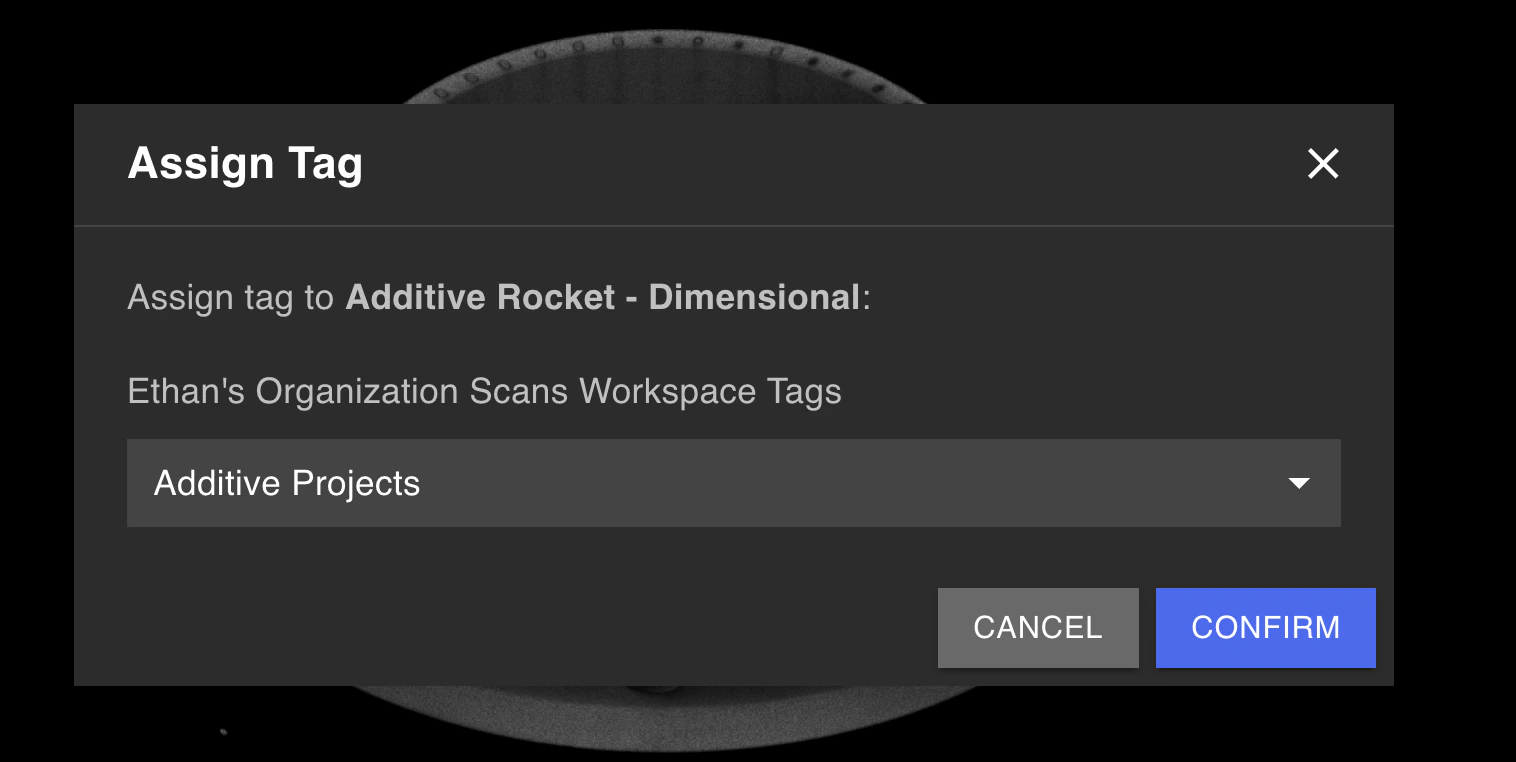
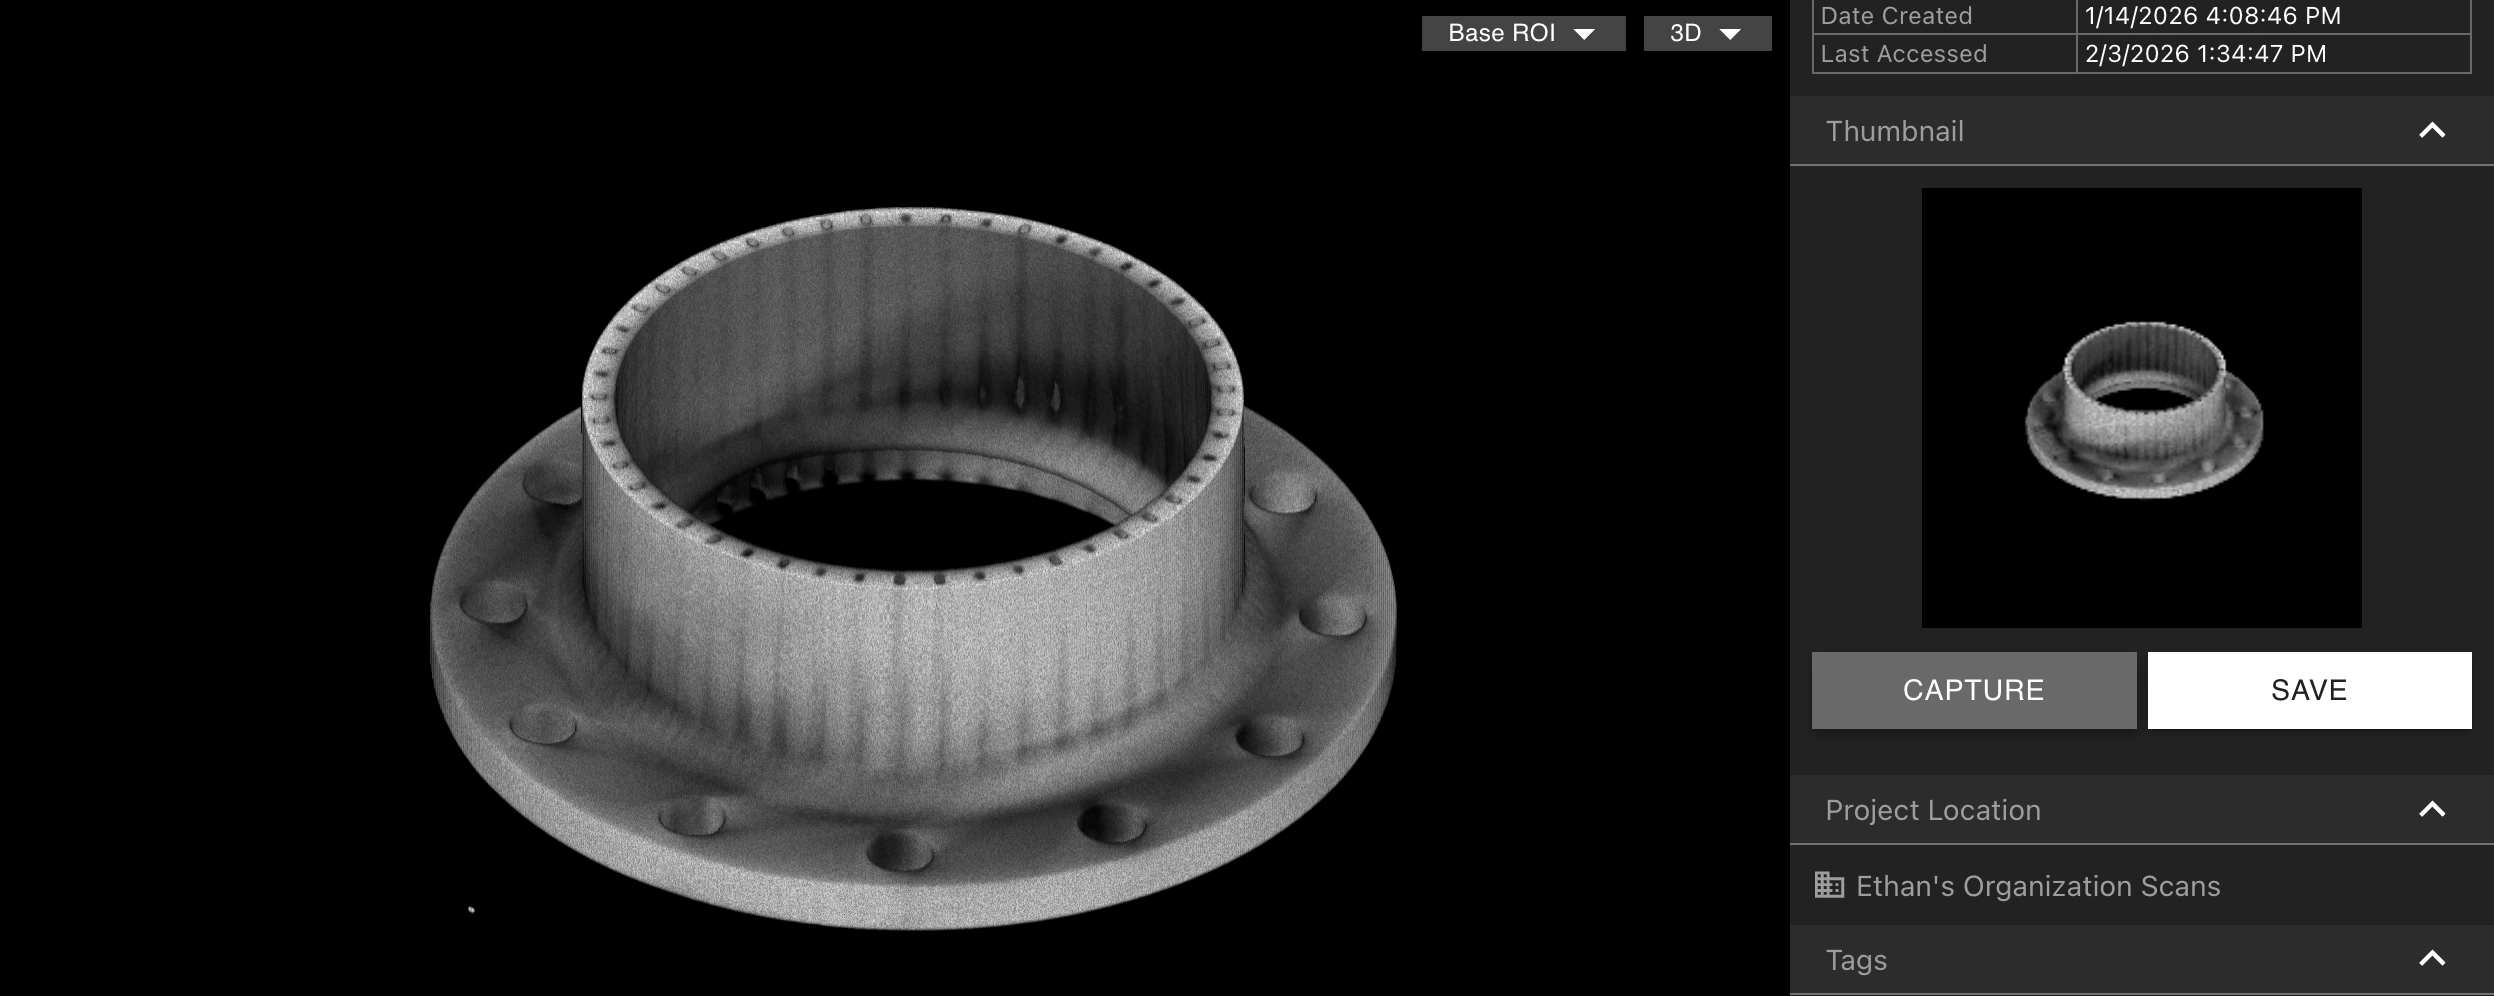 Tags タブ内で「Assign Tag」を選択してプロジェクトにタグを割り当てます。[Project Dashboard](/ja/voyager/voyager-dashboard) から複数のプロジェクトに一括でタグを付けることも可能です。
Full-Resolution Exports
お使いの Organization で Full-Resolution Exports [Analysis Module](/ja/platform/analysis-modules) が有効な場合、Export Full Resolution Data タブからフル解像度のスキャンデータをダウンロードできます。
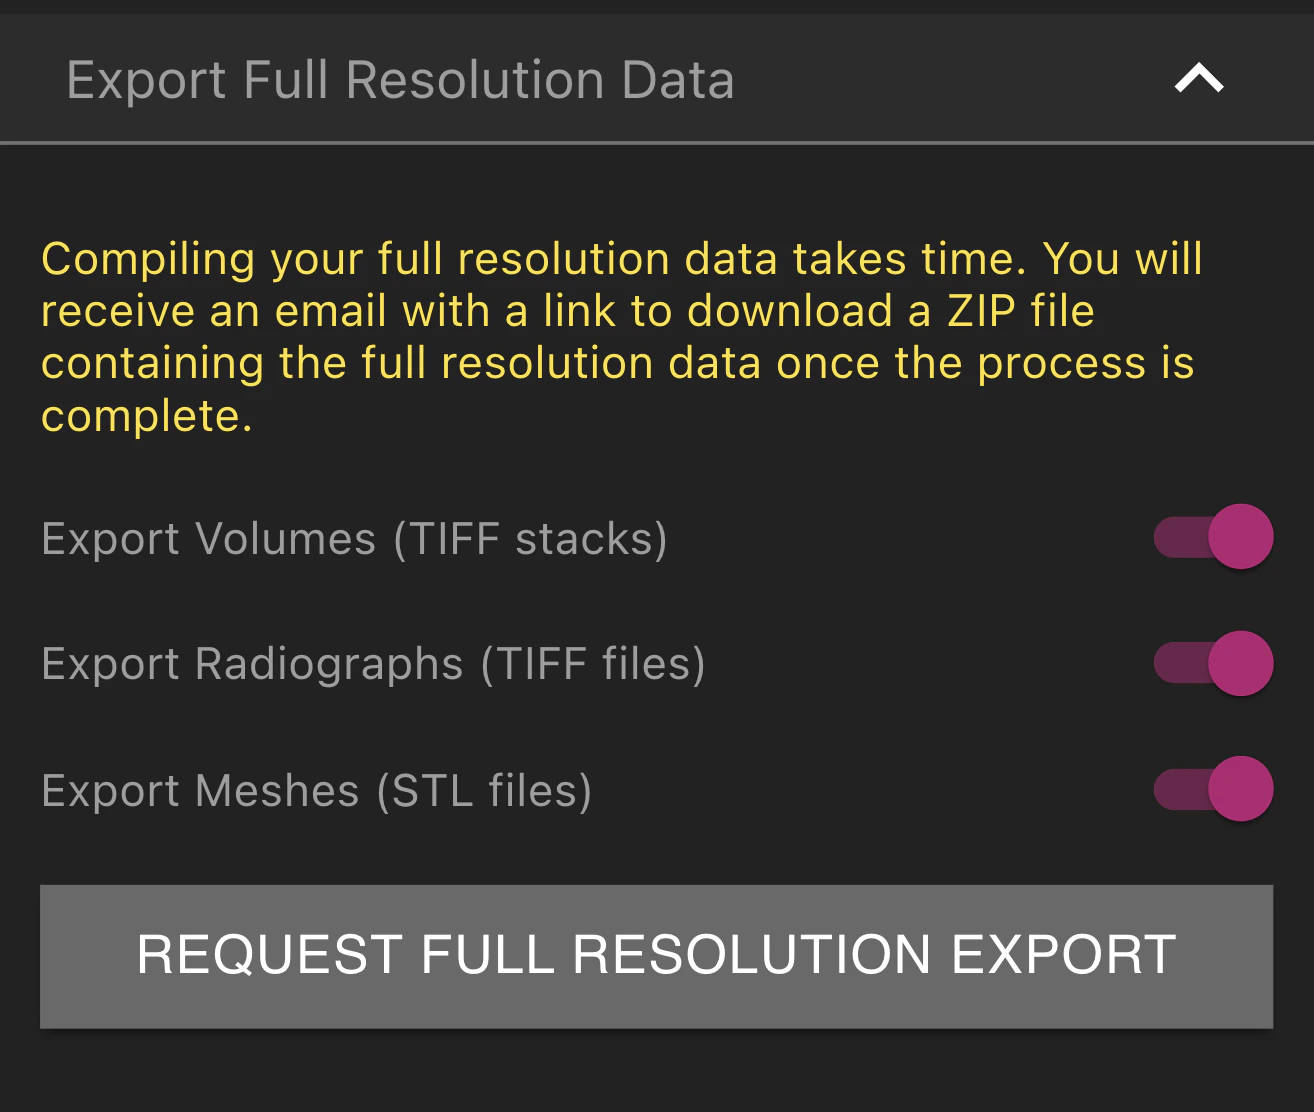 エクスポートに含める Volumes、Radiographs、Meshes を選択します。「Request Full Resolution Export」を選択すると「Export Requested」が表示されます。エクスポートが完了すると、ZIP ファイルのダウンロードリンクが記載されたメールが届きます。