> ## Documentation Index
> Fetch the complete documentation index at: https://support.lumafield.com/llms.txt
> Use this file to discover all available pages before exploring further.
# Animation Tool
> Create dynamic visualizations of orbiting and scrubbing through scan data
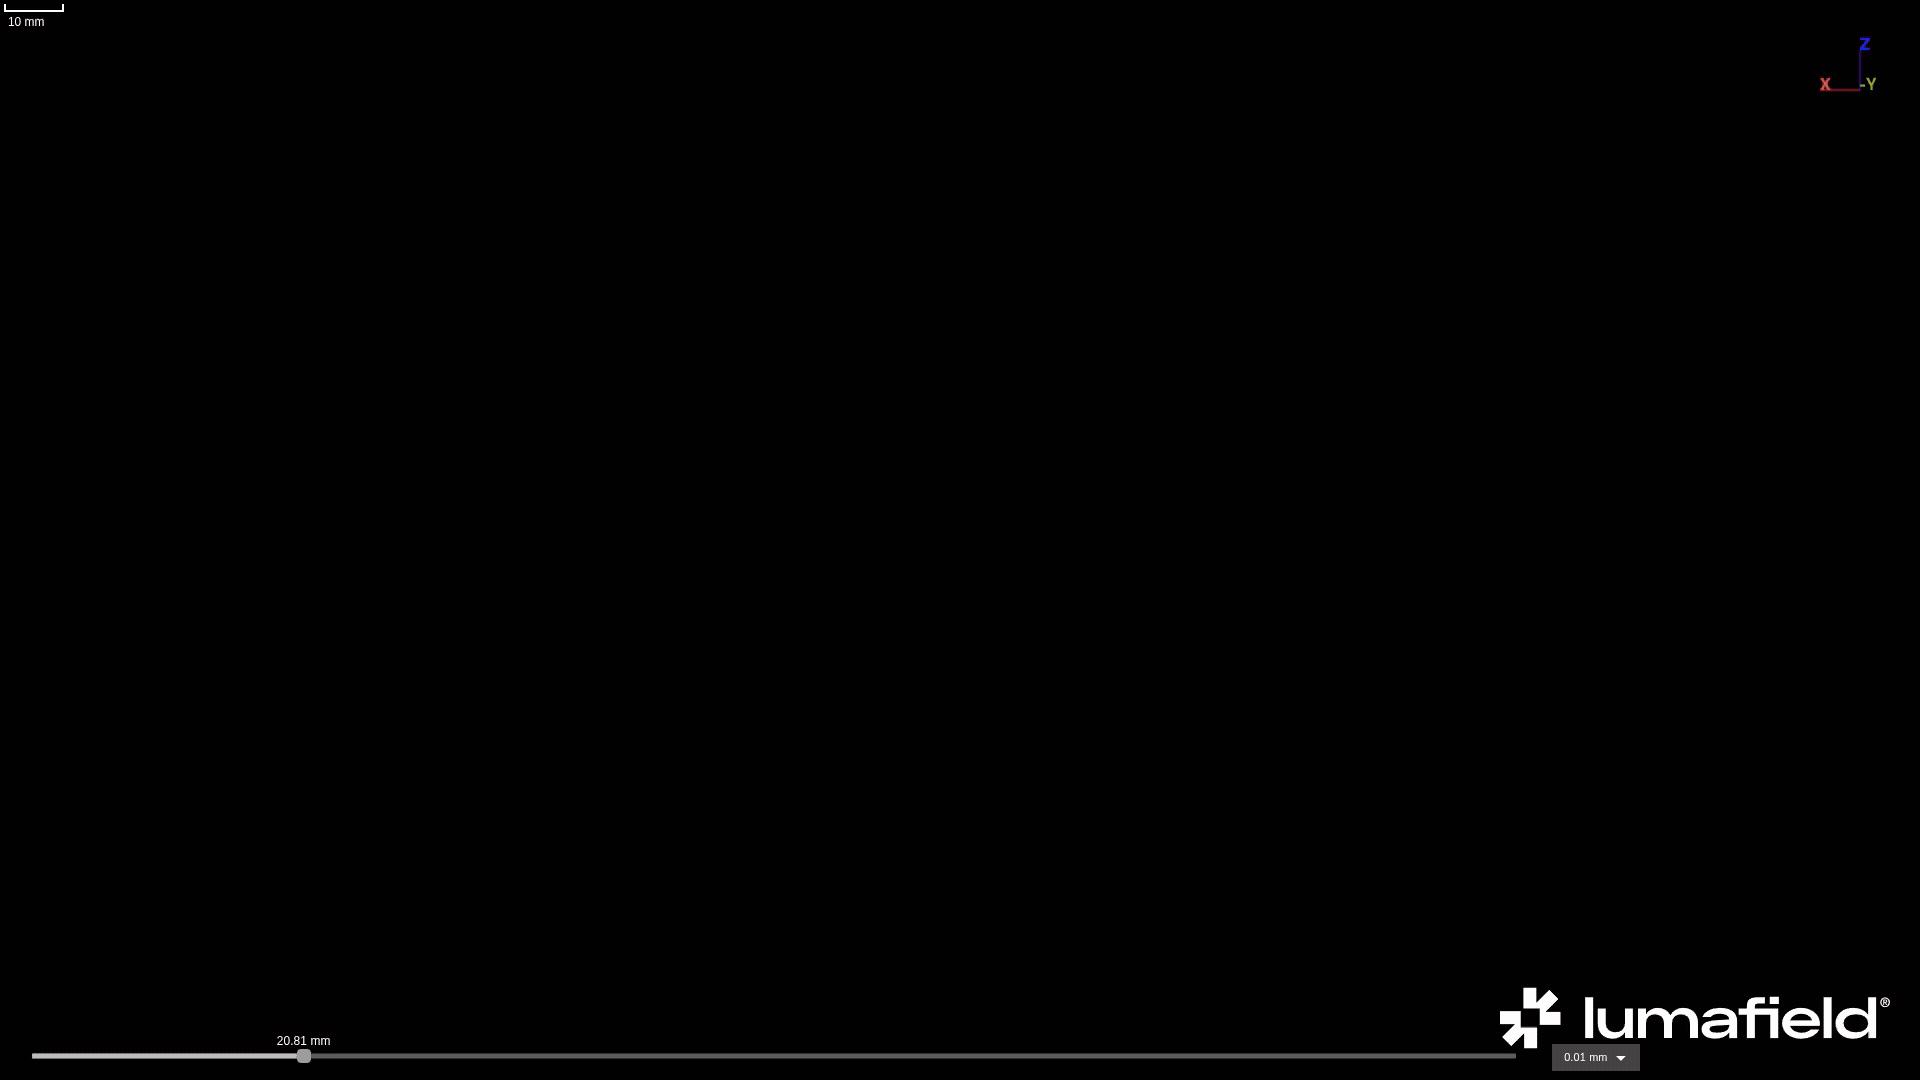 An example of downloaded GIF directly from Voyager
Overview
The Animation Tool can produce videos with the following settings:
* **File type**:
* GIF
* MP4
* WEBM
* **Dimensions**:
* 1920 x 1080 (Standard)
* 1920 x 1920 (Square)
* 1640 x 856 (Landscape)
* 360 x 800 (Mobile)
* Video type:
* Boomerang (not available for MP4s and WEBMs)
* Loop (not available for MP4s and WEBMs)
* Standard
* Transparent background toggle (only for GIFs)
[Recipes](/recipes/recipes-intro) can be configures to generate animated bookmarks automatically, with the same settings across Projects. Reach out to your Customer Success Manager or email [customersuccess@lumafield.com](mailto:customersuccess@lumafield.com) to learn more about enabling Recipes for your team.
Creating an Animation
Begin by selecting any Data Object from the Data Panel, or Bookmark from the Bookmarks Panel, that contains the desired data for animation.
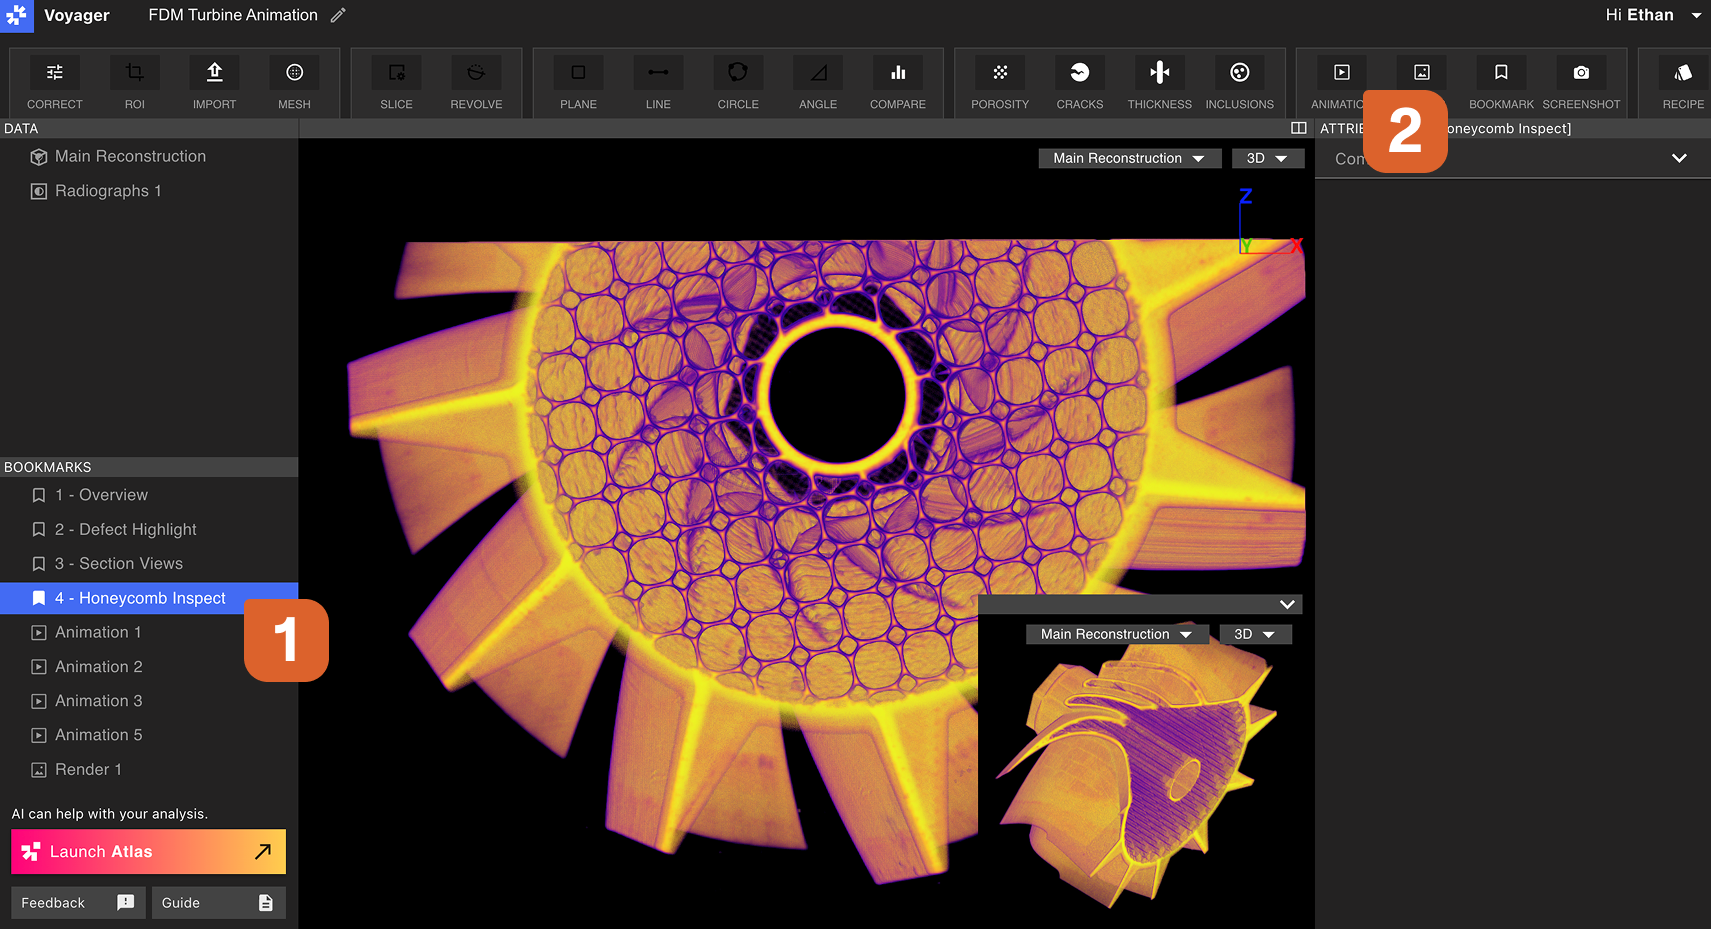 A new Animation workflow Bookmark will open. An in-progress Animation Bookmark will have blue diagonal stripes if selected and green diagonal stripes if navigated away.
Within the Animation Workflow Editor, you can modify Viewport settings, adjust legend visibility, toggle crop, configure slices, and adjust the range map.
Settings specific to the Animation can also be configured here: choose an Animation duration between 1 and 14 seconds, choose scrub or orbit, and trip the range of plane through which the Animation scrubs.
Adjust the scan object position: Click and drag to rotate, and/or right-click and drag to reposition the entire object. Open the dual-view of the viewport, and maximize or minimize the preview Viewport at the bottom-right.
A new Animation workflow Bookmark will open. An in-progress Animation Bookmark will have blue diagonal stripes if selected and green diagonal stripes if navigated away.
Within the Animation Workflow Editor, you can modify Viewport settings, adjust legend visibility, toggle crop, configure slices, and adjust the range map.
Settings specific to the Animation can also be configured here: choose an Animation duration between 1 and 14 seconds, choose scrub or orbit, and trip the range of plane through which the Animation scrubs.
Adjust the scan object position: Click and drag to rotate, and/or right-click and drag to reposition the entire object. Open the dual-view of the viewport, and maximize or minimize the preview Viewport at the bottom-right.
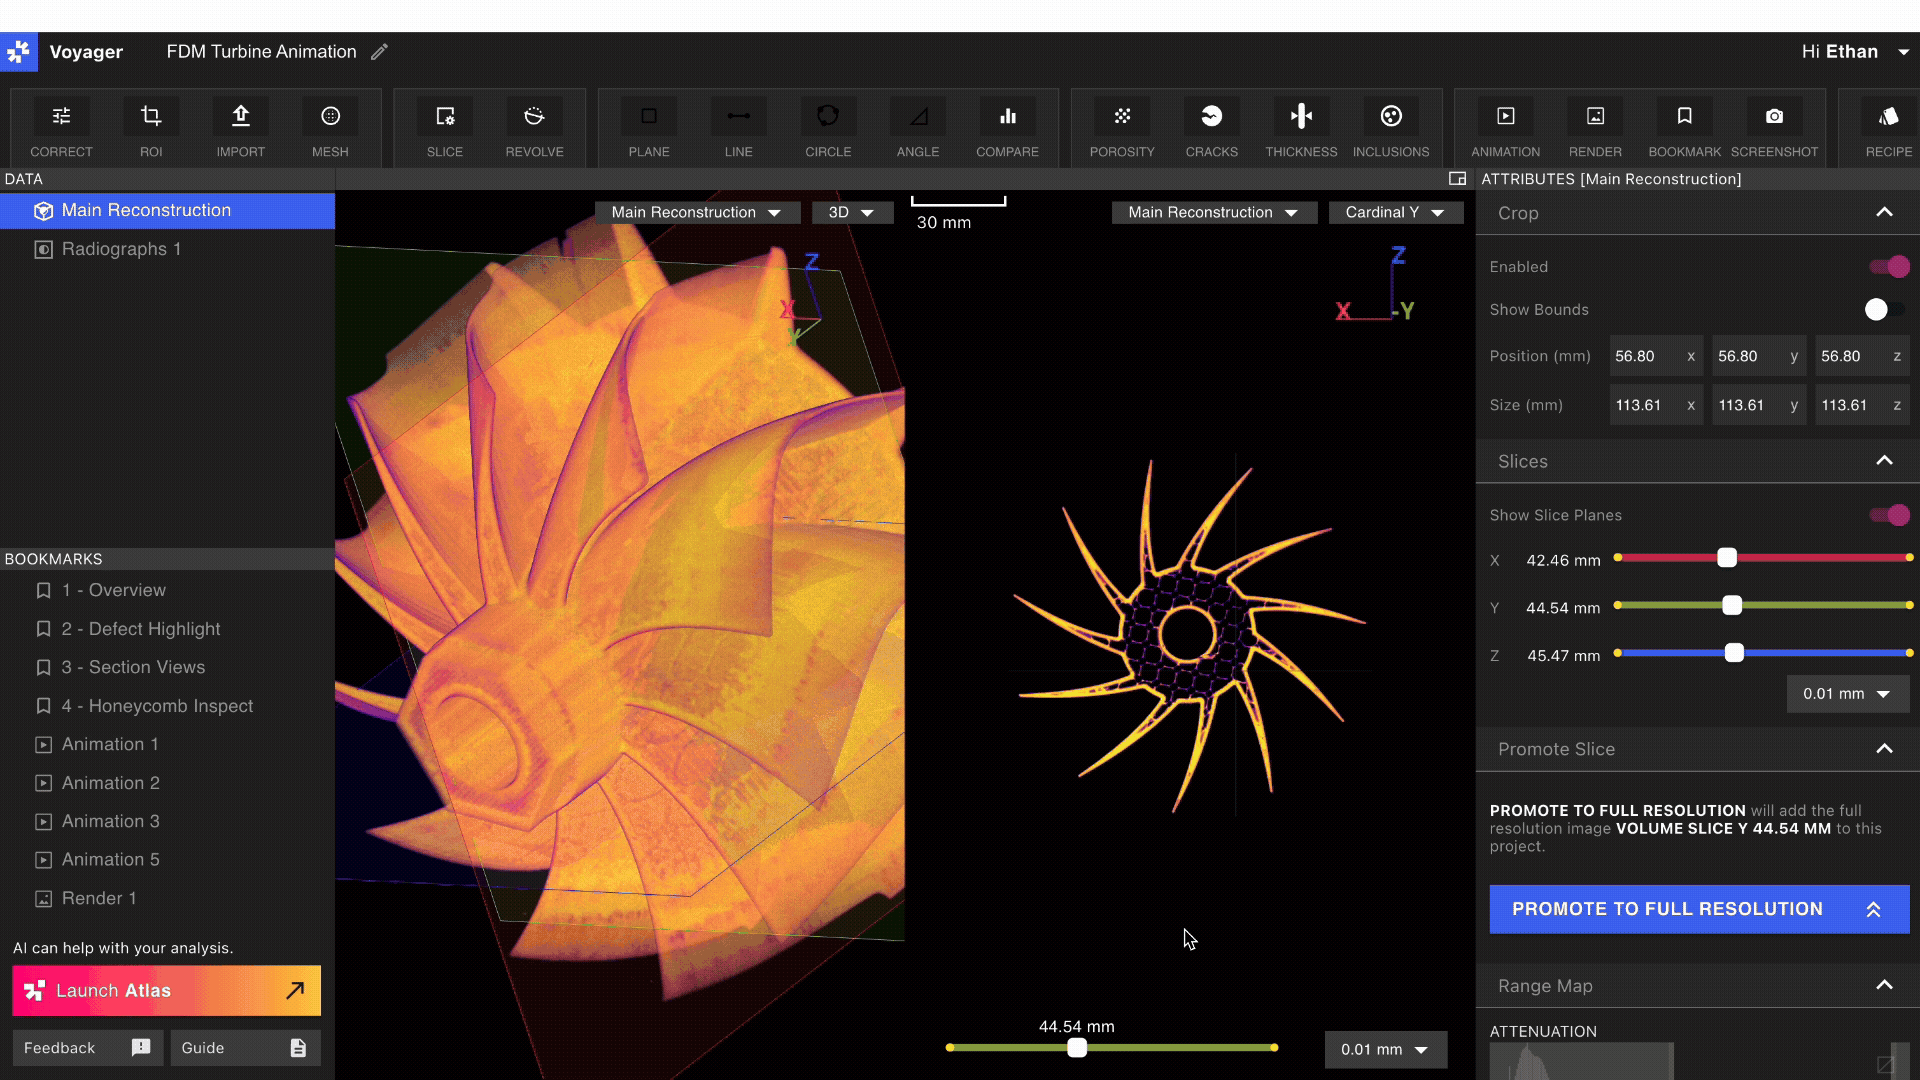 Once satisfied with your Animation, select ‘Confirm’. Your attributes and animations settings will lock.
Rendering and sharing an Animation
Select a completed Animation from the Bookmarks Panel.
**Deep linking:** Right-click a Bookmark and select ‘Copy link’ to generate a deep link to the specific animated Bookmark. Users who receive and click that link will drop directly into the Animation Bookmark within the Project.
**Downloading an Animation:** Within the Attributes Panel, you can choose the desired file extension, dimensions, and render quality.
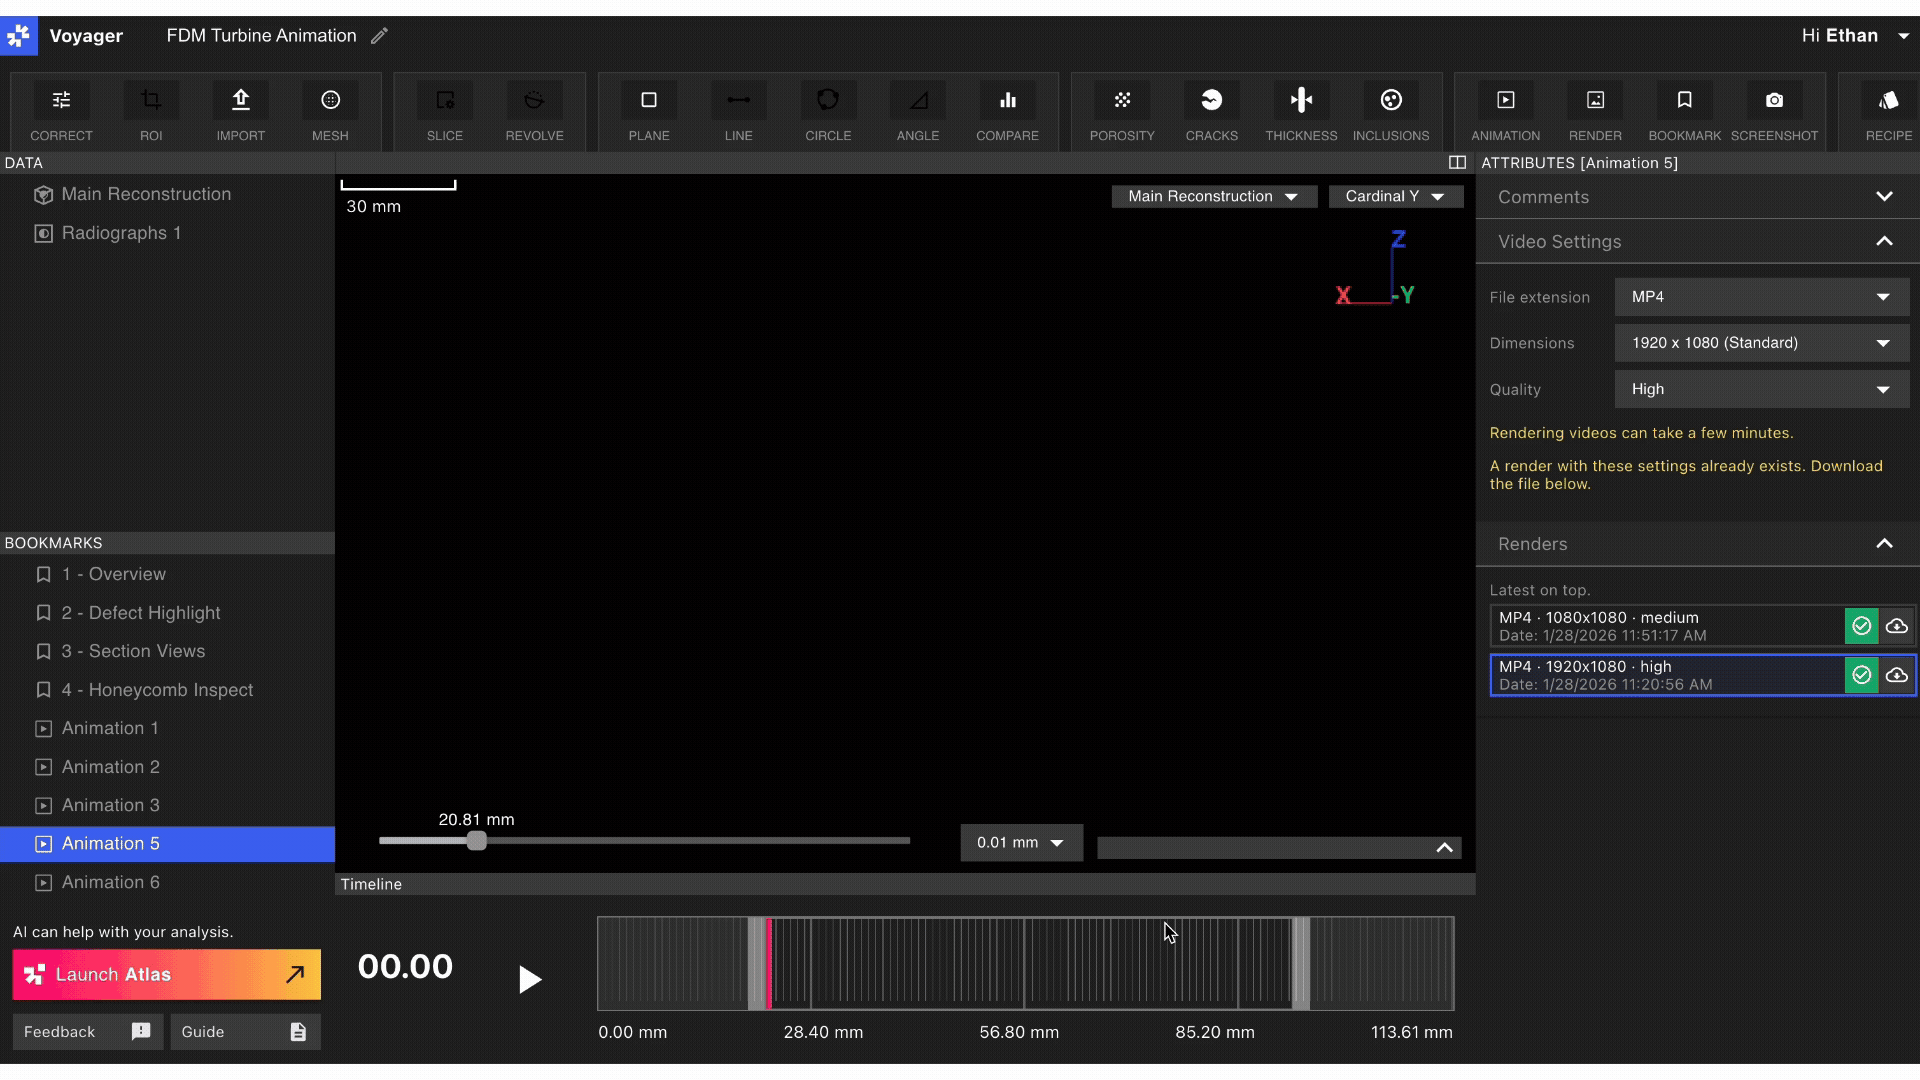 Renders in-progress display in the Renders Tab of the Attributes Panel with a loading bar. When the Render is complete, the file will download and the Render will appear in the Renders Tab with a green check. Select the download button next to the check to re-download a Render.
Want to create high-quality still images of your scan data? Learn more about our [Render Tool](/voyager/voyager-render-tool)!
Renders in-progress display in the Renders Tab of the Attributes Panel with a loading bar. When the Render is complete, the file will download and the Render will appear in the Renders Tab with a green check. Select the download button next to the check to re-download a Render.
Want to create high-quality still images of your scan data? Learn more about our [Render Tool](/voyager/voyager-render-tool)!