> ## Documentation Index
> Fetch the complete documentation index at: https://support.lumafield.com/llms.txt
> Use this file to discover all available pages before exploring further.
# Settings
> Adjust Project settings and view attributes
Select the Settings Tool from the Toolbar to open the Settings Attributes Panel. Modify Resolution and User Preferences, view and edit the Project's description, thumbnail, and attributes.
Basic Settings
* Modifying the Viewport resolution can help load data more quickly. Select a Resolution within the Resolution Tab.
* Toggle between Metric and Imperial units within the User Preferences Tab
* Give your Project a description viewable to all collaborators in the Description Tab
* Check when the Project was created and last accessed within the Project Information Tab

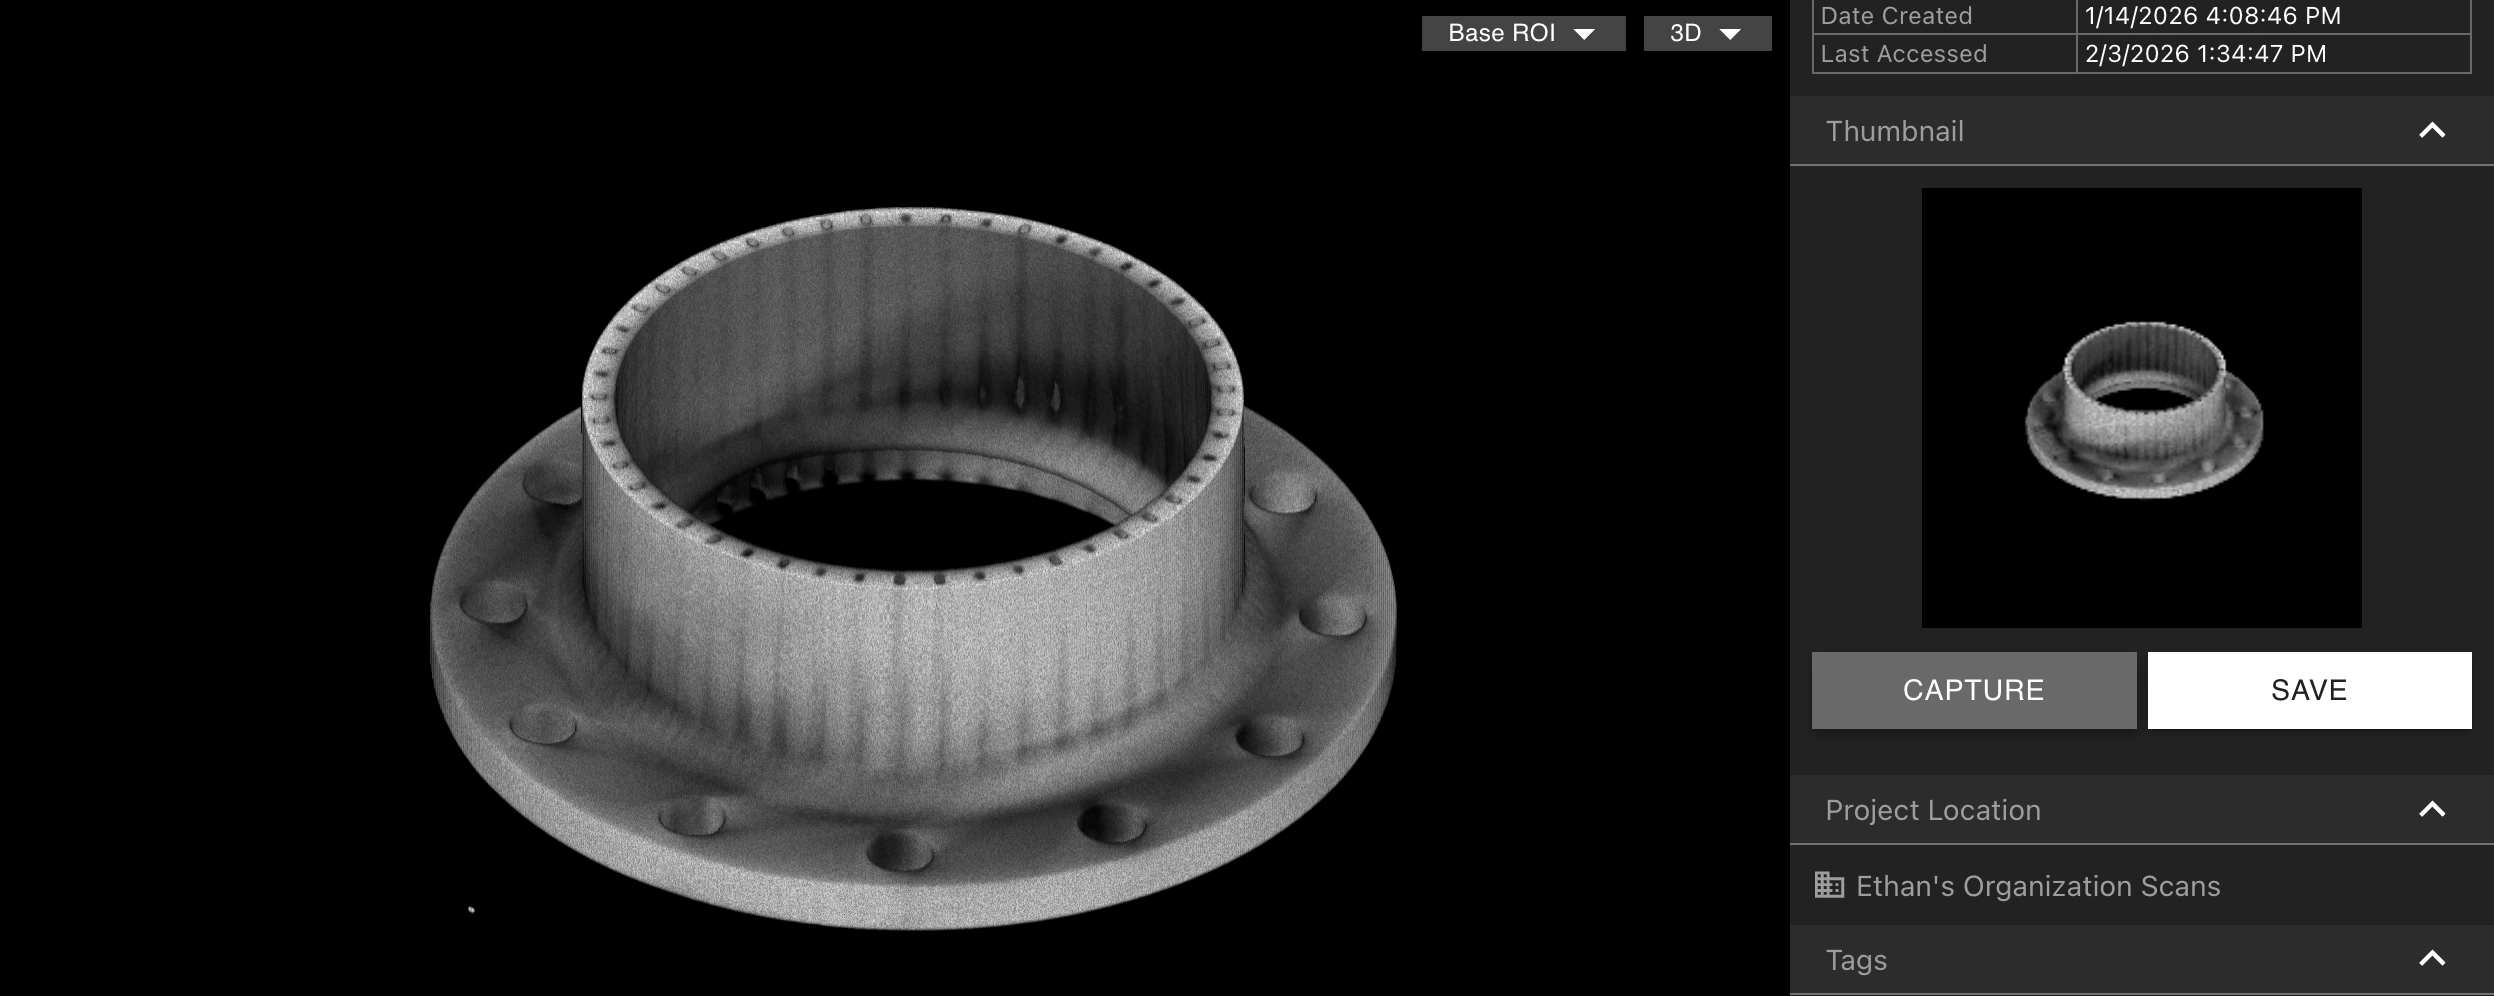
Thumbnails
With the desired Thumbnail in the Viewport, select Capture to lock in the image as the Project's Thumbnail. Select Save to download the Thumbnail image.
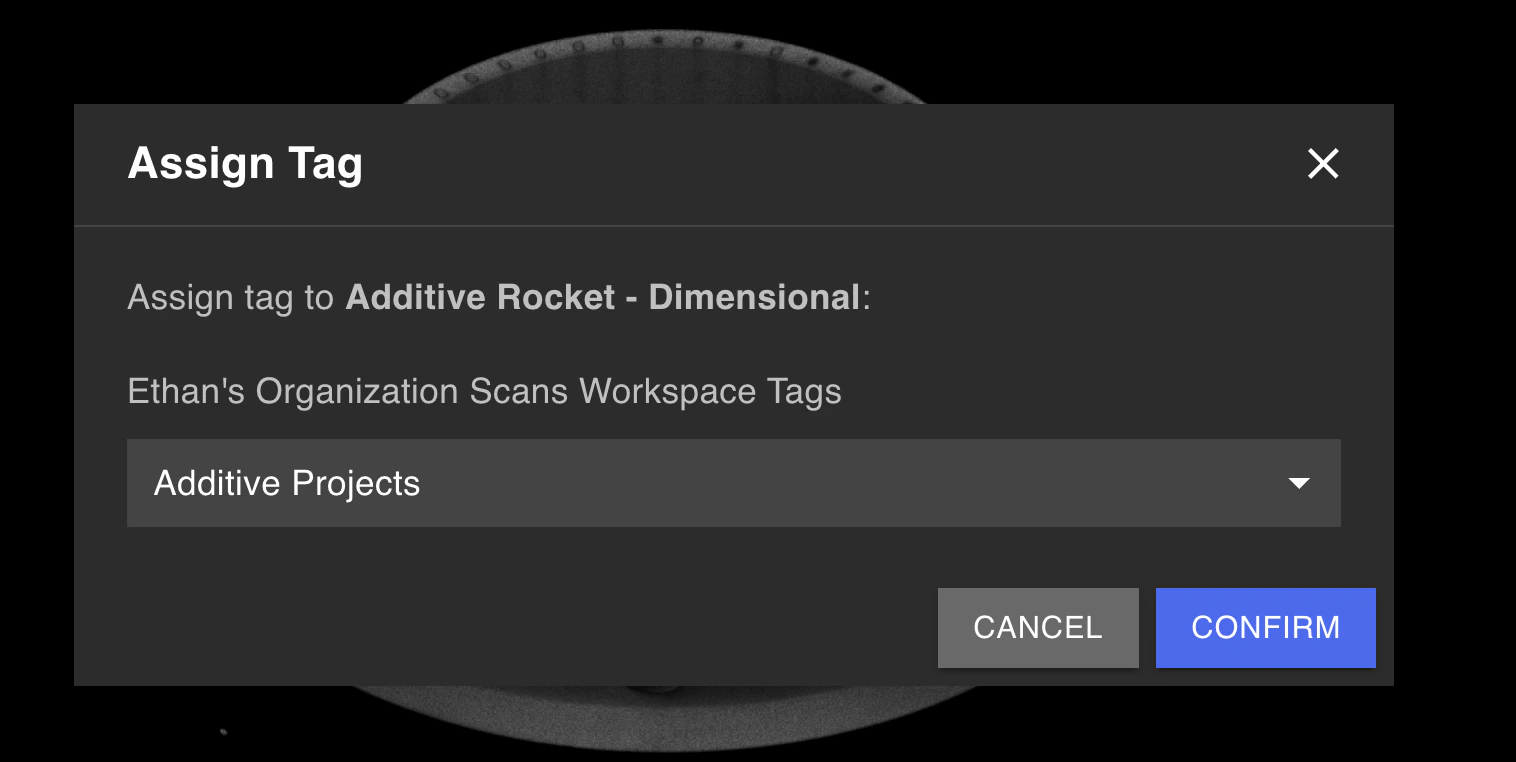
 Assign a Tag to a Project from within the Tags Tab, by selecting "Assign Tag". This can also be done from the [Project Dashboard](/voyager/voyager-dashboard) for multiple Projects at a time.
Full-Resolution Exporting
If your Organization has the Full-Resolution Export [Analysis Module](/platform/analysis-modules) enabled, you can download full-resolution scan data from within the Export Full Resolution Data Tab.
 Select which of Volumes, Radiographs, and Meshes to include in the export. After selecting Request Full Resolution Export, "Export Requested" will display. When the export is complete, you will receive an email with a link to download the data in the form of a ZIP file.