Overview & Setup
To start using Voyager Uplink, ensure you have the Uplink module activated in your Organization. If activated, you will see an “Upload CT Scan” button in your Project Dashboard.
Supported File Formats
Voyager Uplink supports three file formats for uploading your CT scan data:- Volume Graphics Files (.VGL + .RAW or .VOL)
- Volume Graphics Files (.VGL + DICOM stack)
- TIFF Stack
- TXM File
Volume Graphics Files (.VGL + .RAW)

- Upload both the .VGL and .RAW (or .VOL) files together
- Maintains original voxel size
- Significantly faster processing compared to TIFF stacks
- Preserves scan parameters and metadata
Volume Graphics Files (.VGL + DICOM stack)
VGL files paired with DICOM stacks provide another flexible upload option that combines the metadata benefits of Volume Graphics files with the widespread compatibility of DICOM format.- Upload the .VGL file along with your DICOM stack
- Maintains original voxel size
- Leverages the standardized DICOM format from medical/industrial imaging
- .VGL and DICOM files need to be structured properly to Upload successfully.
- The .VGL file can be uploaded as is.
- The primary Reconstruction is stored as a series of .dcm files in one of the VG directories.
- Find the primary Reconstruction (usually in a folder named the same as the VGL file)
- Zip just that folder, excluding ROIs or other data. The folder should just contain .dcm files.
- Upload that folder along with your .VGL file.
TIFF Stack
For scanners or systems that don’t support Volume Graphics export, you can upload a zipped folder of TIFF files (a “TIFF stack”). Voyager supports up to 16-bit TIFF files. To ensure your scan data shows up in the proper orientation, use X-Y planes (also known as z-axis slices). Also, we recommend using TIFFs with higher relative contrasts to make viewing and analysis easier.A .zip folder can be created from a folder containing your TIFF files on Windows File Explorer or Mac Finder.
Upload
Uploading your scans / volumetric data requires editor access to Voyager. Once uploaded, any Viewer or Editor with access can view scans and Analysis Results.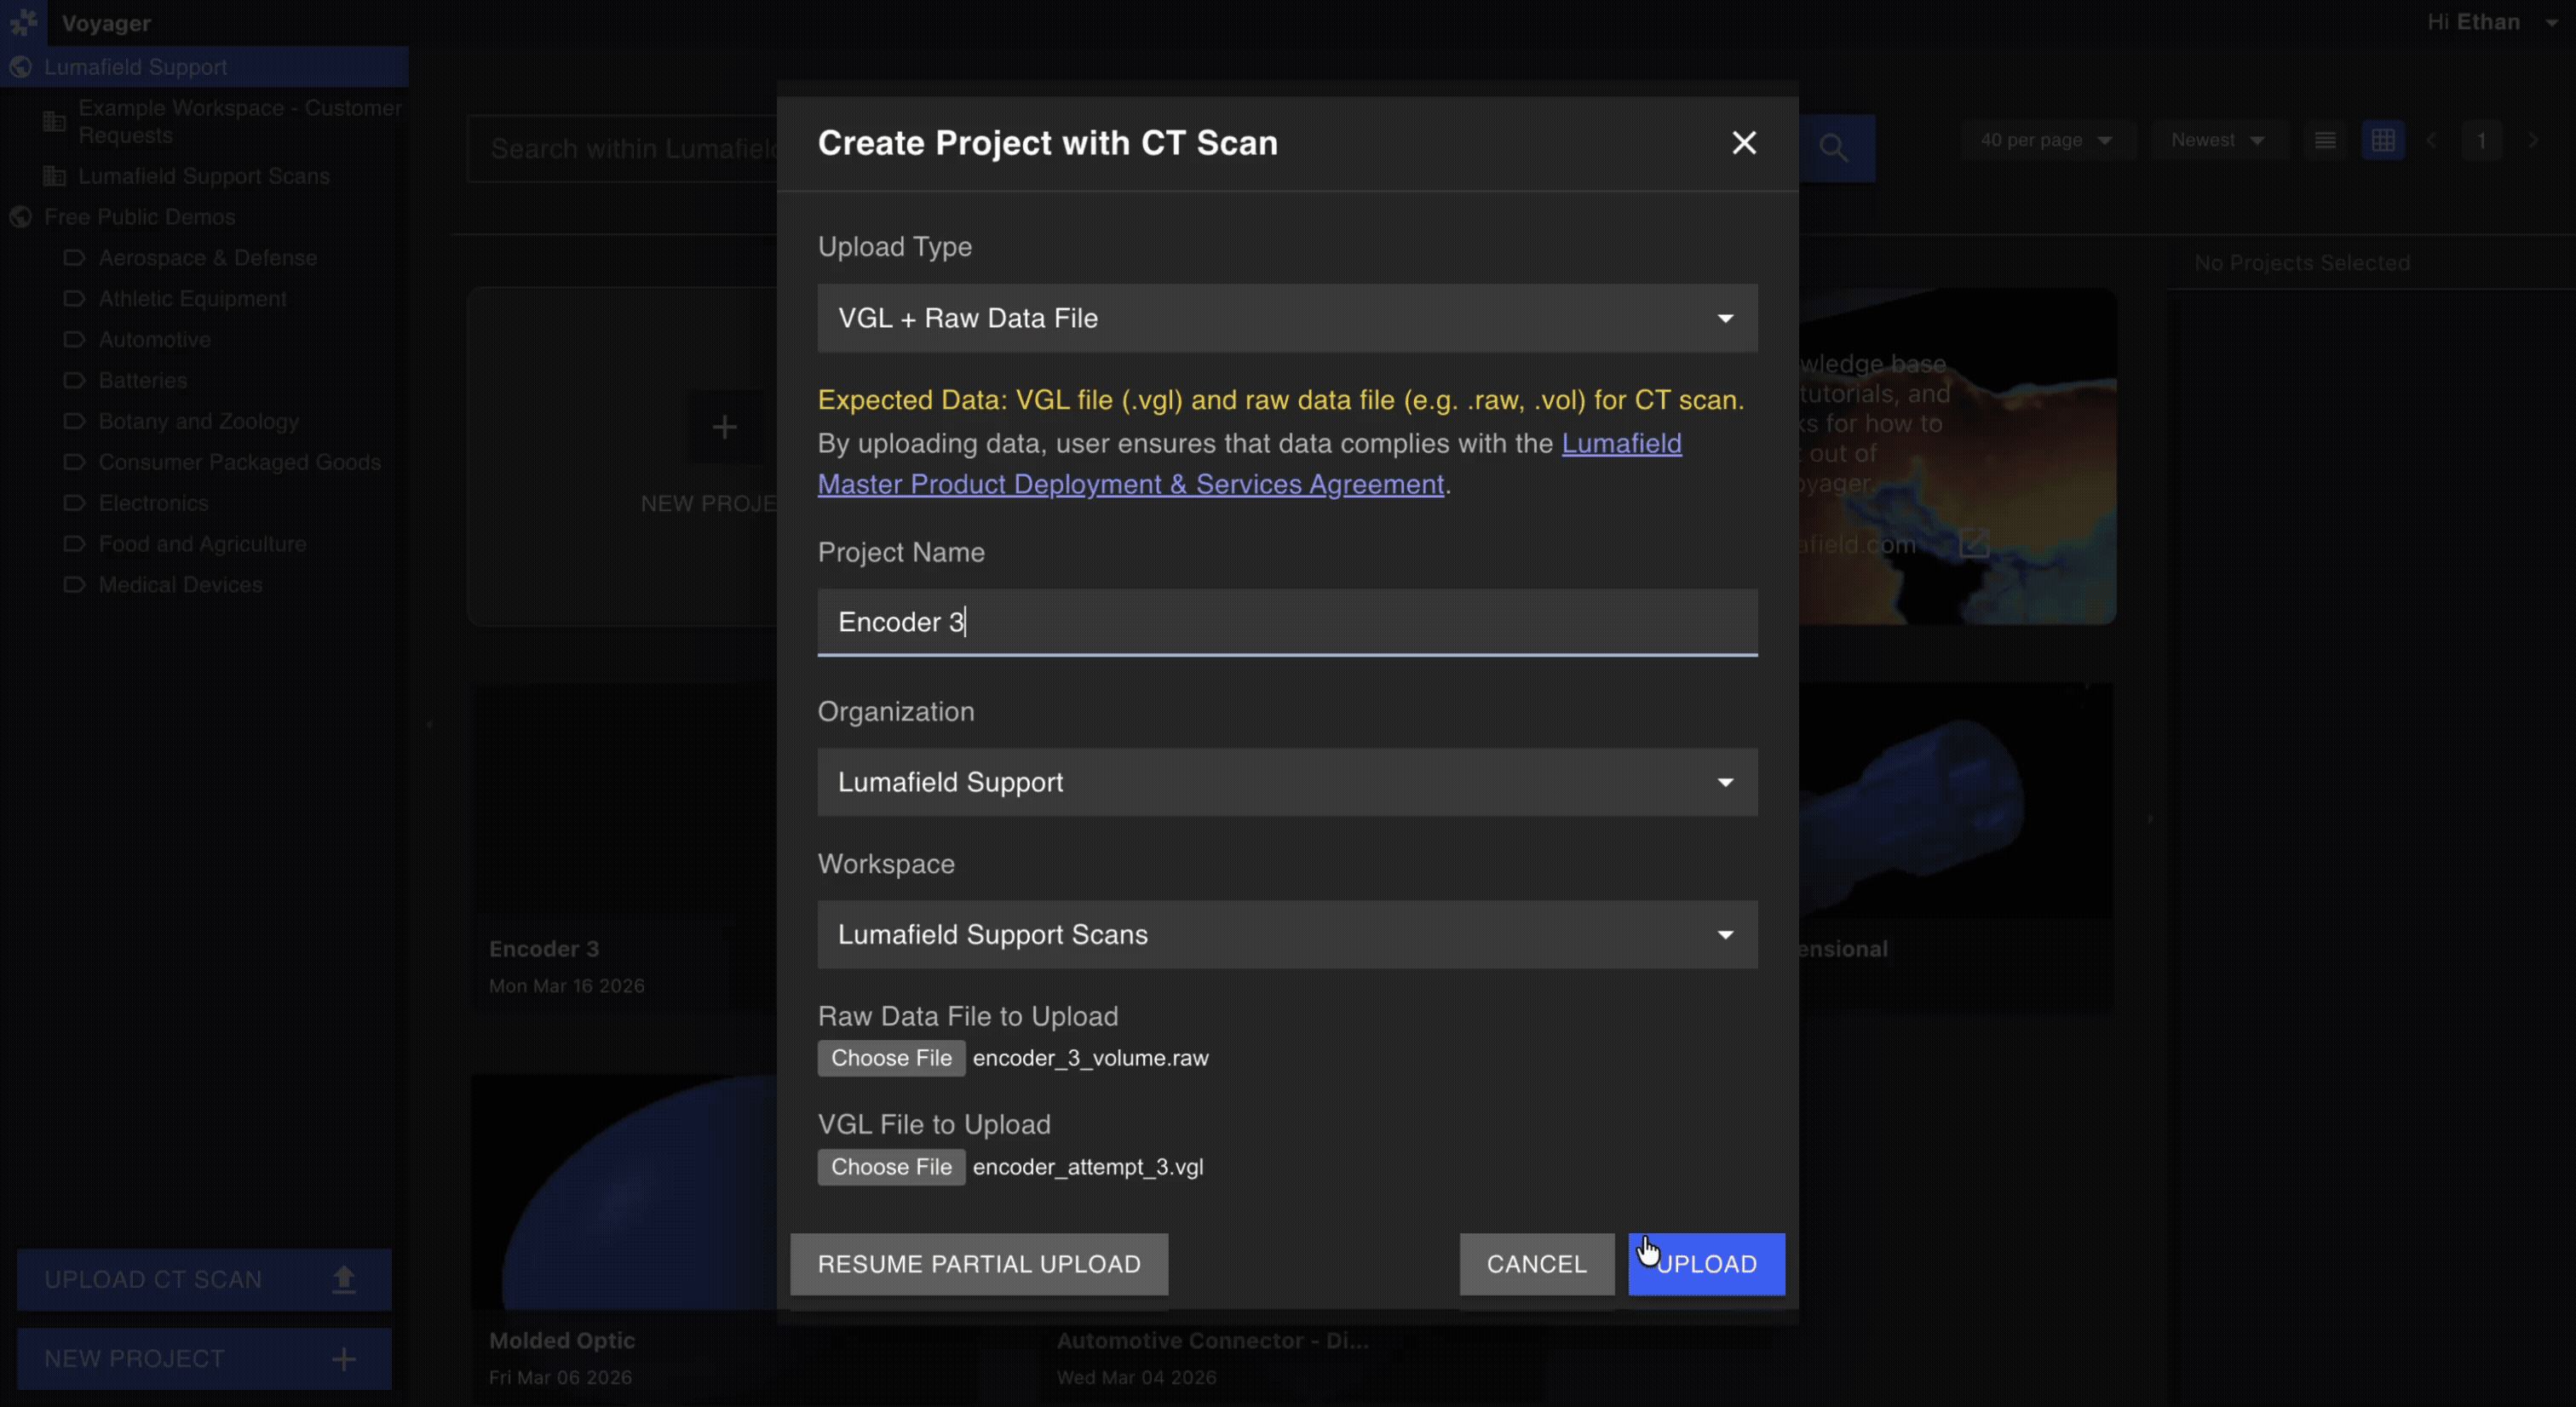
- Select the “Upload CT Scan” button in the bottom left corner of the Project Dashboard.
- Choose your scan files:
- For Volume Graphics files (.VGL + .RAW): Select both the .VGL and .RAW files
- For Volume Graphics files (.VGL + DICOM): Select the .VGL file and your DICOM stack
- For TIFF stacks: Choose the zip folder that contains your TIFF files
- Input your Project details. Name your Project and select the Organization and workplace location for your Project.
- Input your desired voxel size (TIFF stacks only). Both Volume Graphics formats (.VGL + .RAW and .VGL + DICOM) automatically preserve their original voxel size. For TIFF stacks, Voyager supports isotropic voxels and applies the same input to the x, y, and z dimensions. Inputting the correct voxel sizing helps accurately represent your scan for dimensioning purposes.
- Select “Upload”.
Scan Processing
At this point, the dialog box should switch to “uploading Scan …”. Depending on the size of your zip folder and network speed, the Upload speed can vary. Once uploaded, Voyager starts processing your data. You will see a “running” indicator that shows up under the Project thumbnail. Your zip folder size and data complexity may affect processing latency. You will see a thumbnail of your scan and a “done” indicator when Voyager has successfully processed your 3D scan or an “error” indicator if an issue has been encountered. Just like with any other Project in Voyager, you can now click on the Project to view and analyze. Scan and Upload away!Resuming an Upload
If you lose connectivity, you can resume your scan upload.- Click on the “Upload CT Scan” button.
- In the lower left corner of the dialog box, click on “Resume Partial Upload”.
- From the list of recent scan uploads, click on “Select File to Resume Upload” of the Project and reselect the zip folder. The Upload should resume from where it left off.

Changing voxel size
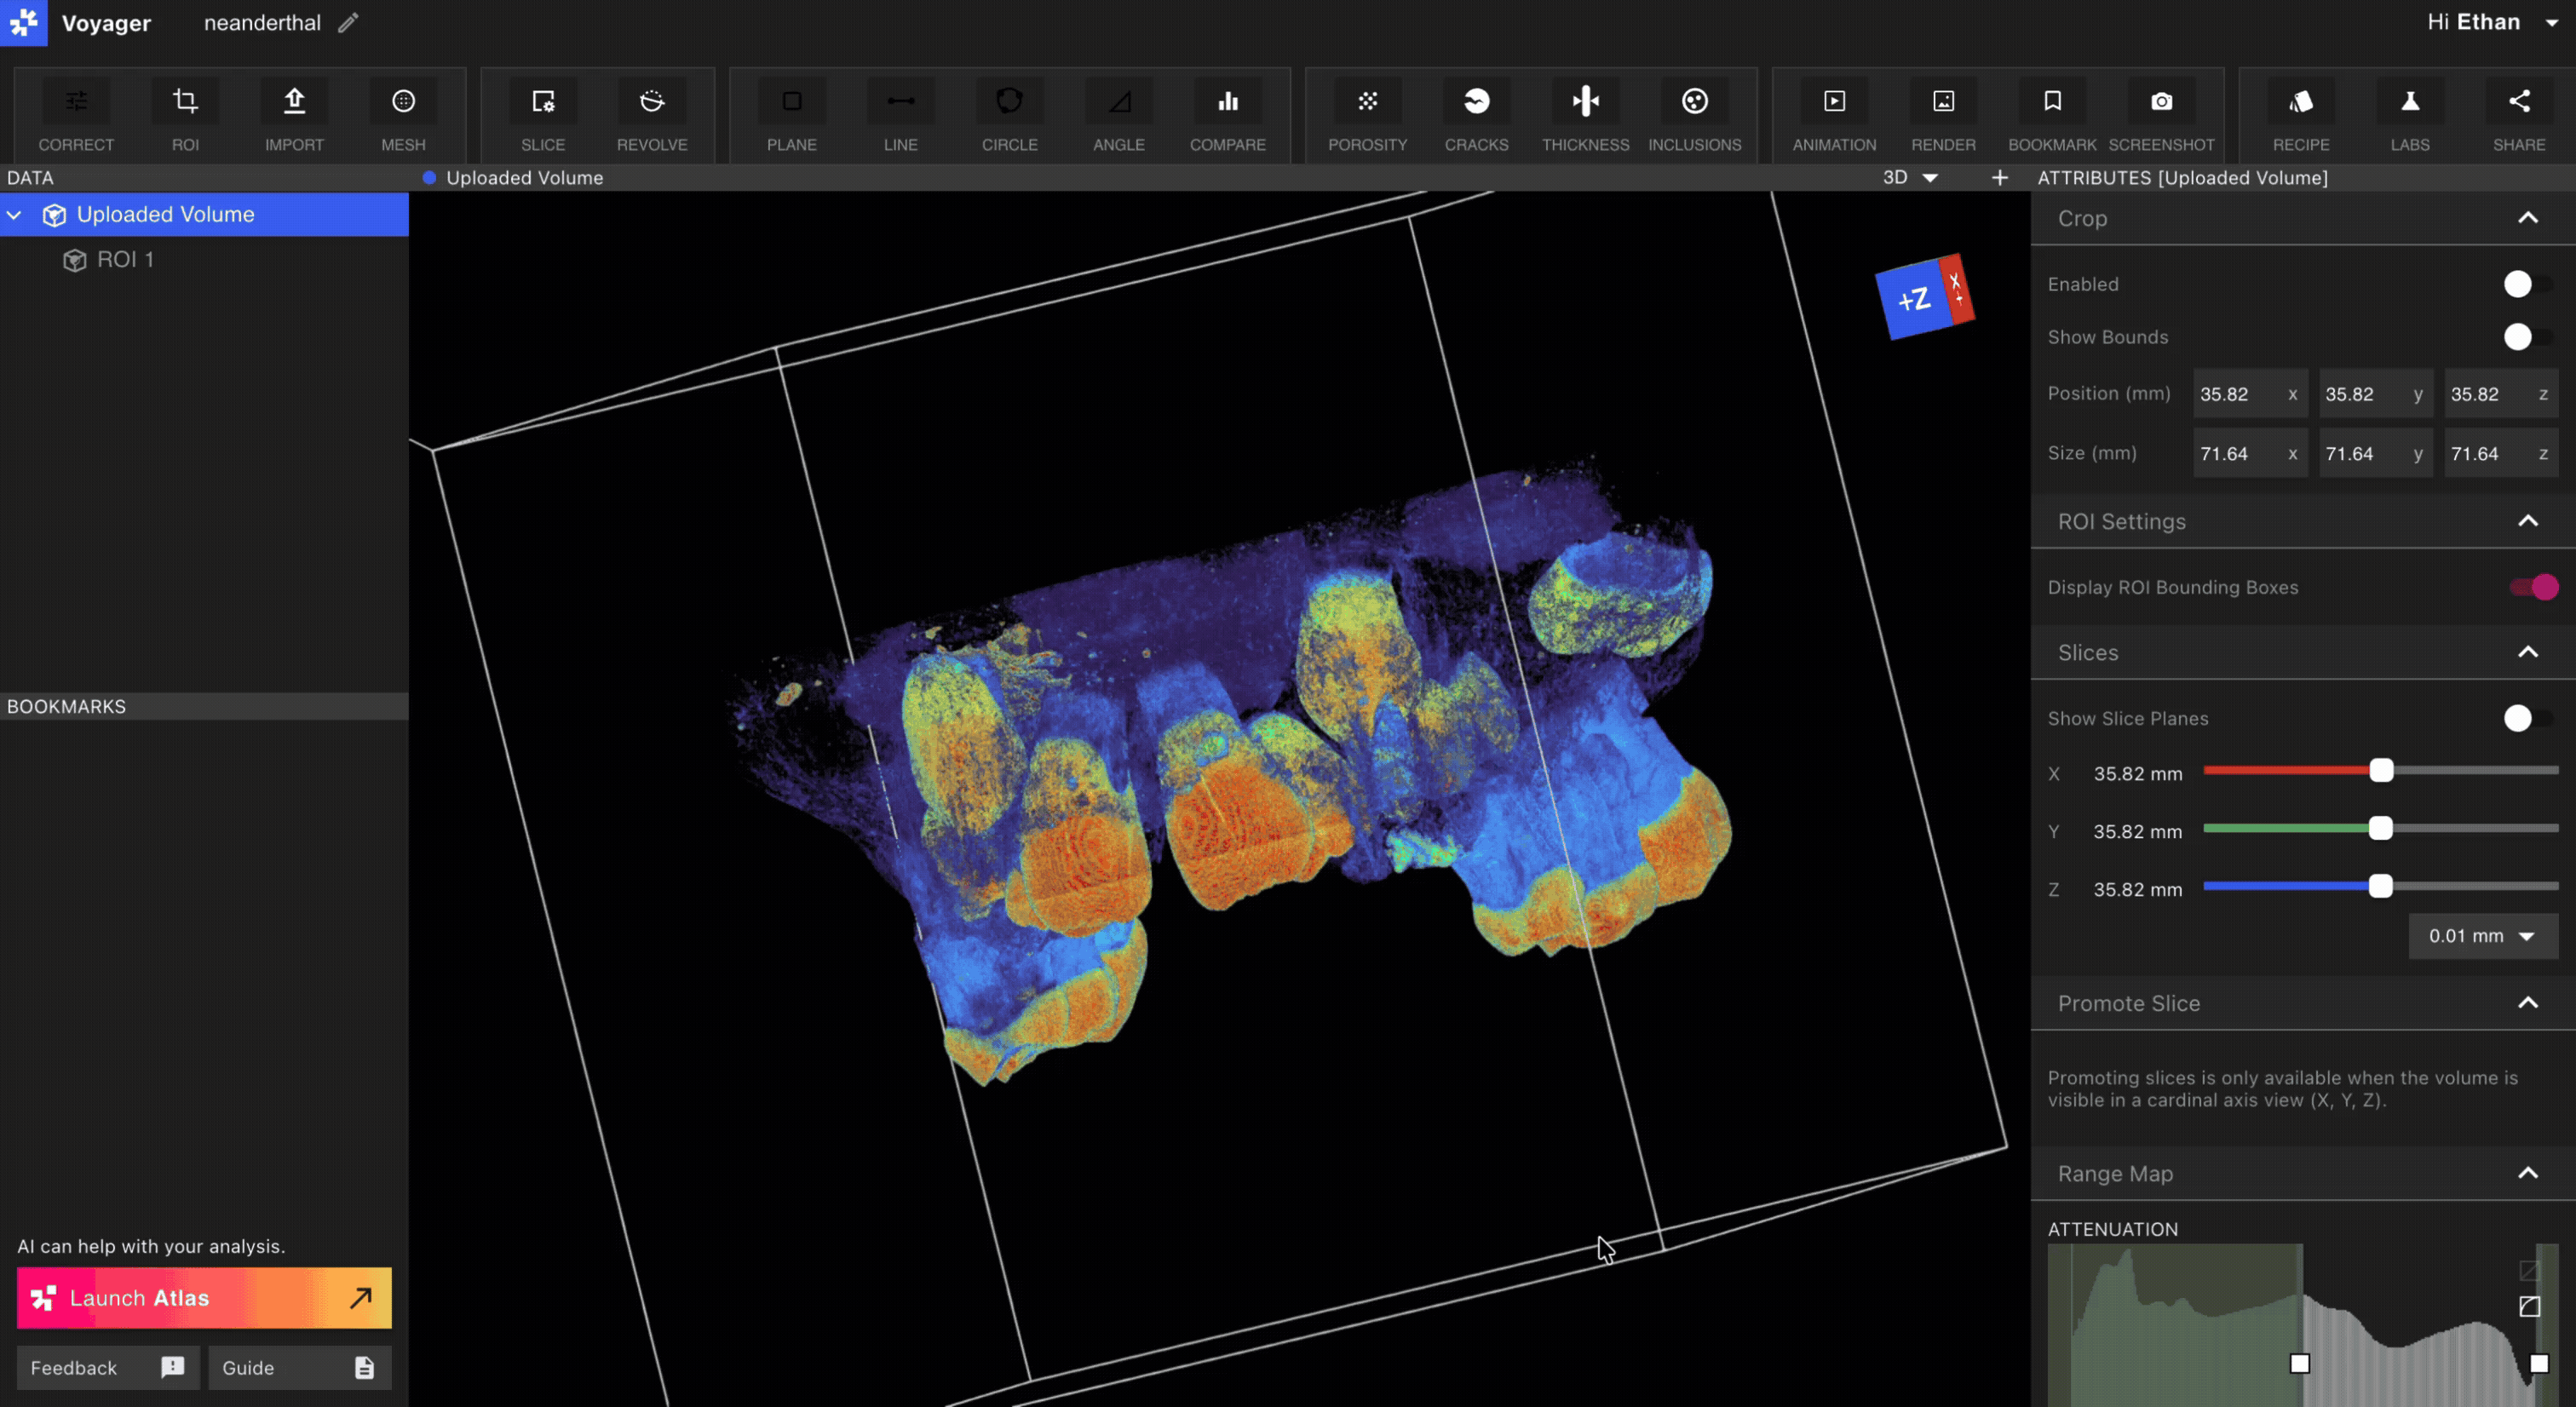
If the voxel size of the uploaded volume is incorrect, it can be adjusted by selecting the Uploaded Volume object in the Data Panel and clicking the Adjust Voxel Size button in the Resolution section of the Attributes Panel and submitting the correct voxel size.