> ## Documentation Index
> Fetch the complete documentation index at: https://support.lumafield.com/llms.txt
> Use this file to discover all available pages before exploring further.
# 光束硬化校正(BHC)
> 使用 BHC 校正光束硬化伪影并减少 Voyager 软件中的条纹伪影。
光束硬化是一种 CT 伪影,源于 X 射线源的多色性:低能光子比高能光子被吸收得更多。射束的平均能量随着穿过材料而增加(射束"硬化")。
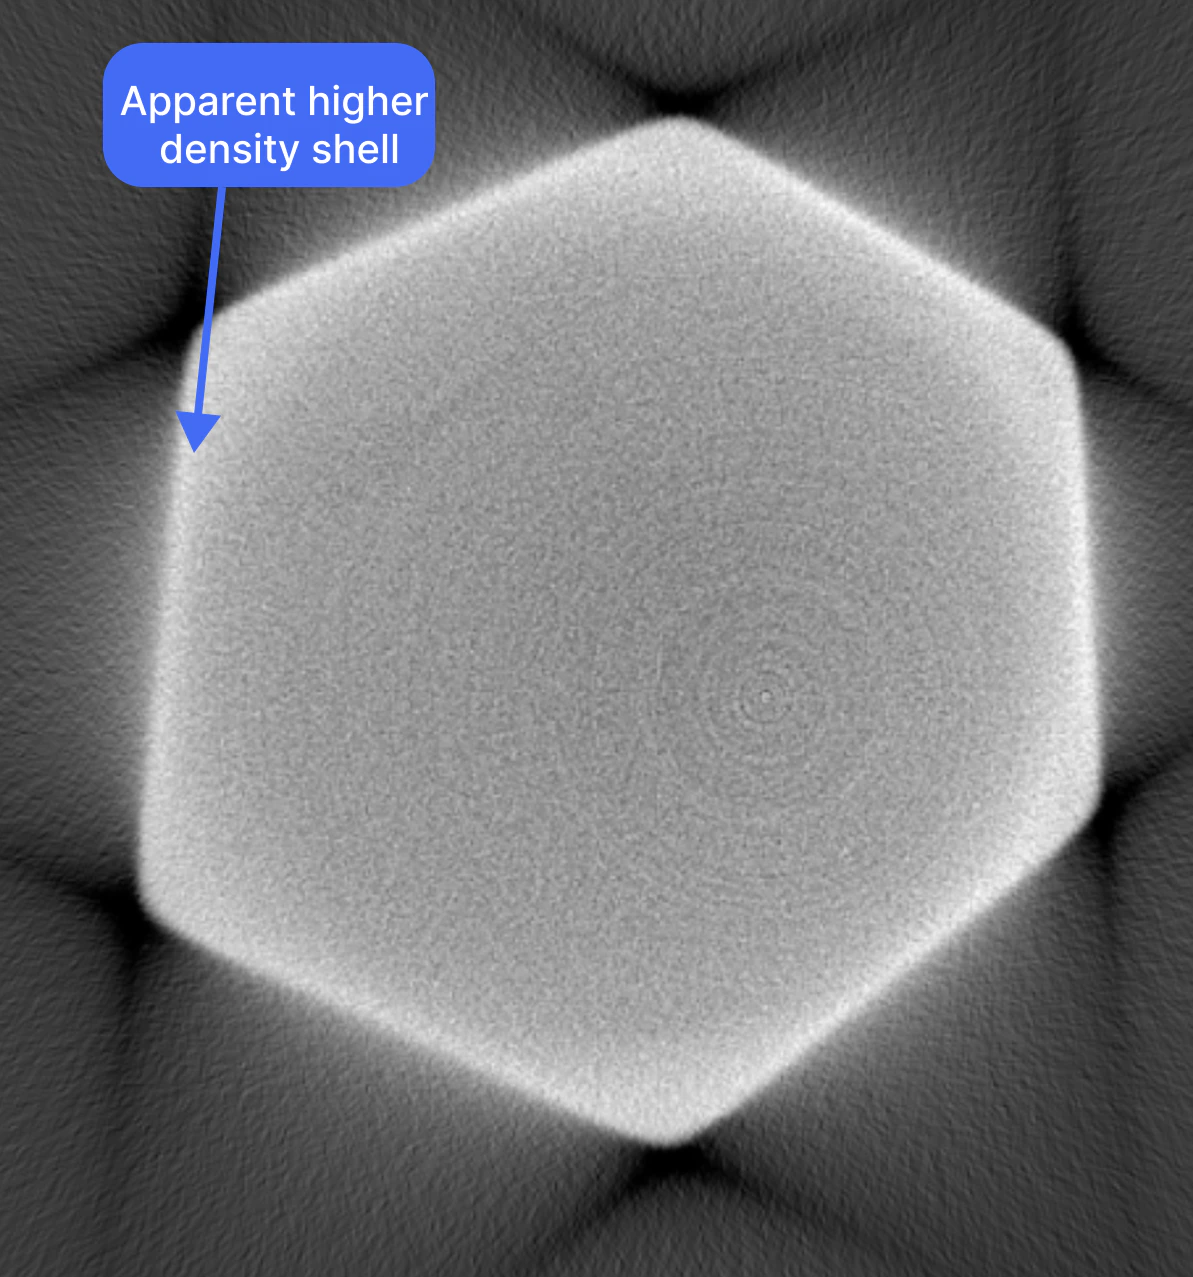
显示特征性**杯状效应**(中心比边缘暗)和密集物体之间的暗色**条纹**的重建可以从光束硬化校正中受益。在下图中,部件的边缘看起来比中心密度更高,尽管该部件是单一材料的。
如何运行 BHC
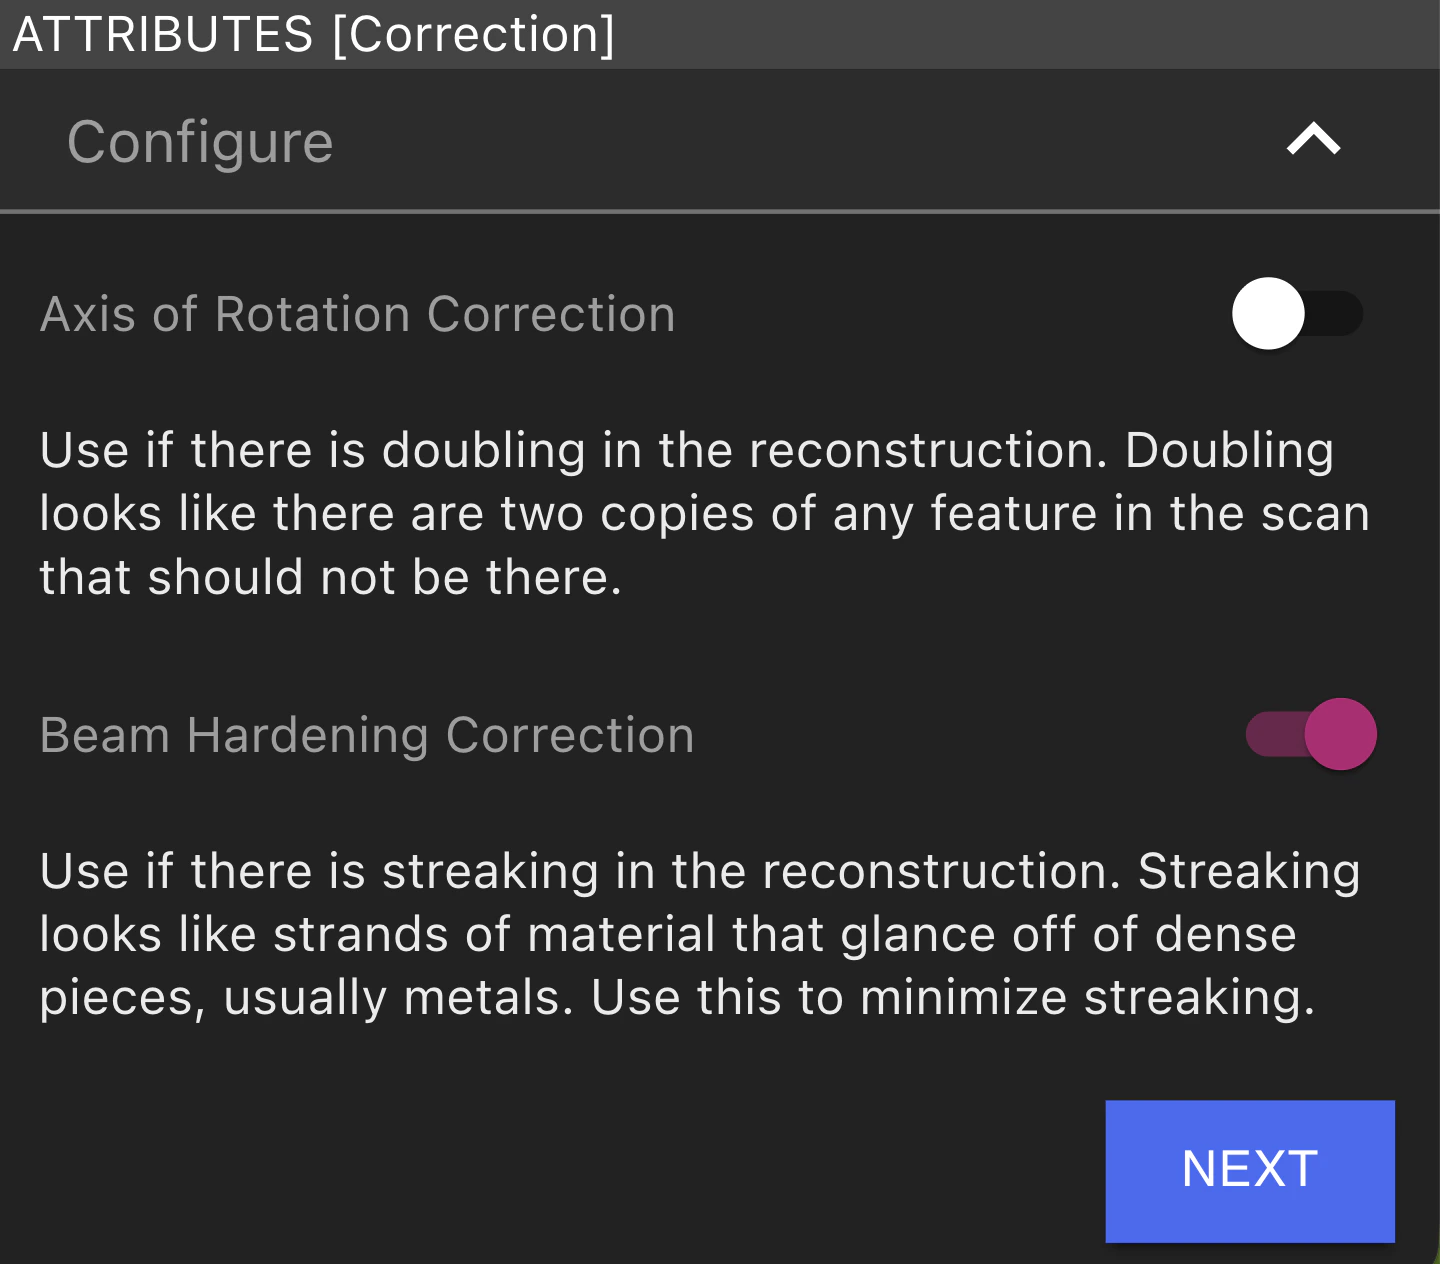
单击工具栏中的"校正"按钮以打开校正工作流程。
 确保光束硬化校正选项已开启,然后单击"下一步"。
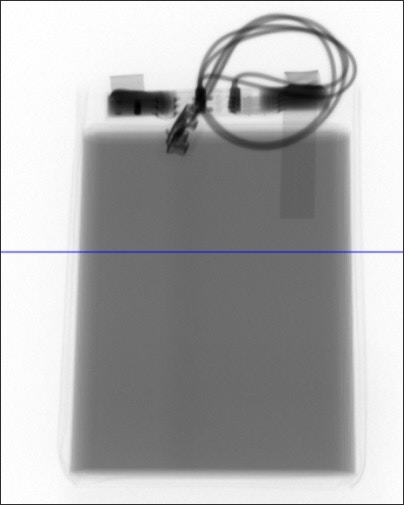
 调整滑块,使线与感兴趣区域中的部件相交(即可能存在光束硬化伪影的较暗、较密集的区域)。选择"下一步"并等待校正图像生成。
 校正预览图像可用后,加载它们并选择使单一材料亮度尽可能一致的 BHC 设置。单击"运行重建"并等待其生成(此新重建将显示在数据选项卡中的其他重建列表中)。
 在此动画中,您可以看到电池在第二个校正因子值上在整个电池宽度上具有均匀的灰度值。