> ## Documentation Index
> Fetch the complete documentation index at: https://support.lumafield.com/llms.txt
> Use this file to discover all available pages before exploring further.
# 執行您的第一次掃描
> 在您的 Neptune 上設定掃描
介紹
Lumafield 的 Neptune 掃描器為辦公室、工廠或實驗室環境提供了便捷的工作流程。透過觸控螢幕介面和隨附的固定套件,任何人都可以快速準備和配置零件進行檢測。請按照以下步驟在您的 Neptune 上執行掃描。
掃描器啟動
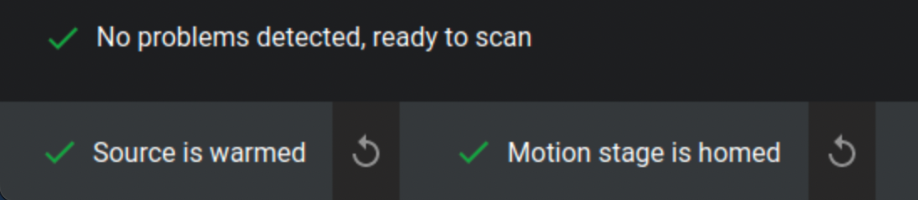
在開始之前,請確保掃描器已正確歸位和預熱。如果這些步驟尚未完成,請參閱 [Neptune 機器初始化](/zh-Hant/neptune/neptune-initialization)指南。確認介面左下角顯示綠色勾選標記,表示系統已準備就緒。
執行掃描的四個步驟
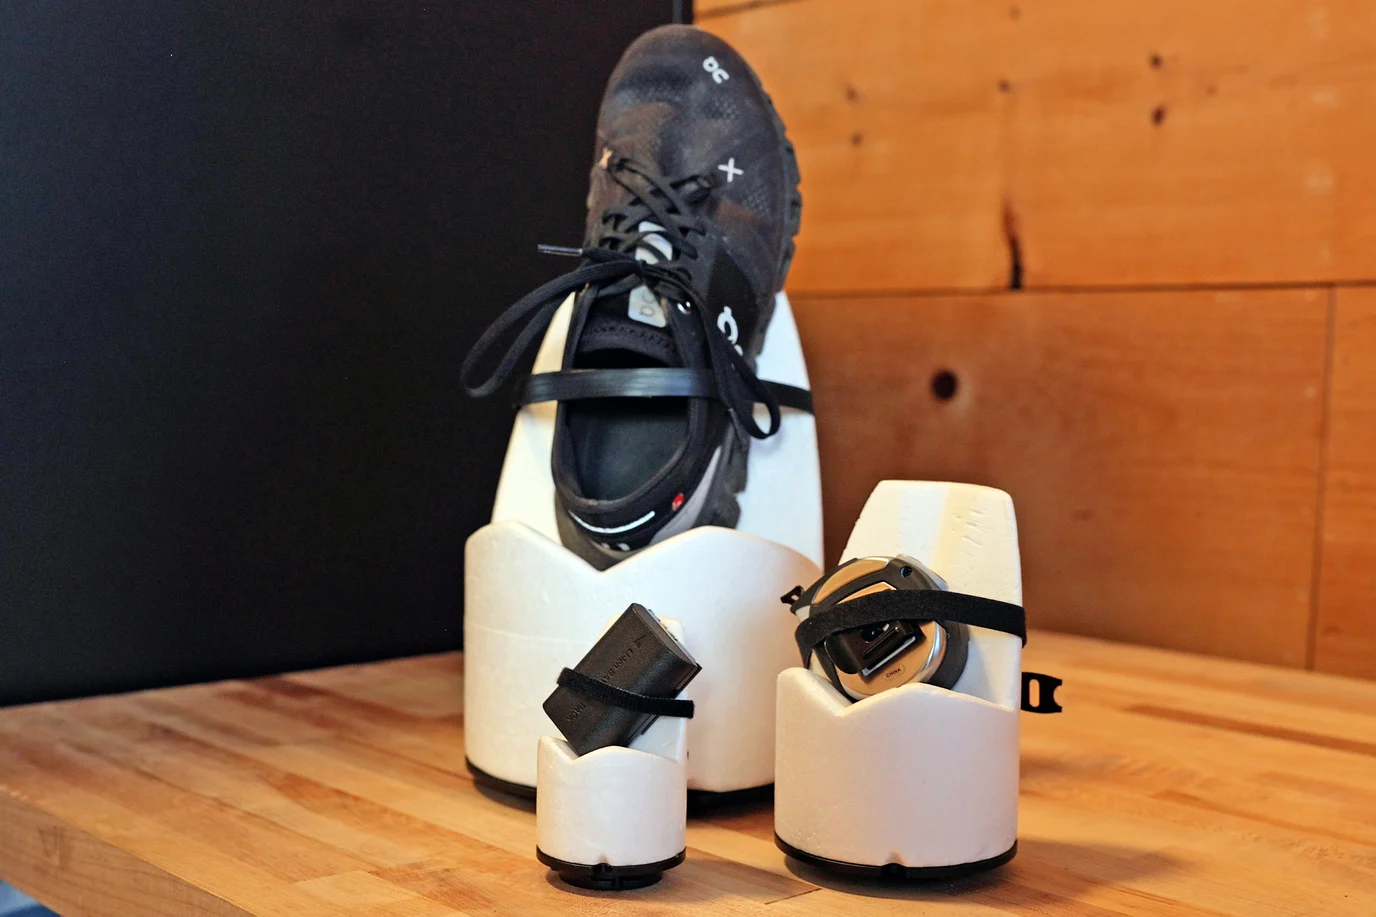 每台 Lumafield 掃描器都包含一個專用固定套件。使用這些組件將您的零件抬高到旋轉台上方並將其牢固固定。確保掃描時旋轉台不在視野 (FOV) 範圍內。
**固定最佳實踐:**
* **重量限制:** 旋轉台支援的最大樣品重量為 5 kg(11 磅)。
* **密度:** 使用低密度固定材料(如泡棉)以便在分析過程中更容易隔離您的零件。
* **方向:** 傾斜平坦表面以減少掃描偽影並提高影像品質。
* **穩定性:** 確保零件完全靜止以防止運動相關錯誤。
* **客製化:** 使用 ¼-20 螺紋底板設計適合您零件幾何形狀的客製化構建板。
請參閱 [Neptune 固定指南](/zh-Hant/neptune/neptune-fixturing-guide)了解更多詳情。
每台 Lumafield 掃描器都包含一個專用固定套件。使用這些組件將您的零件抬高到旋轉台上方並將其牢固固定。確保掃描時旋轉台不在視野 (FOV) 範圍內。
**固定最佳實踐:**
* **重量限制:** 旋轉台支援的最大樣品重量為 5 kg(11 磅)。
* **密度:** 使用低密度固定材料(如泡棉)以便在分析過程中更容易隔離您的零件。
* **方向:** 傾斜平坦表面以減少掃描偽影並提高影像品質。
* **穩定性:** 確保零件完全靜止以防止運動相關錯誤。
* **客製化:** 使用 ¼-20 螺紋底板設計適合您零件幾何形狀的客製化構建板。
請參閱 [Neptune 固定指南](/zh-Hant/neptune/neptune-fixturing-guide)了解更多詳情。
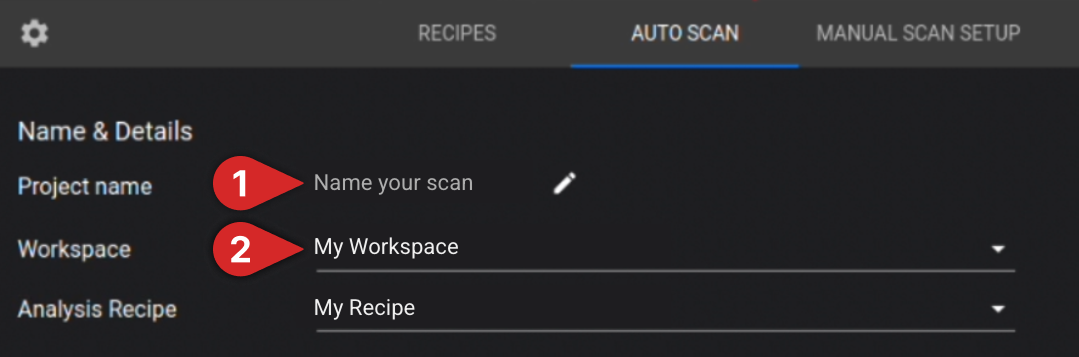 **可選:** 設定一個分析方案以在掃描完成後執行。
**重要:** 請在門打開的狀態下執行此步驟。否則會顯著增加機械碰撞的風險,可能導致 X 光源或偵測器嚴重損壞。
在掃描器門打開的情況下,將固定裝置固定到旋轉台上並逐漸增加放大倍率。定期進行完整的 360° 旋轉,以驗證零件和固定裝置與 X 光源、濾光輪和偵測器之間保持足夠的間距。
**Neptune Microfocus 示範**
**可選:** 設定一個分析方案以在掃描完成後執行。
**重要:** 請在門打開的狀態下執行此步驟。否則會顯著增加機械碰撞的風險,可能導致 X 光源或偵測器嚴重損壞。
在掃描器門打開的情況下,將固定裝置固定到旋轉台上並逐漸增加放大倍率。定期進行完整的 360° 旋轉,以驗證零件和固定裝置與 X 光源、濾光輪和偵測器之間保持足夠的間距。
**Neptune Microfocus 示範**
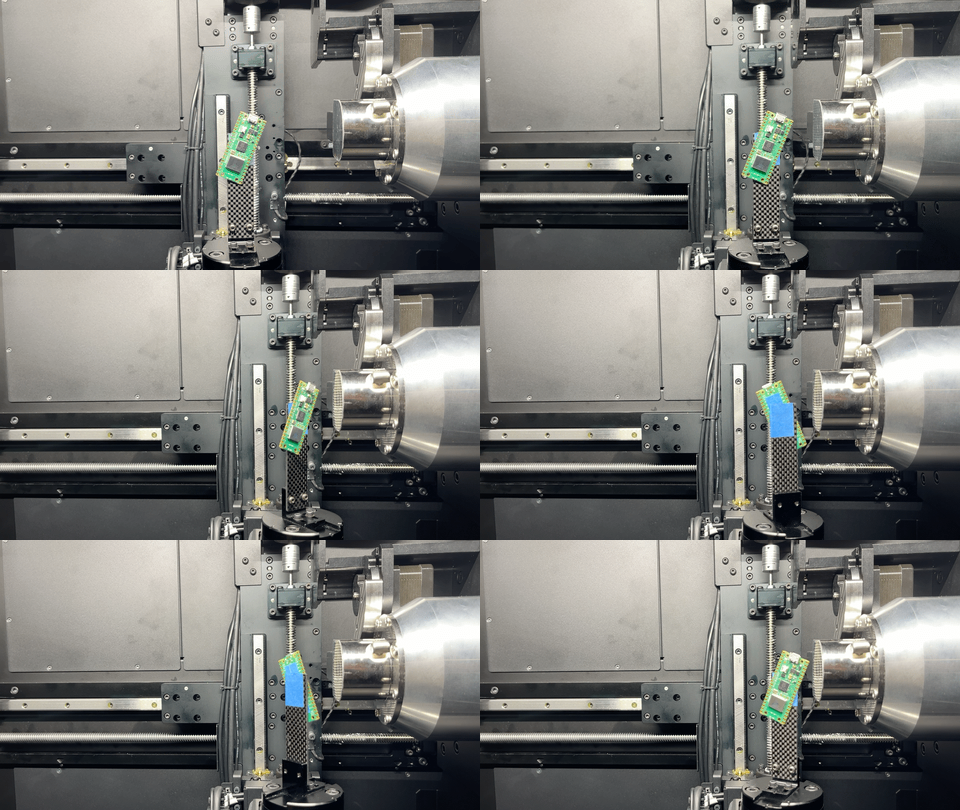 **Neptune Standard & High Power 示範**
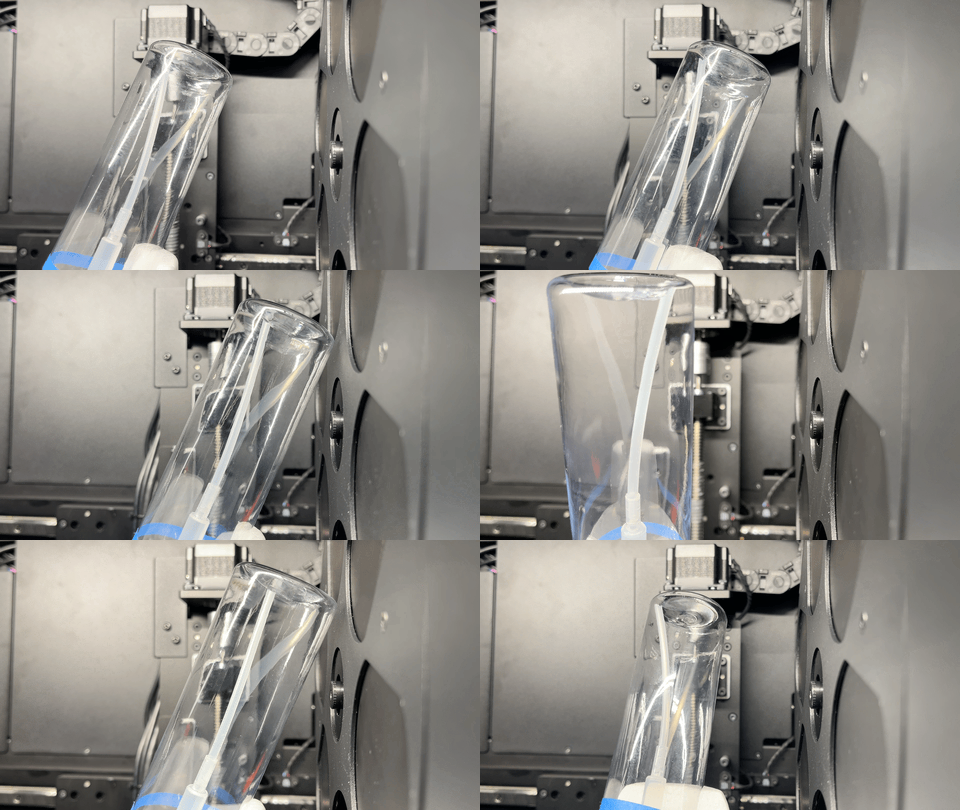 設定好放大倍率後,關閉掃描器門並啟用 X 光。選擇「VERIFY BOUNDS」以確保零件保持在 FOV 內。如果零件的任何部分超出畫面,它將不會出現在掃描中。為避免此情況,請降低放大倍率並重複驗證過程,直到整個零件成功包含在 FOV 內。
 **可選:** 擁有 [Expanded Volume Module](/zh-Hant/neptune/neptune-expanded-volume) 的使用者可以使用偏移滑桿,允許物體的部分超出畫面,同時仍確保完整重建。請參閱 [Neptune 定位指南](/zh-Hant/neptune/neptune-positioning-guide)了解更多資訊。
開始掃描前必須選擇以下自動掃描設定:
* **選擇材料類型:** 指定您的零件是「Mono-material」還是「Multi-material」
* **設定掃描時間:** 使用滑桿或手動輸入所需時間來調整掃描持續時間
**可選:** 擁有 [Expanded Volume Module](/zh-Hant/neptune/neptune-expanded-volume) 的使用者可以使用偏移滑桿,允許物體的部分超出畫面,同時仍確保完整重建。請參閱 [Neptune 定位指南](/zh-Hant/neptune/neptune-positioning-guide)了解更多資訊。
開始掃描前必須選擇以下自動掃描設定:
* **選擇材料類型:** 指定您的零件是「Mono-material」還是「Multi-material」
* **設定掃描時間:** 使用滑桿或手動輸入所需時間來調整掃描持續時間
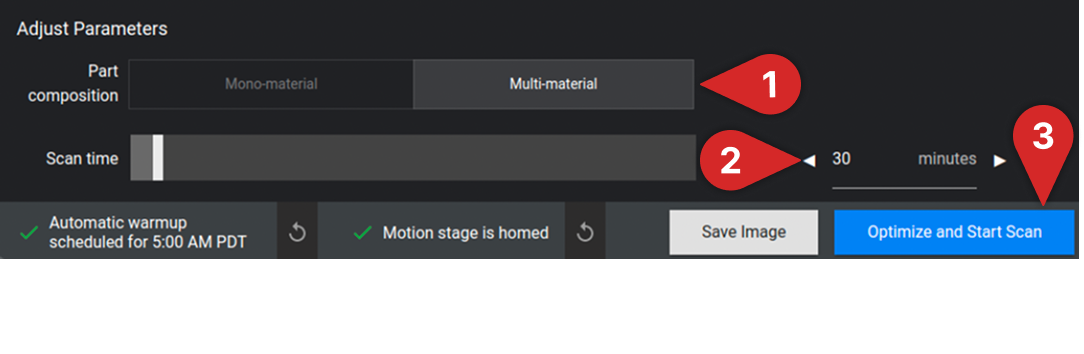 **注意:** 增加掃描時間通常可以提高掃描品質。
選擇「Optimize and Start Scan」開始掃描!
有關如何配置掃描設定的更多資訊,請閱讀 [Neptune 自動掃描設定指南](/zh-Hant/neptune/neptune-auto-scan-settings-guide)。
**注意:** 增加掃描時間通常可以提高掃描品質。
選擇「Optimize and Start Scan」開始掃描!
有關如何配置掃描設定的更多資訊,請閱讀 [Neptune 自動掃描設定指南](/zh-Hant/neptune/neptune-auto-scan-settings-guide)。