Projects
Select an Organization, Workspace, or Tag in the Navigation Panel at the left side of the Project Dashboard to preview all of its contained Projects.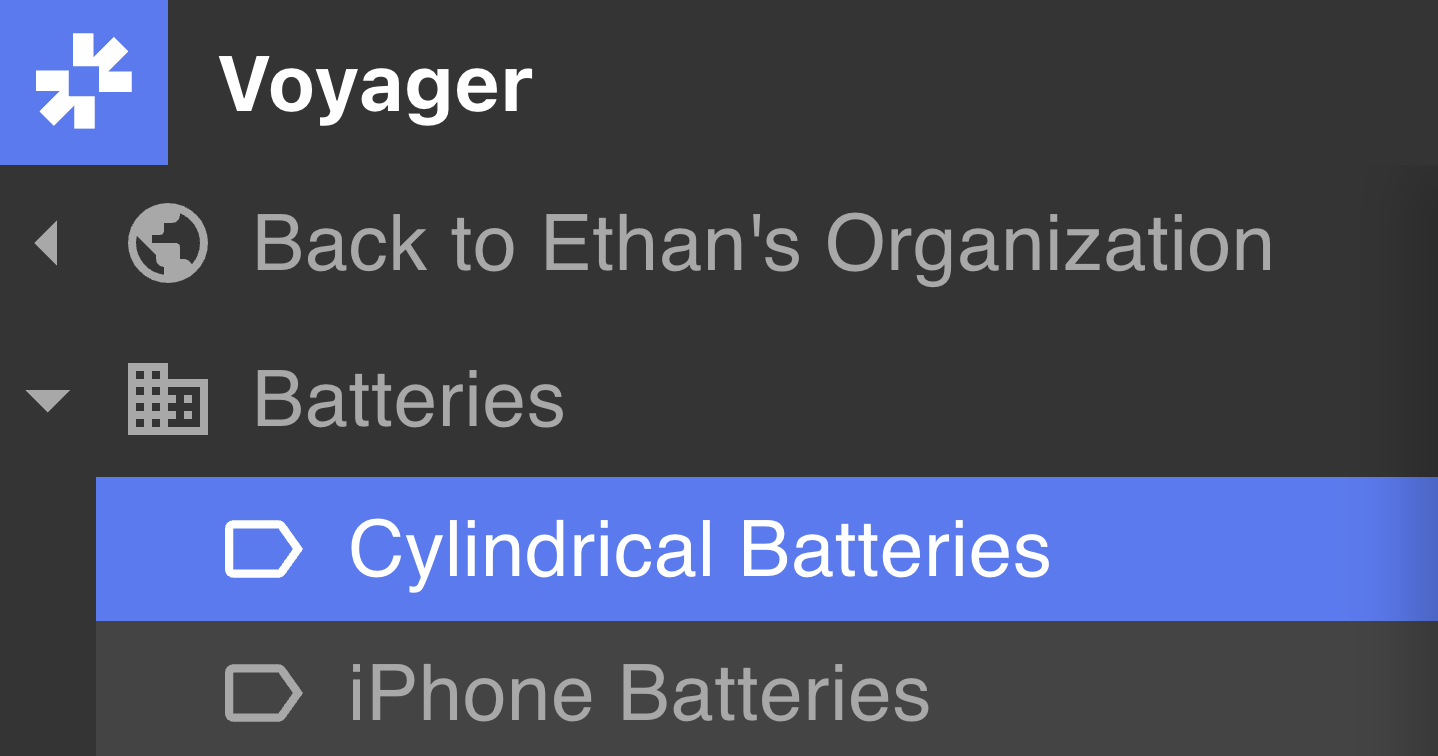
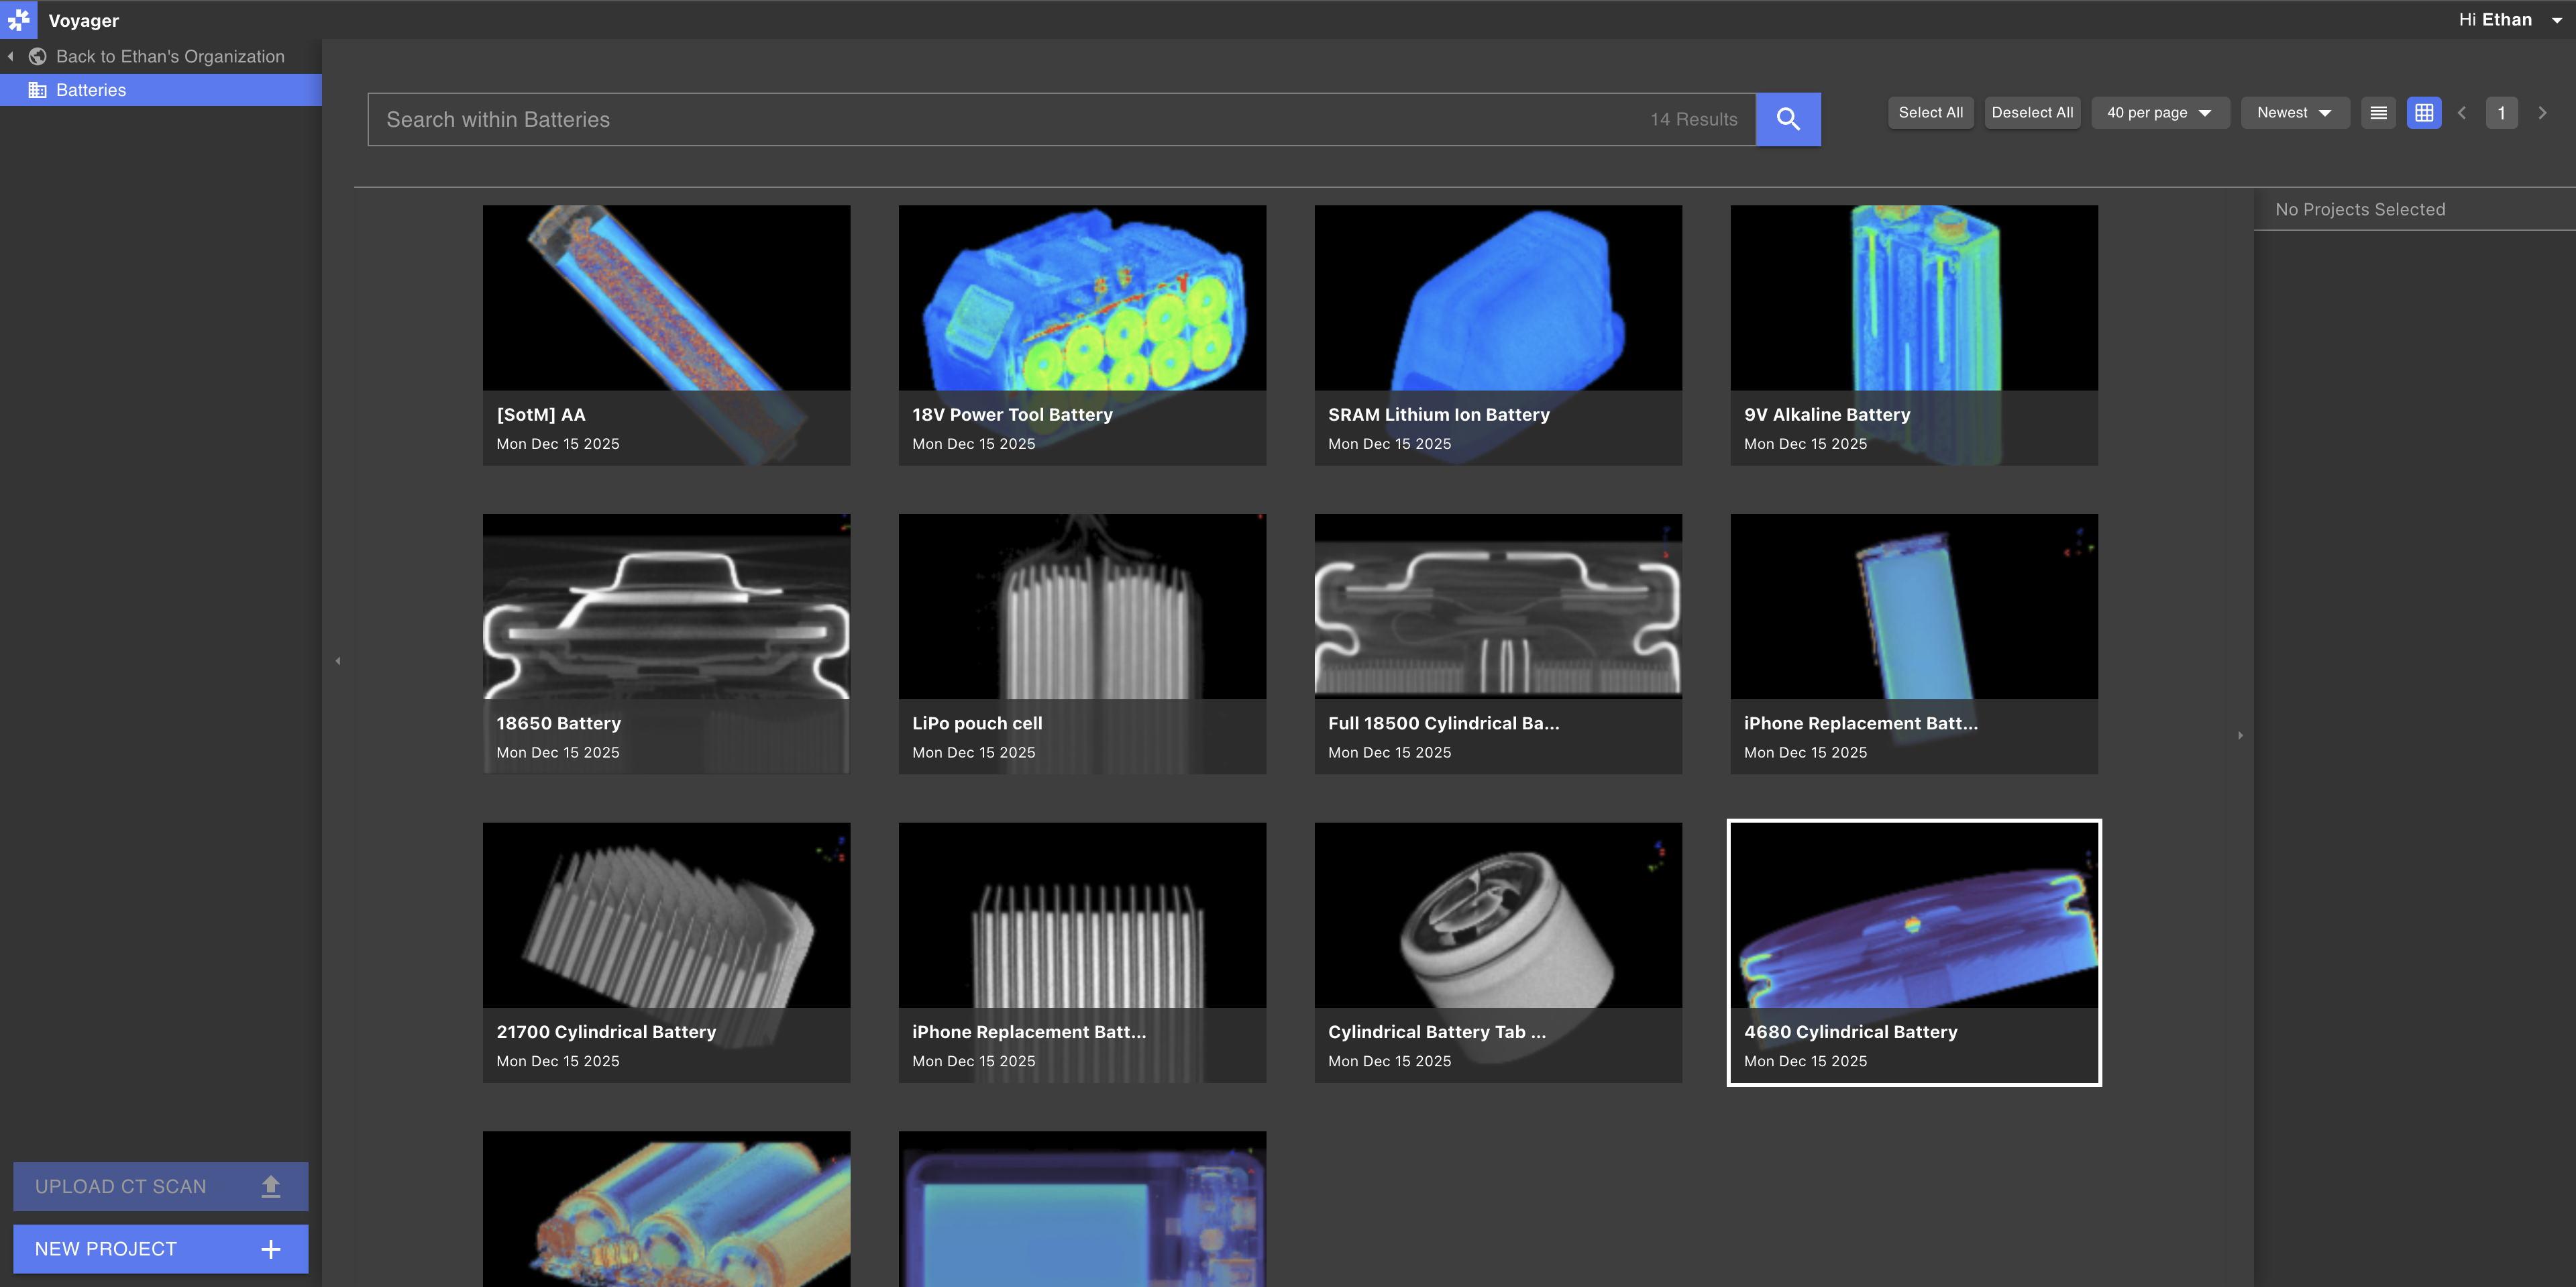
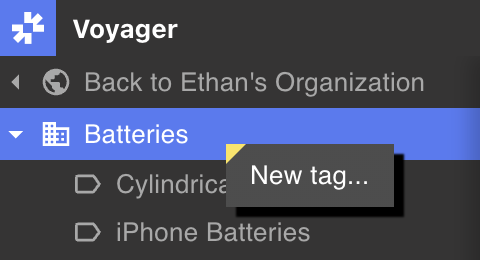
Project navigation
Search: Use the search bar to search by name for any Project within the selected Workspace, Organization, or Tag. Optionally, specify a date range or Recipe invocation to filter the search.Sort: By default, all Projects display in reverse-chronological order (newest to oldest). Use the menus at the top-right of the Project Dashboard to specify a sort attribute.Customize view: Menus at the top-right of the Project Dashboard allow specification of number of Projects per page as well as toggling between List and Grid views.Project attributes
Select a Project to view its Attributes in the Attributes Panel at the right side of the Project Dashboard.When a single Project is selected, view the Project’s name, Workspace, Tags, Analysis Recipe Runs, contained Data Objects, and Project Information within the Tabs of the Attribute Panel.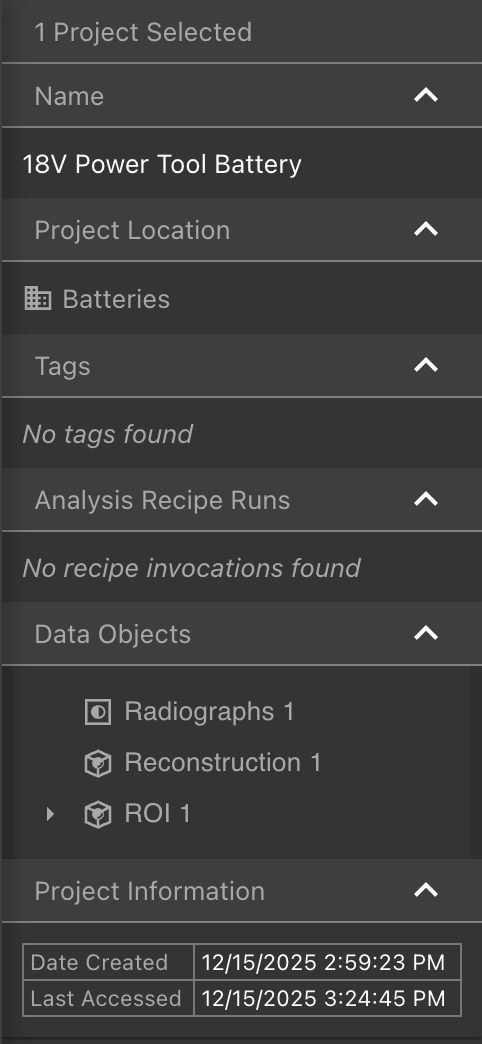 When multiple Projects are selected, the Attributes Panel displays common Tags between the selected Projects.
Selecting multiple Projects is possible when a Workspace or Tag, not an Organization, is selected in the Navigation Panel.
Project options
Users who have been granted Editor permissions within a Workspace can perform the following actions, while Viewers cannot. Right-select one or multiple (if a Workspace or Tag is selected) Projects to open the Project Options window.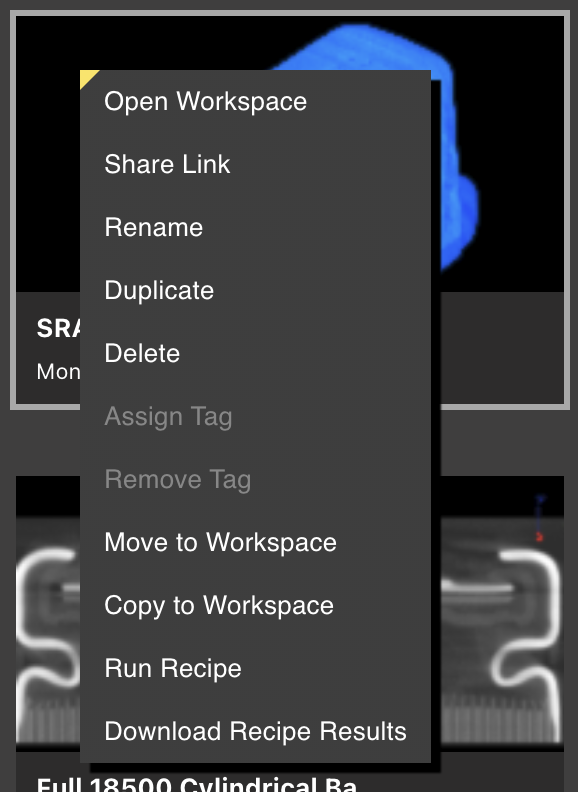
-
Share a Link to a Project with collaborators. This link will only be accessible by collaborators with access to the Project’s Workspace.
-
Rename a Project; Duplicate or Delete one or multiple (if a Workspace or Tag is selected) Projects
-
Assign Tags to one or multiple (if a Workspace or Tag is selected) Projects within their Workspace. Projects that already have the Tag will not be affected.
-
Remove Tags from one or multiple (if a Workspace or Tag is selected) Projects within their Workspace. Projects that do not have the Tag will not be affected.
-
Move or Copy one or multiple (if a Workspace or Tag is selected) Projects to another Workspace. A user must have Editor permissions in both the source and destination Workspaces to move or copy a Project.
When an action is performed on multiple Projects within a Workspace, a window in the bottom-right of the Project Dashboard will display the action’s progress.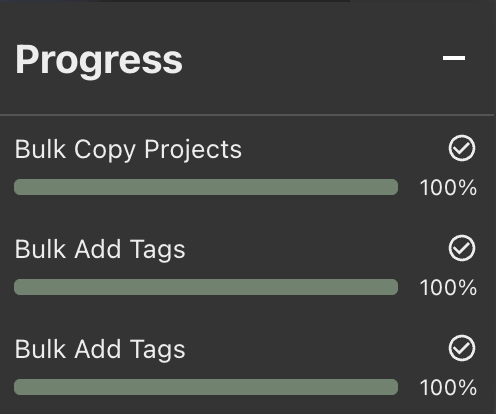
Action failure can be due to many factors, but primarily occurs when running Recipes, if the selected Projects do not contain appropriate data to run the specified Recipe.
Workspaces
A Workspace is a collection of Projects within an Organization - all Projects are grouped into a Workspace. Use multiple Workspaces to separate groups of Projects by team, part type, material, or another attribute. Organization Managers are able to create, delete, and provision team members’ access to Workspaces from the Manager Dashboard.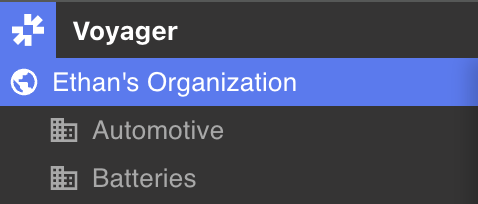 Workspaces display in the Navigation Panel at the left side of the Project Dashboard, beneath the Organization name. Users are able to view and select any Workspaces to which they have been given access by the Organization Manager.
When an Organization is selected in the Navigation Panel, all Projects within any of its Workspaces will display.
Recipe actions
To Run a Recipe, select one or multiple (if a Workspace or Tag is selected) Projects, then right-select to open Project Options and select Run Recipe. Choose a Recipe to run on the selected Projects.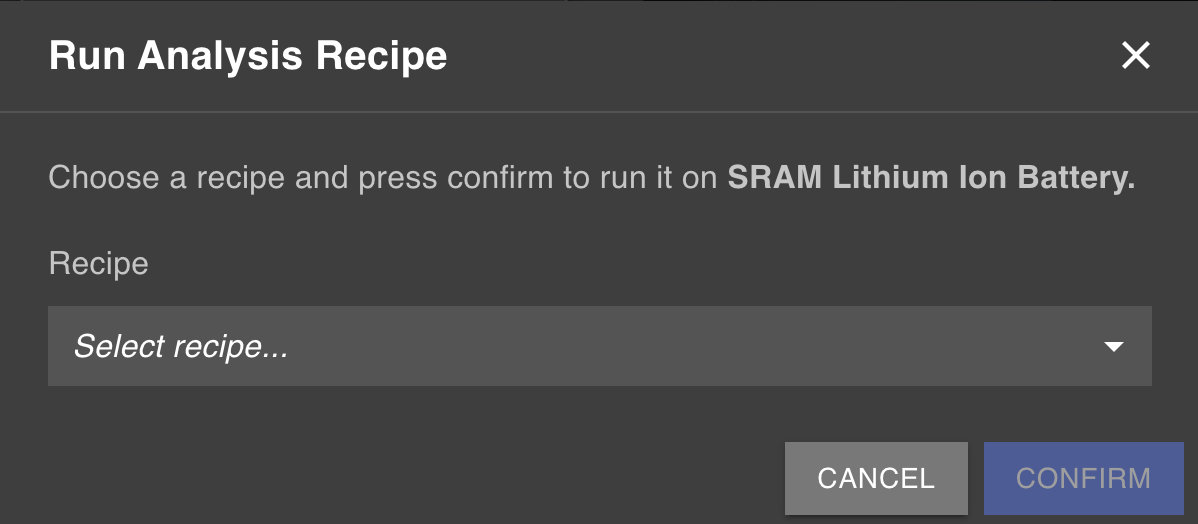 Each bulk operation will show a progress window when executed. Dismiss this message to continue working, and access it again from the Progress window of The Project Dashboard. This section will show all recent actions for about one day after completion to display the results of long-running tasks.
 To Download Recipe Results, select one or multiple (if a Workspace or Tag is selected) Projects, then right-select to open Project Options and select Download Recipe Results. Choose which Recipe results to include from the available options, then select Download to generate a .zip file containing all the selected Recipe results.
Use Tags and search filters to narrow down a selection before bulk downloading. This helps ensure that only the needed Recipe results are downloaded.
 The resulting .zip file is organized by Project, with each Project’s Recipe results in a separate folder. This makes it easy to navigate and find specific results when working with large datasets.
Only completed Recipe results will be included in the download. If a Recipe is still running or has failed, those results will not be included in the .zip file.
Resource usage
Storage and Token usage displays at the top-right of the Project Dashboard for all Pro and Enterprise users. See more info about Resource Management.
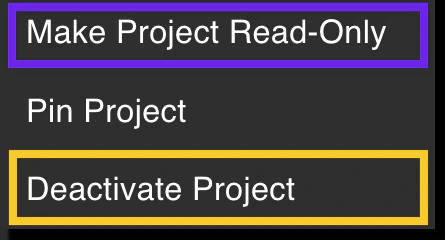
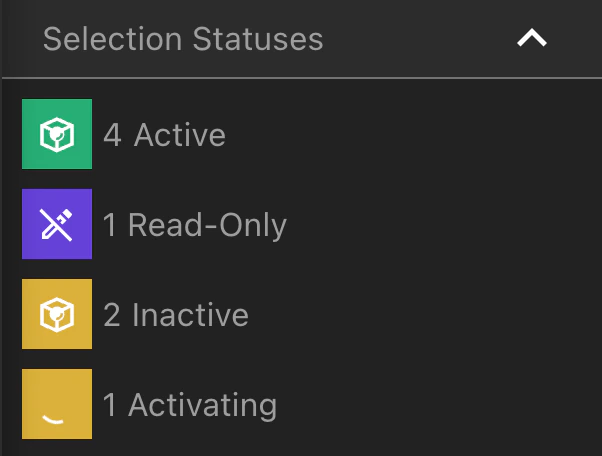
Modifying Project Activation Status
To move one or more Projects between the Active, Inactive, and Read-Only statuses, right-select the Projects you wish to move.You may move an Active Project to either Inactive or Read-Only within the right-select menu.A Read-Only Project cannot be moved back to Active or Inactive. Be careful before designating a Project as Read-Only.