Basic Settings
- Modifying the Viewport resolution can help load data more quickly. Select a Resolution within the Resolution Tab.
- Toggle between Metric and Imperial units within the User Preferences Tab
- Give your Project a description viewable to all collaborators in the Description Tab
- Check when the Project was created and last accessed within the Project Information Tab

Thumbnails
With the desired Thumbnail in the Viewport, select Capture to lock in the image as the Project’s Thumbnail. Select Save to download the Thumbnail image.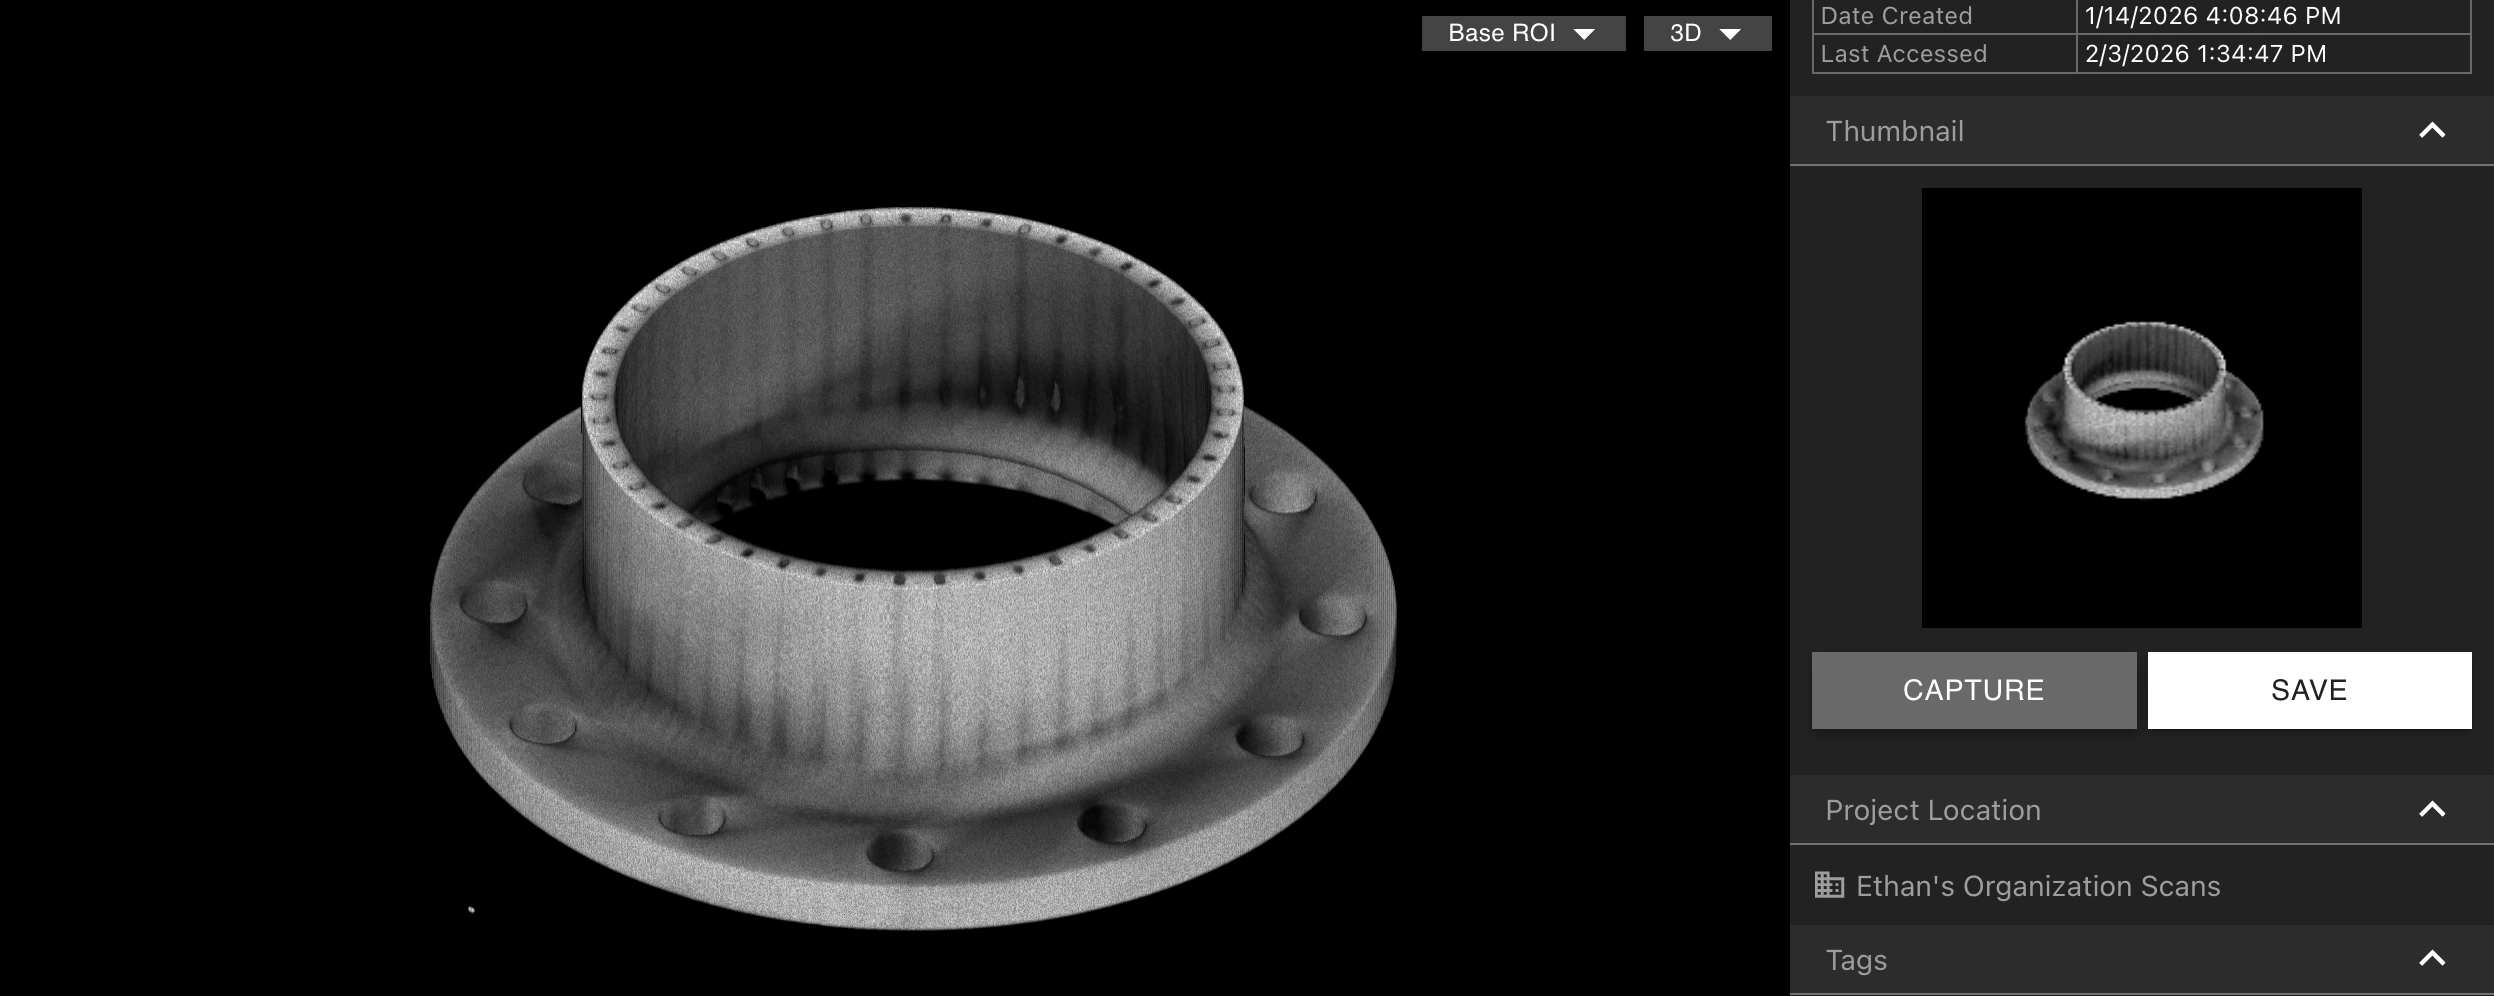
Assigning Tags
Assign a Tag to a Project from within the Tags Tab, by selecting “Assign Tag”. This can also be done from the Project Dashboard for multiple Projects at a time.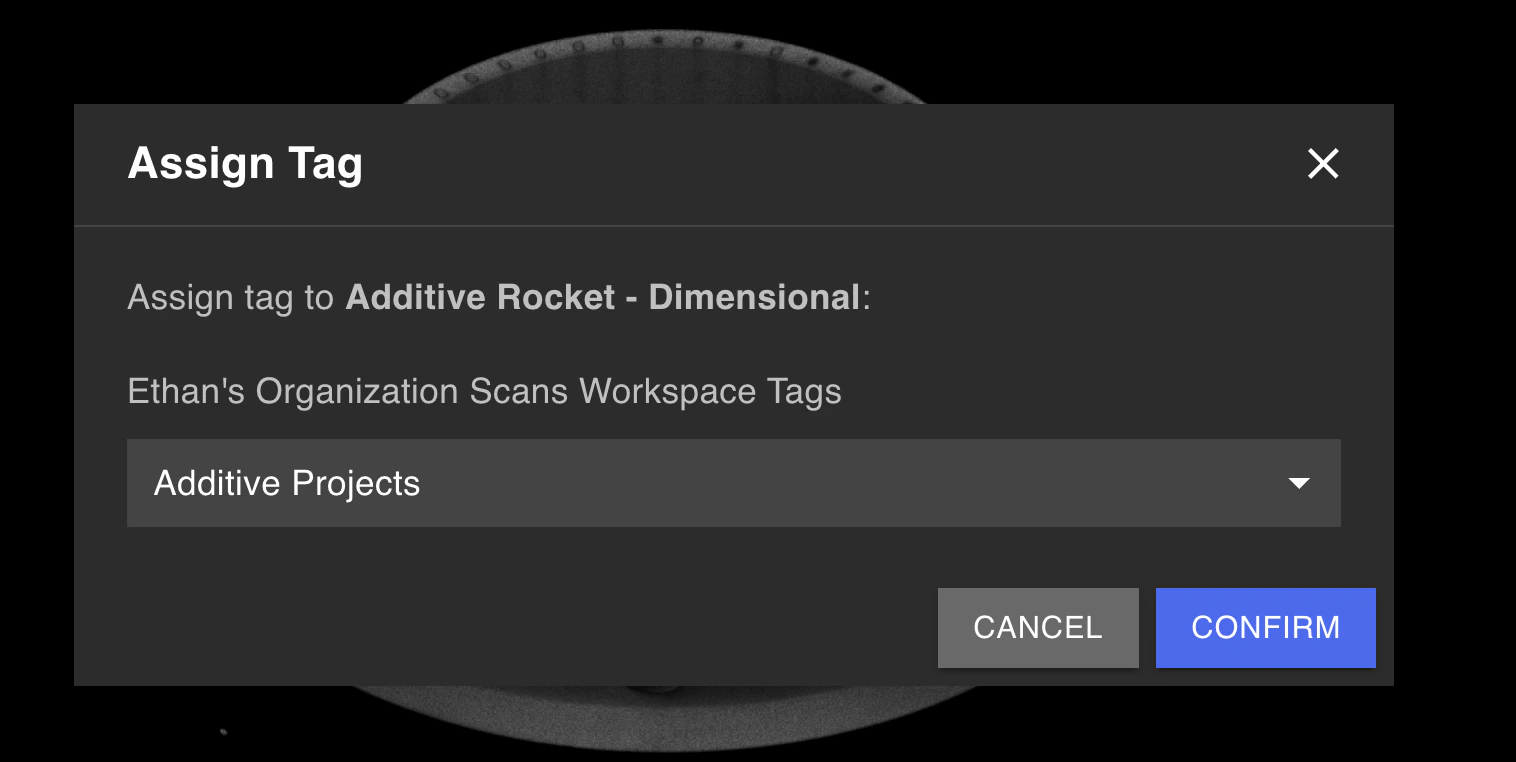
Full-Resolution Exporting
If your Organization has the Full-Resolution Export Analysis Module enabled, you can download full-resolution scan data from within the Export Full Resolution Data Tab.