Analyzing scan data
Lumafield’s Voyager software provides an ever-expanding set of tools to inspect and analyze your scanned parts. Whether you use a Lumafield scanner or your data comes from another system, Voyager gives you easy access to the insights you need. The main workflow for scan analysis is outlined below. Refer to the Voyager section for more information about how to achieve great outcomes with each tool.1
Locate your scan
Please reference this page on Joining an Organization and creating an account. Log in to view your Voyager Dashboard at voyager.lumafield.com.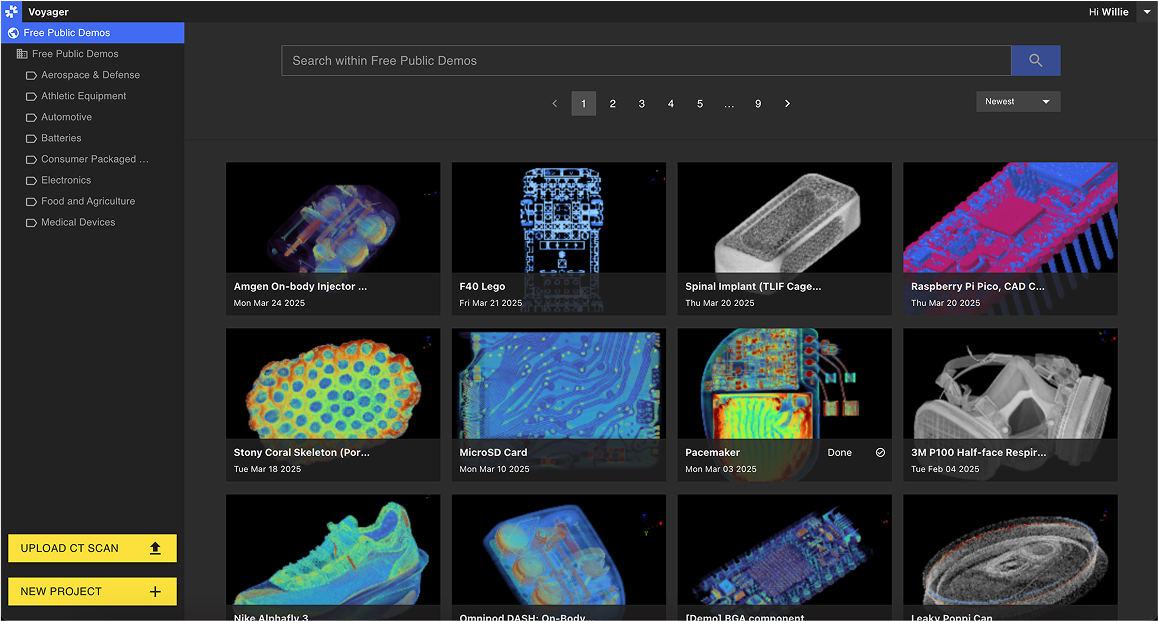
2
Open project
Once you see your scan, open it in the Project view. This is the primary interface for reviewing and analyzing your scan data.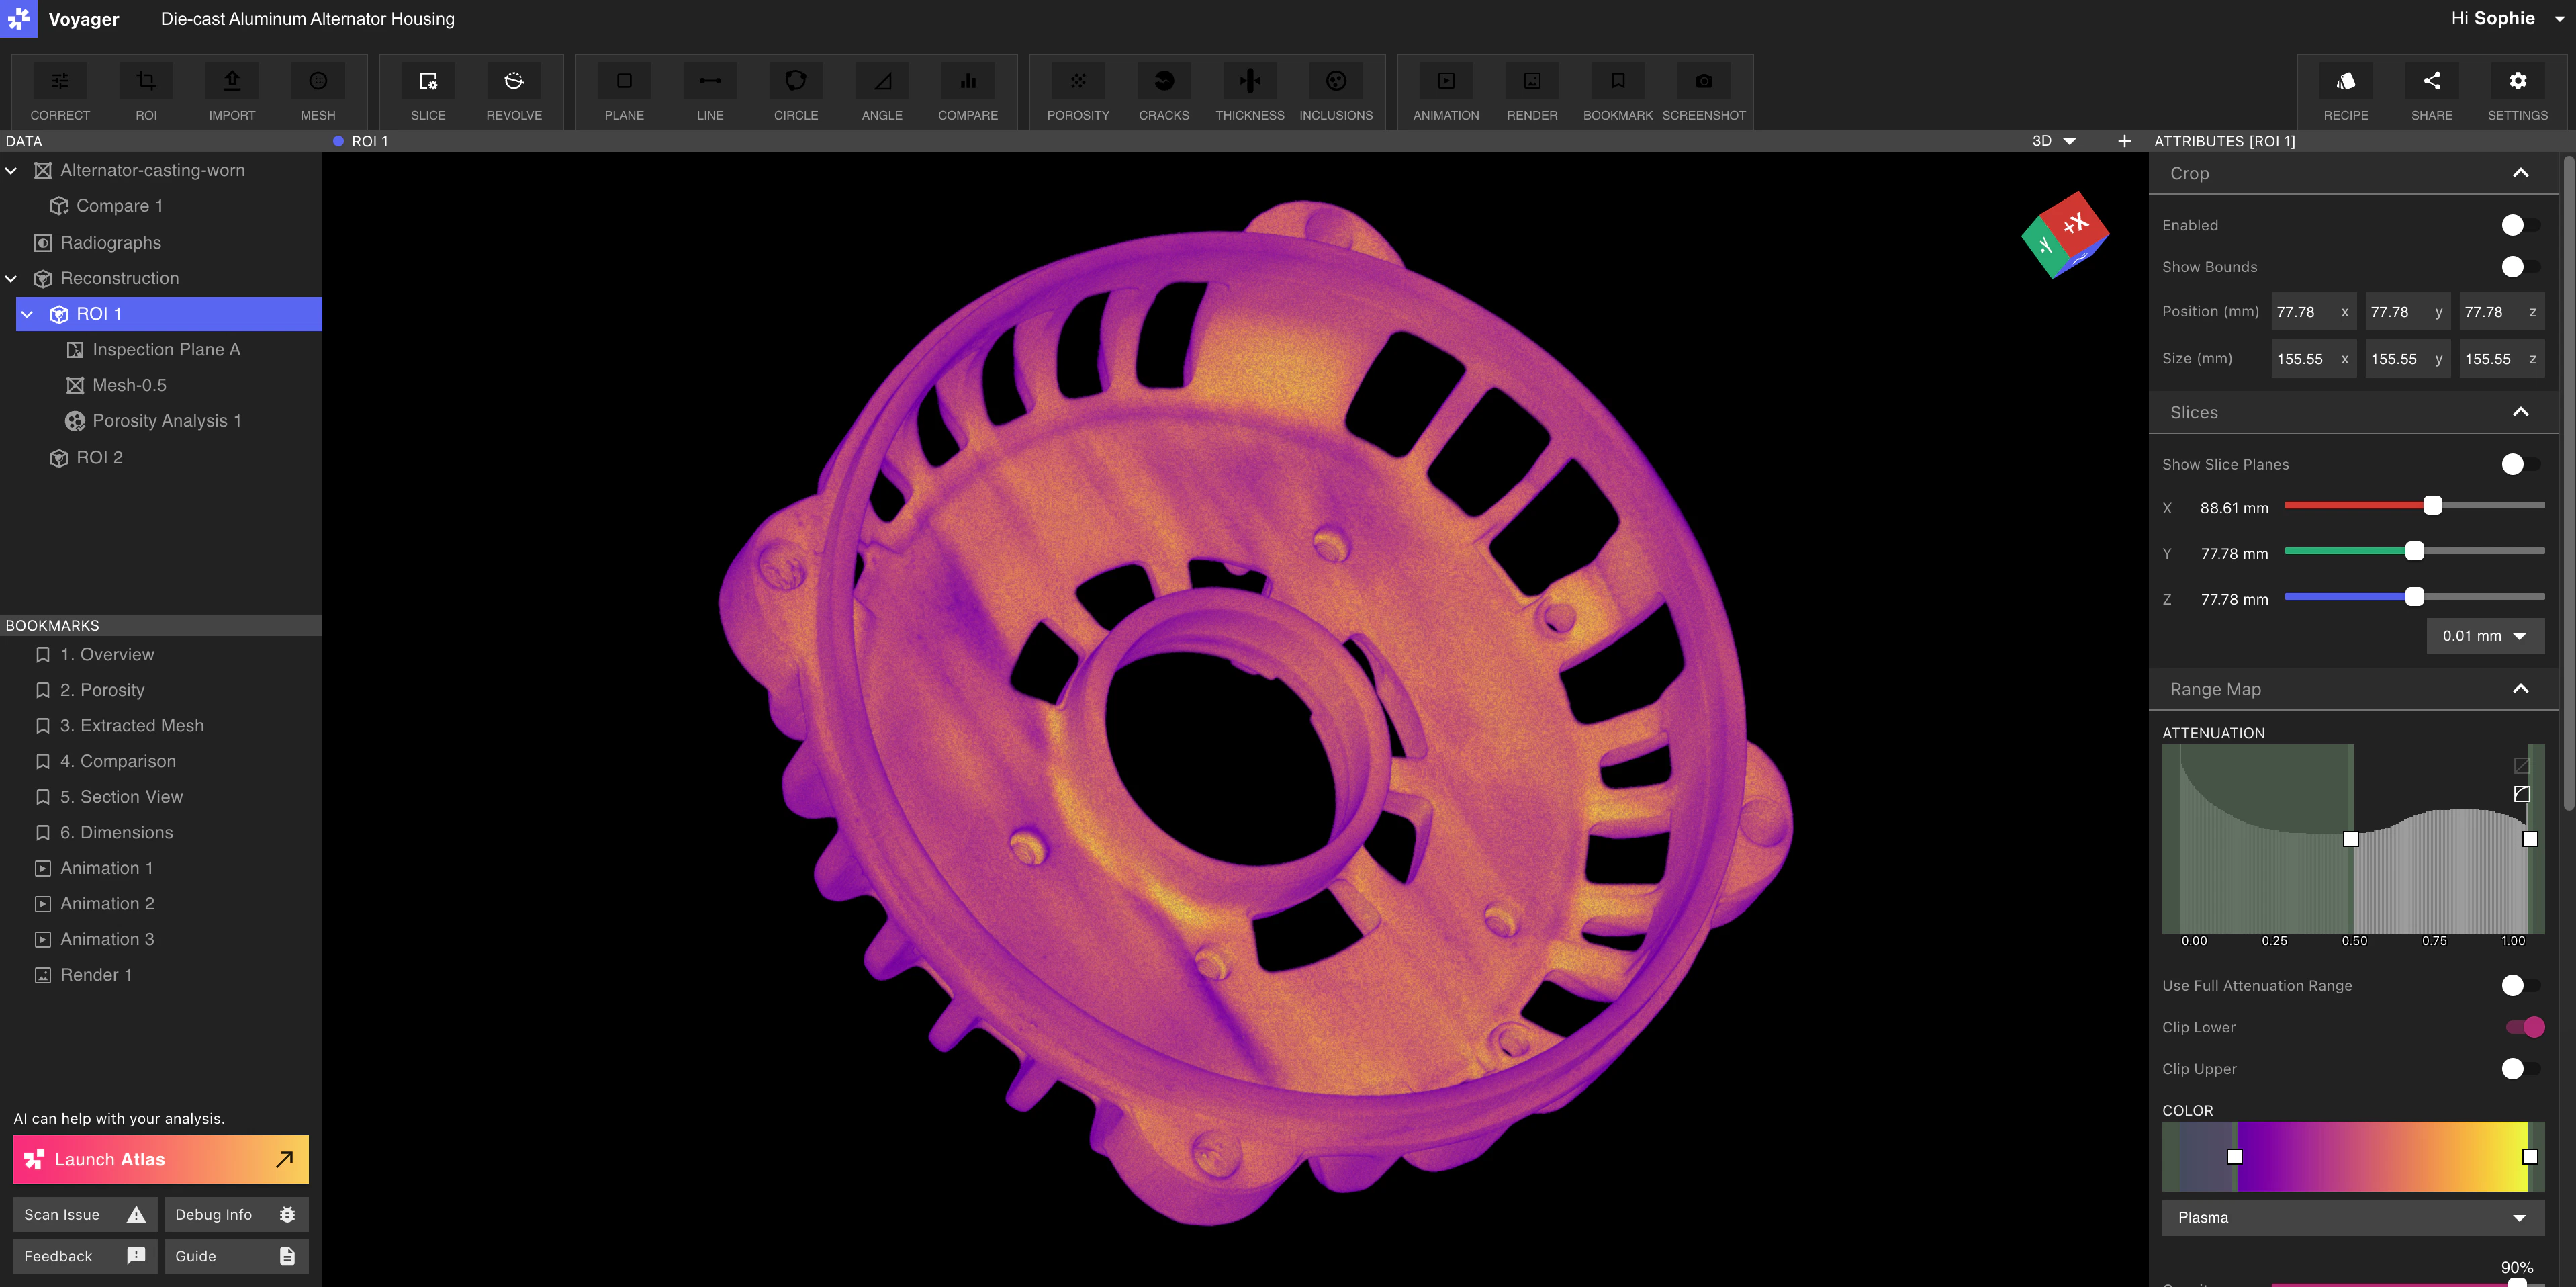
3
Find your focus
Use the ROI Tool to reorient your part, or to zoom in and enhance a specific region of a larger part.After creating an ROI, you may use additional tools to help slice through your part:
Creating an ROI
Inspection Planes
Custom Slice Planes
Revolving Slice Planes
4
Detailed analysis
Voyager offers a suite of analysis tools to help you better understand your part. Use Integrity Analysis to evaluate solid part composition, measure features with tools like CAD Comparison and Wall Thickness, or perform manual 2D dimensional analysis using Inspection Planes.
Creating a Mesh
Creating a Comparison
Porosity Analysis
Wall Thickness Analysis
5
Share results
Share insights with your team by creating Bookmarks, Animations, and Renders of key analysis views. You can right-click any Bookmark to copy a link to that specific view and share it with other Workspace Members.By default, all scans are fully private to only users who have access to the Workspace your scan is located in.
Note: By default, scans are visible only to users who have access to the Workspace where the scan is stored. Organization Managers can change link-sharing permissions from the Manager Dashboard.